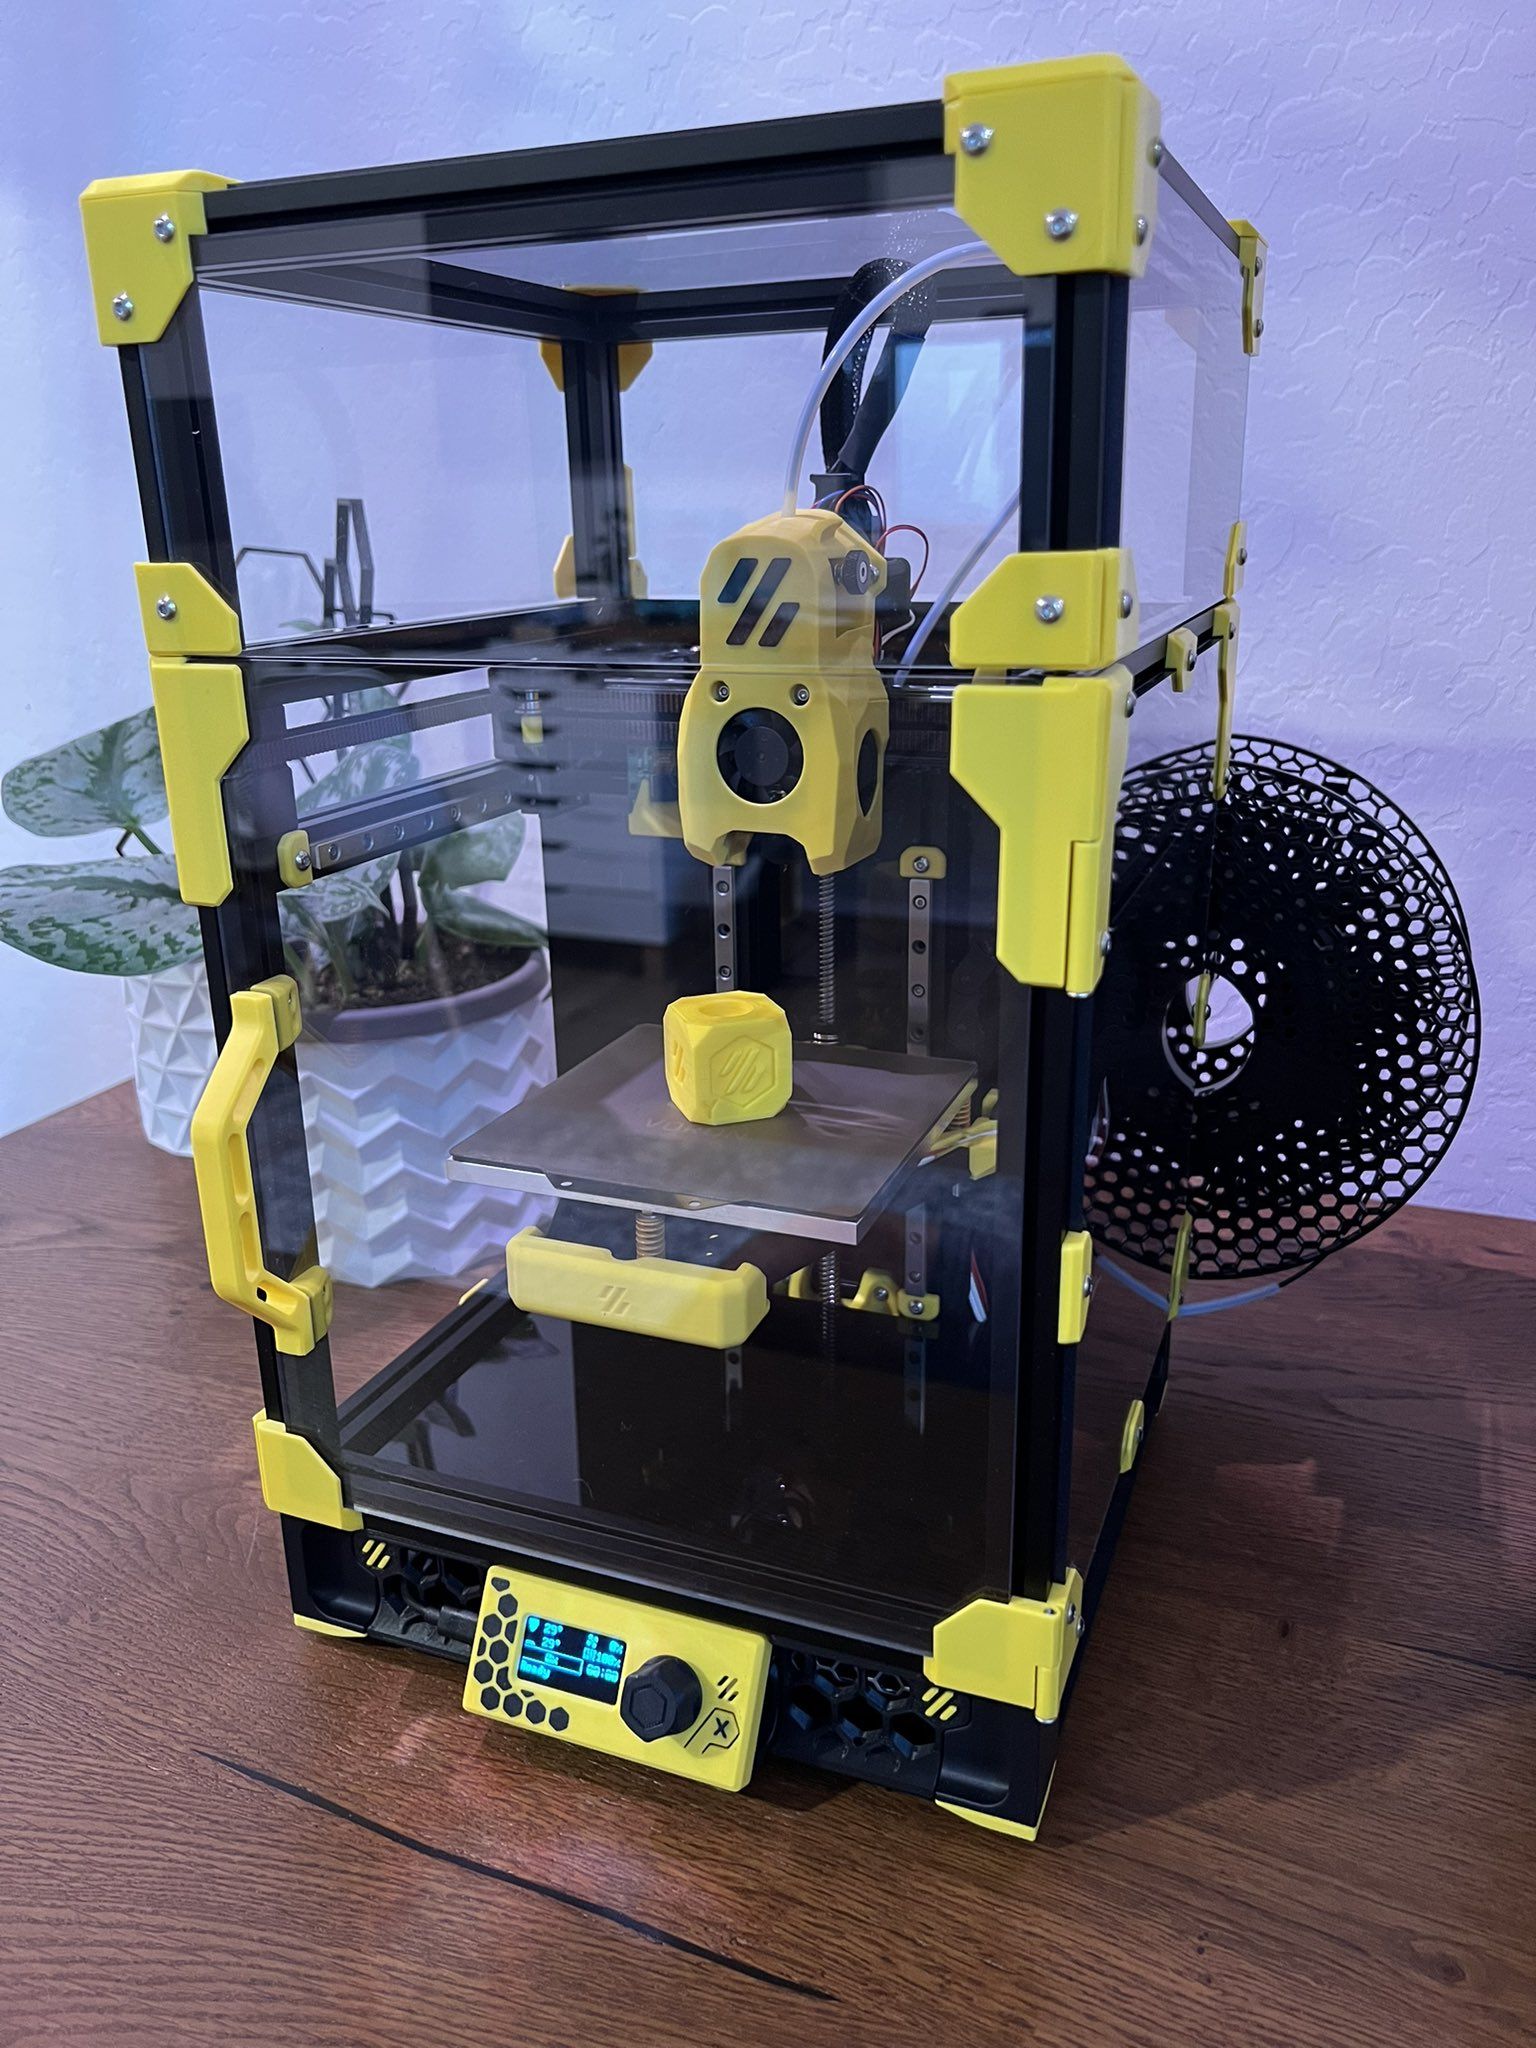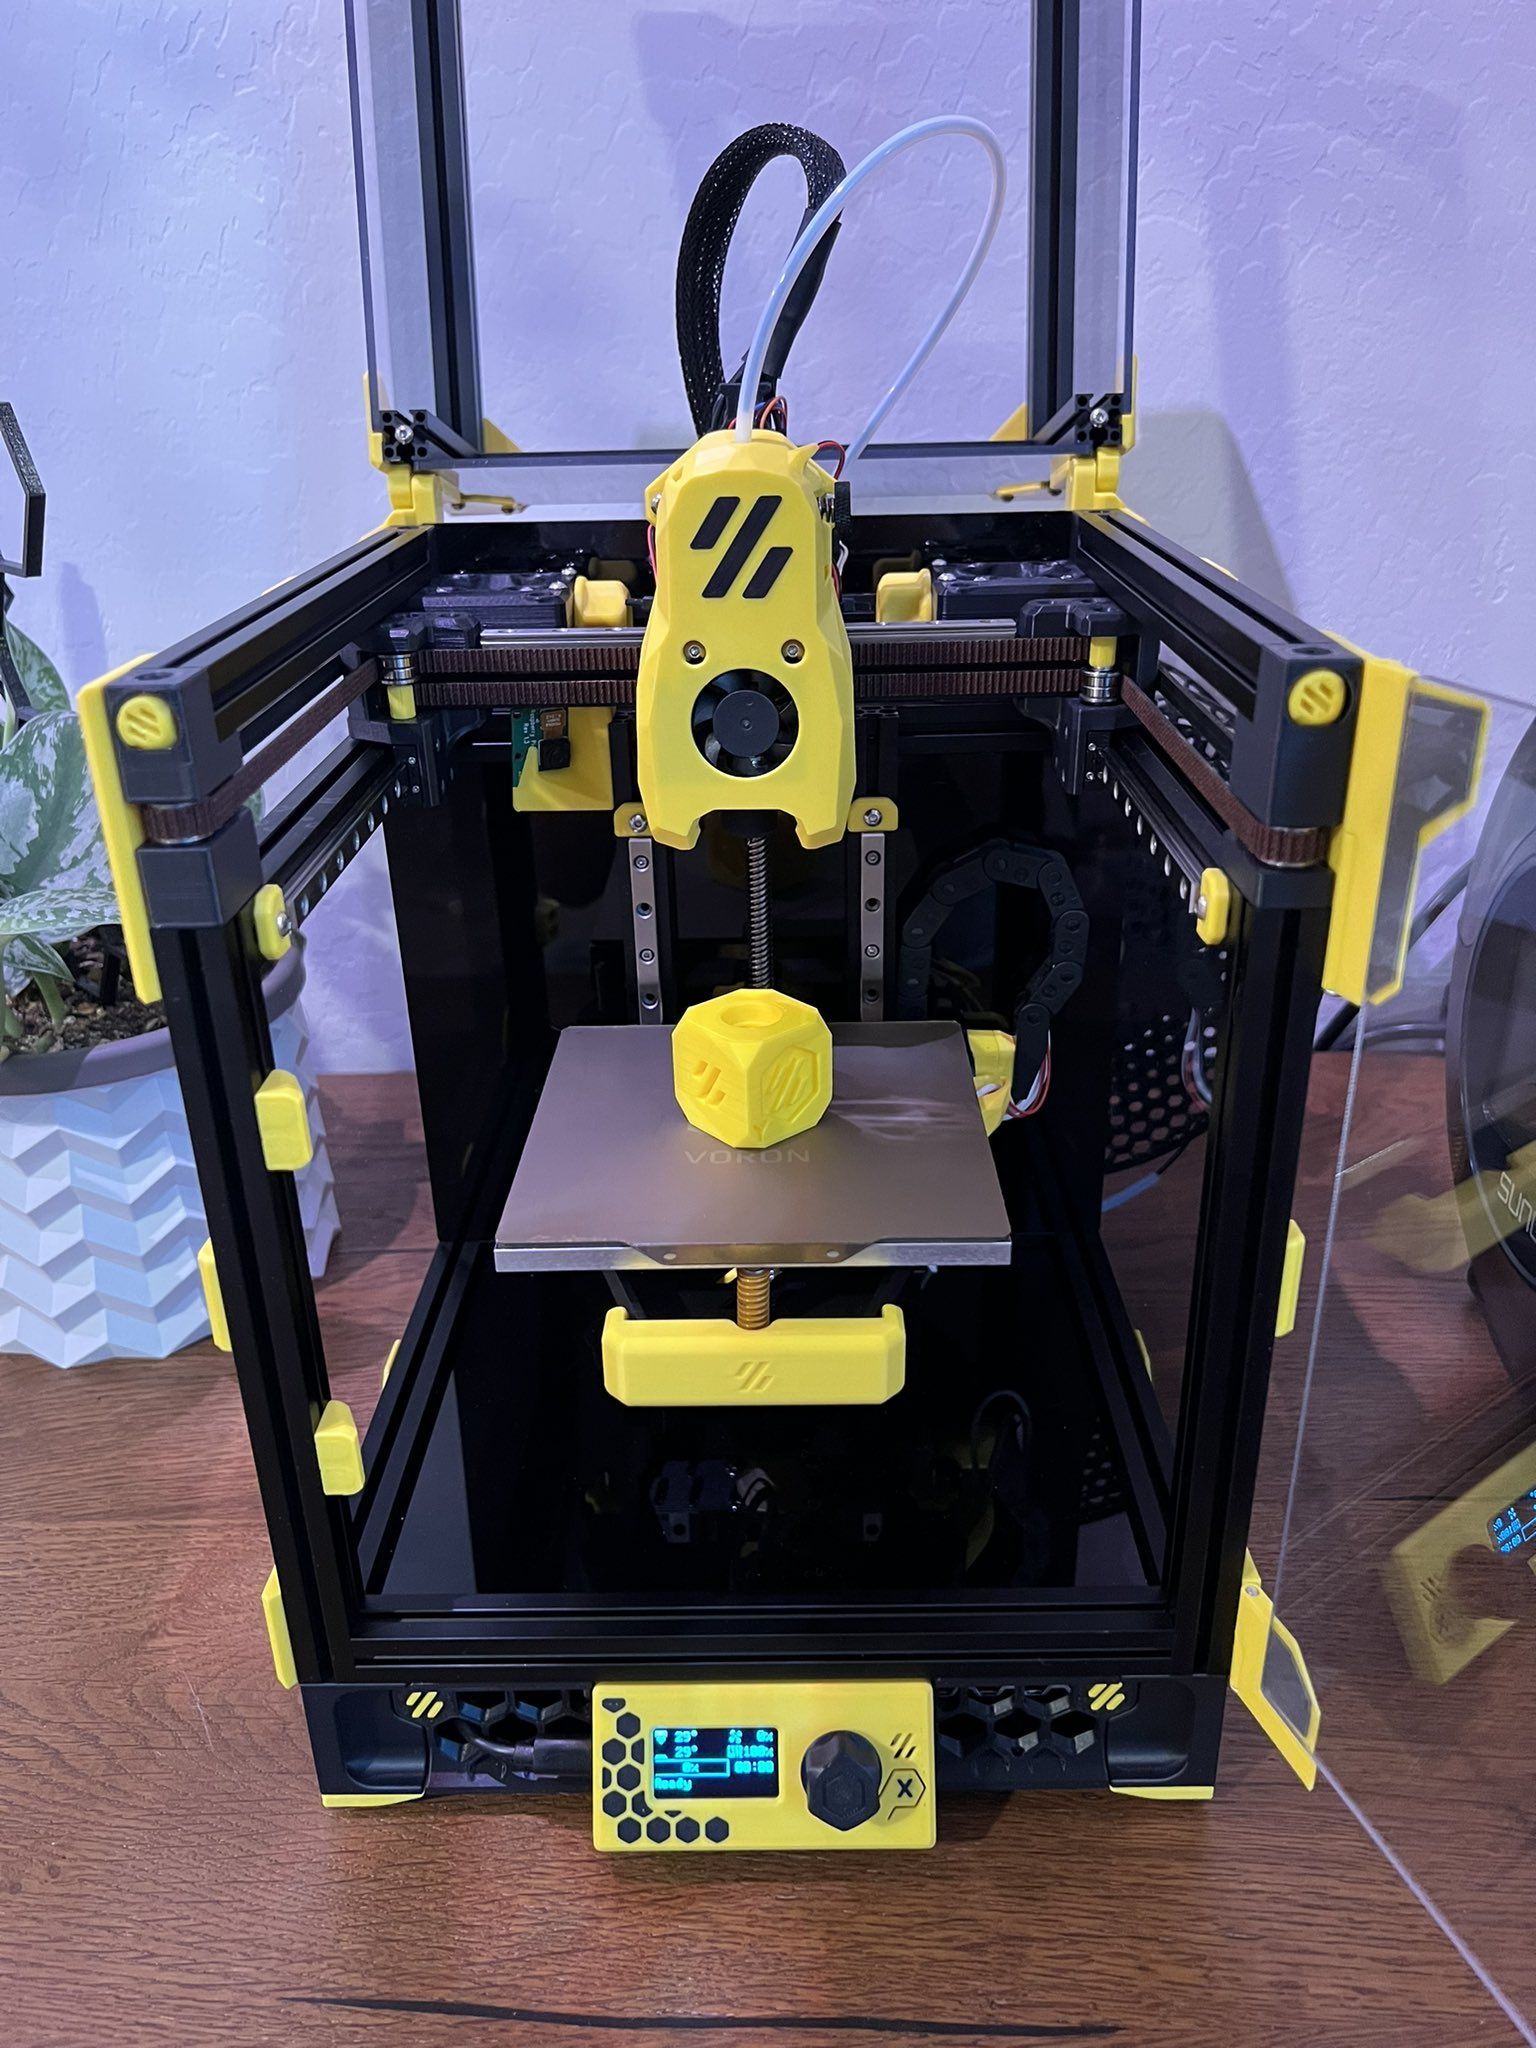
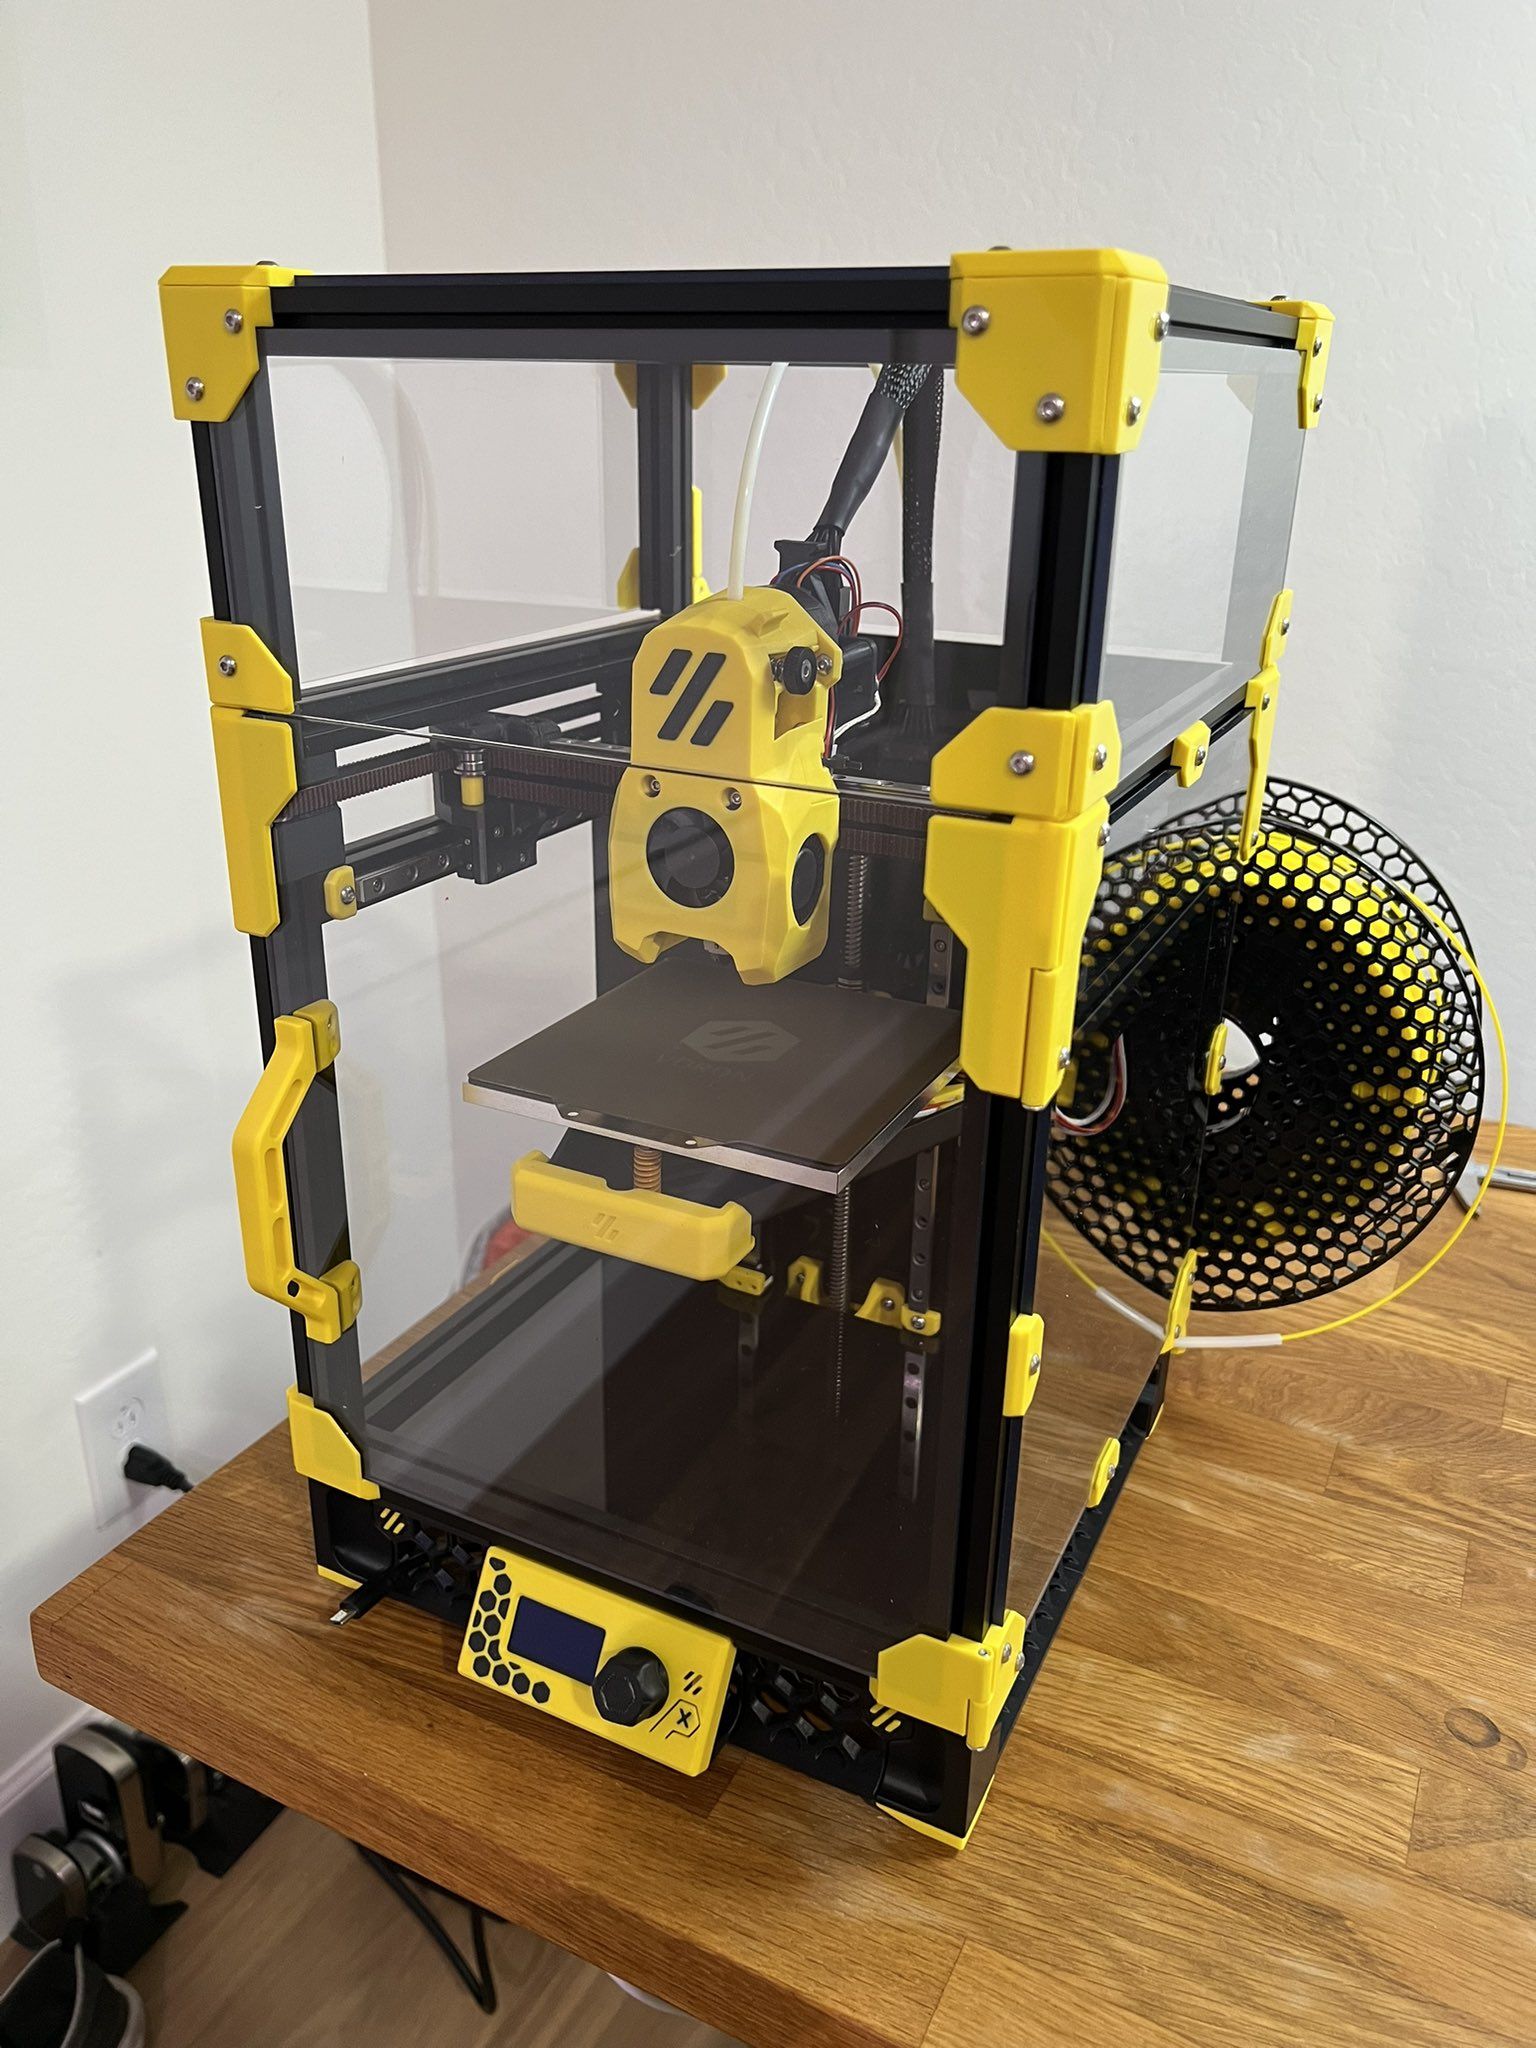
Bumblebee - a VORON 0.2 3D Printer
Voron 0.2 - https://www.vorondesign.com/voron0.2
Rocky Mountain Rep Rap Festival - https://rockymountainreprapfestival.com/
Learn about VORON Design - https://www.vorondesign.com/
VoronDB - https://vorondb.com/printer/473
The Build
I 3D printed all of the black and yellow plastic parts using Polymaker ASA and ordered an electronics/parts kit from Formbot to build my Voron 0.2 printer. Below is a summary and photos of the build process over the course of a few weeks.
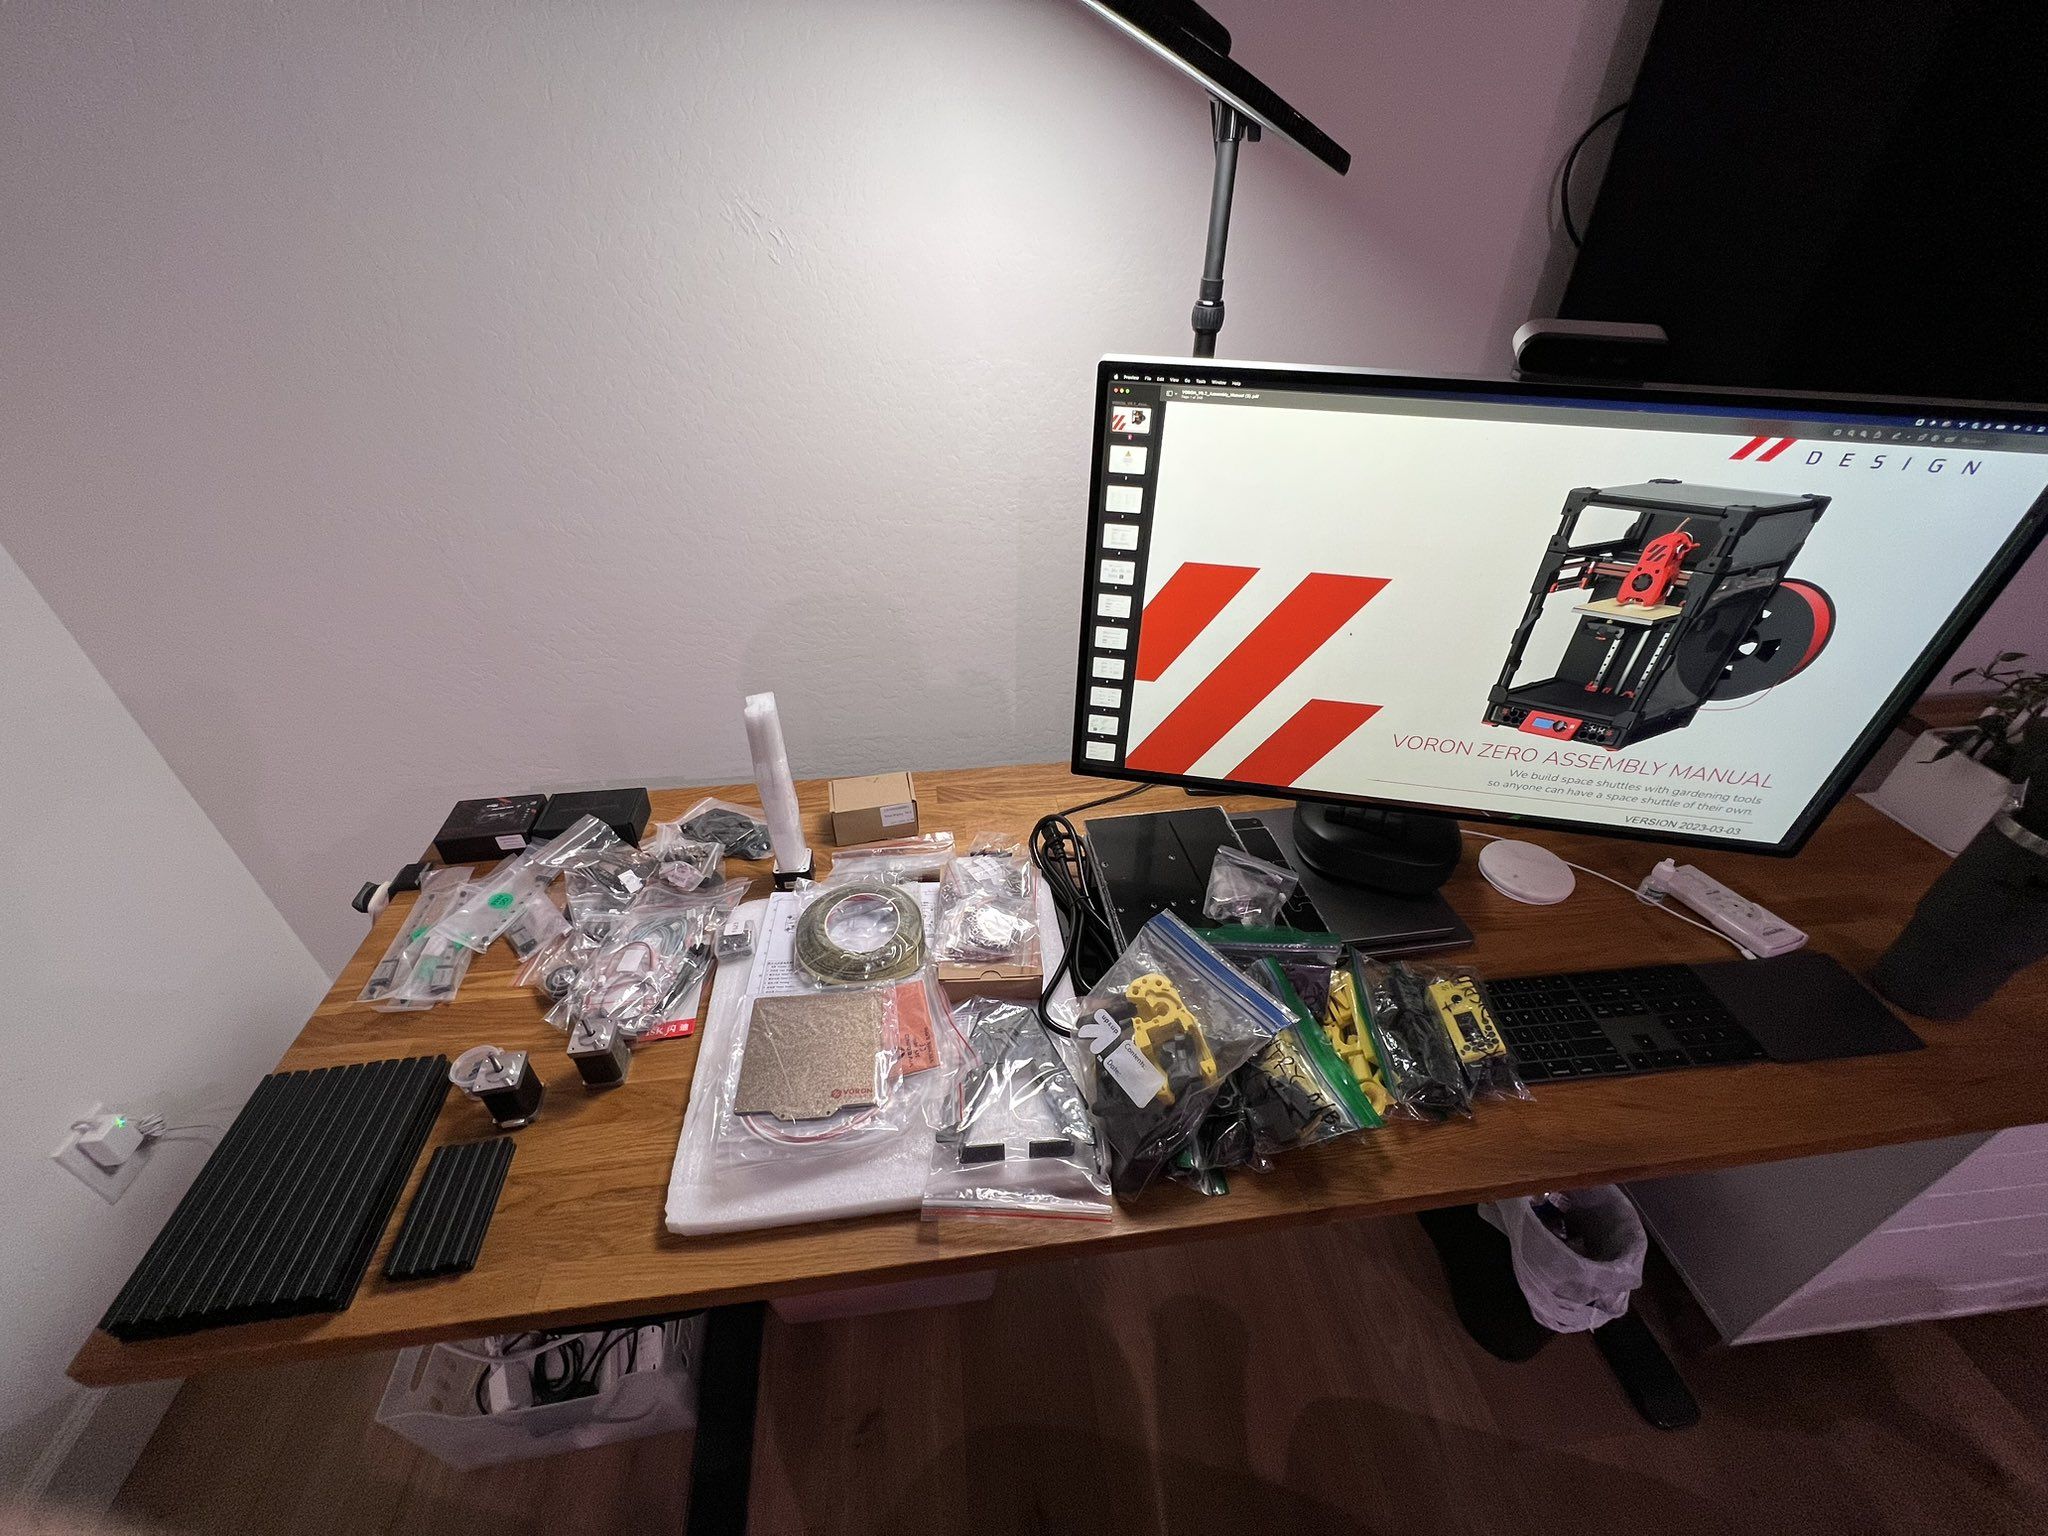
Day 0
The day has finally arrived! Inspired by every little tiny printer I saw at @rmrrf … it's time to build a Voron 0.2! @Voron_Design
Gonna get things organized tonight and start assembling this weekend! 🤖🖨️
Day 1
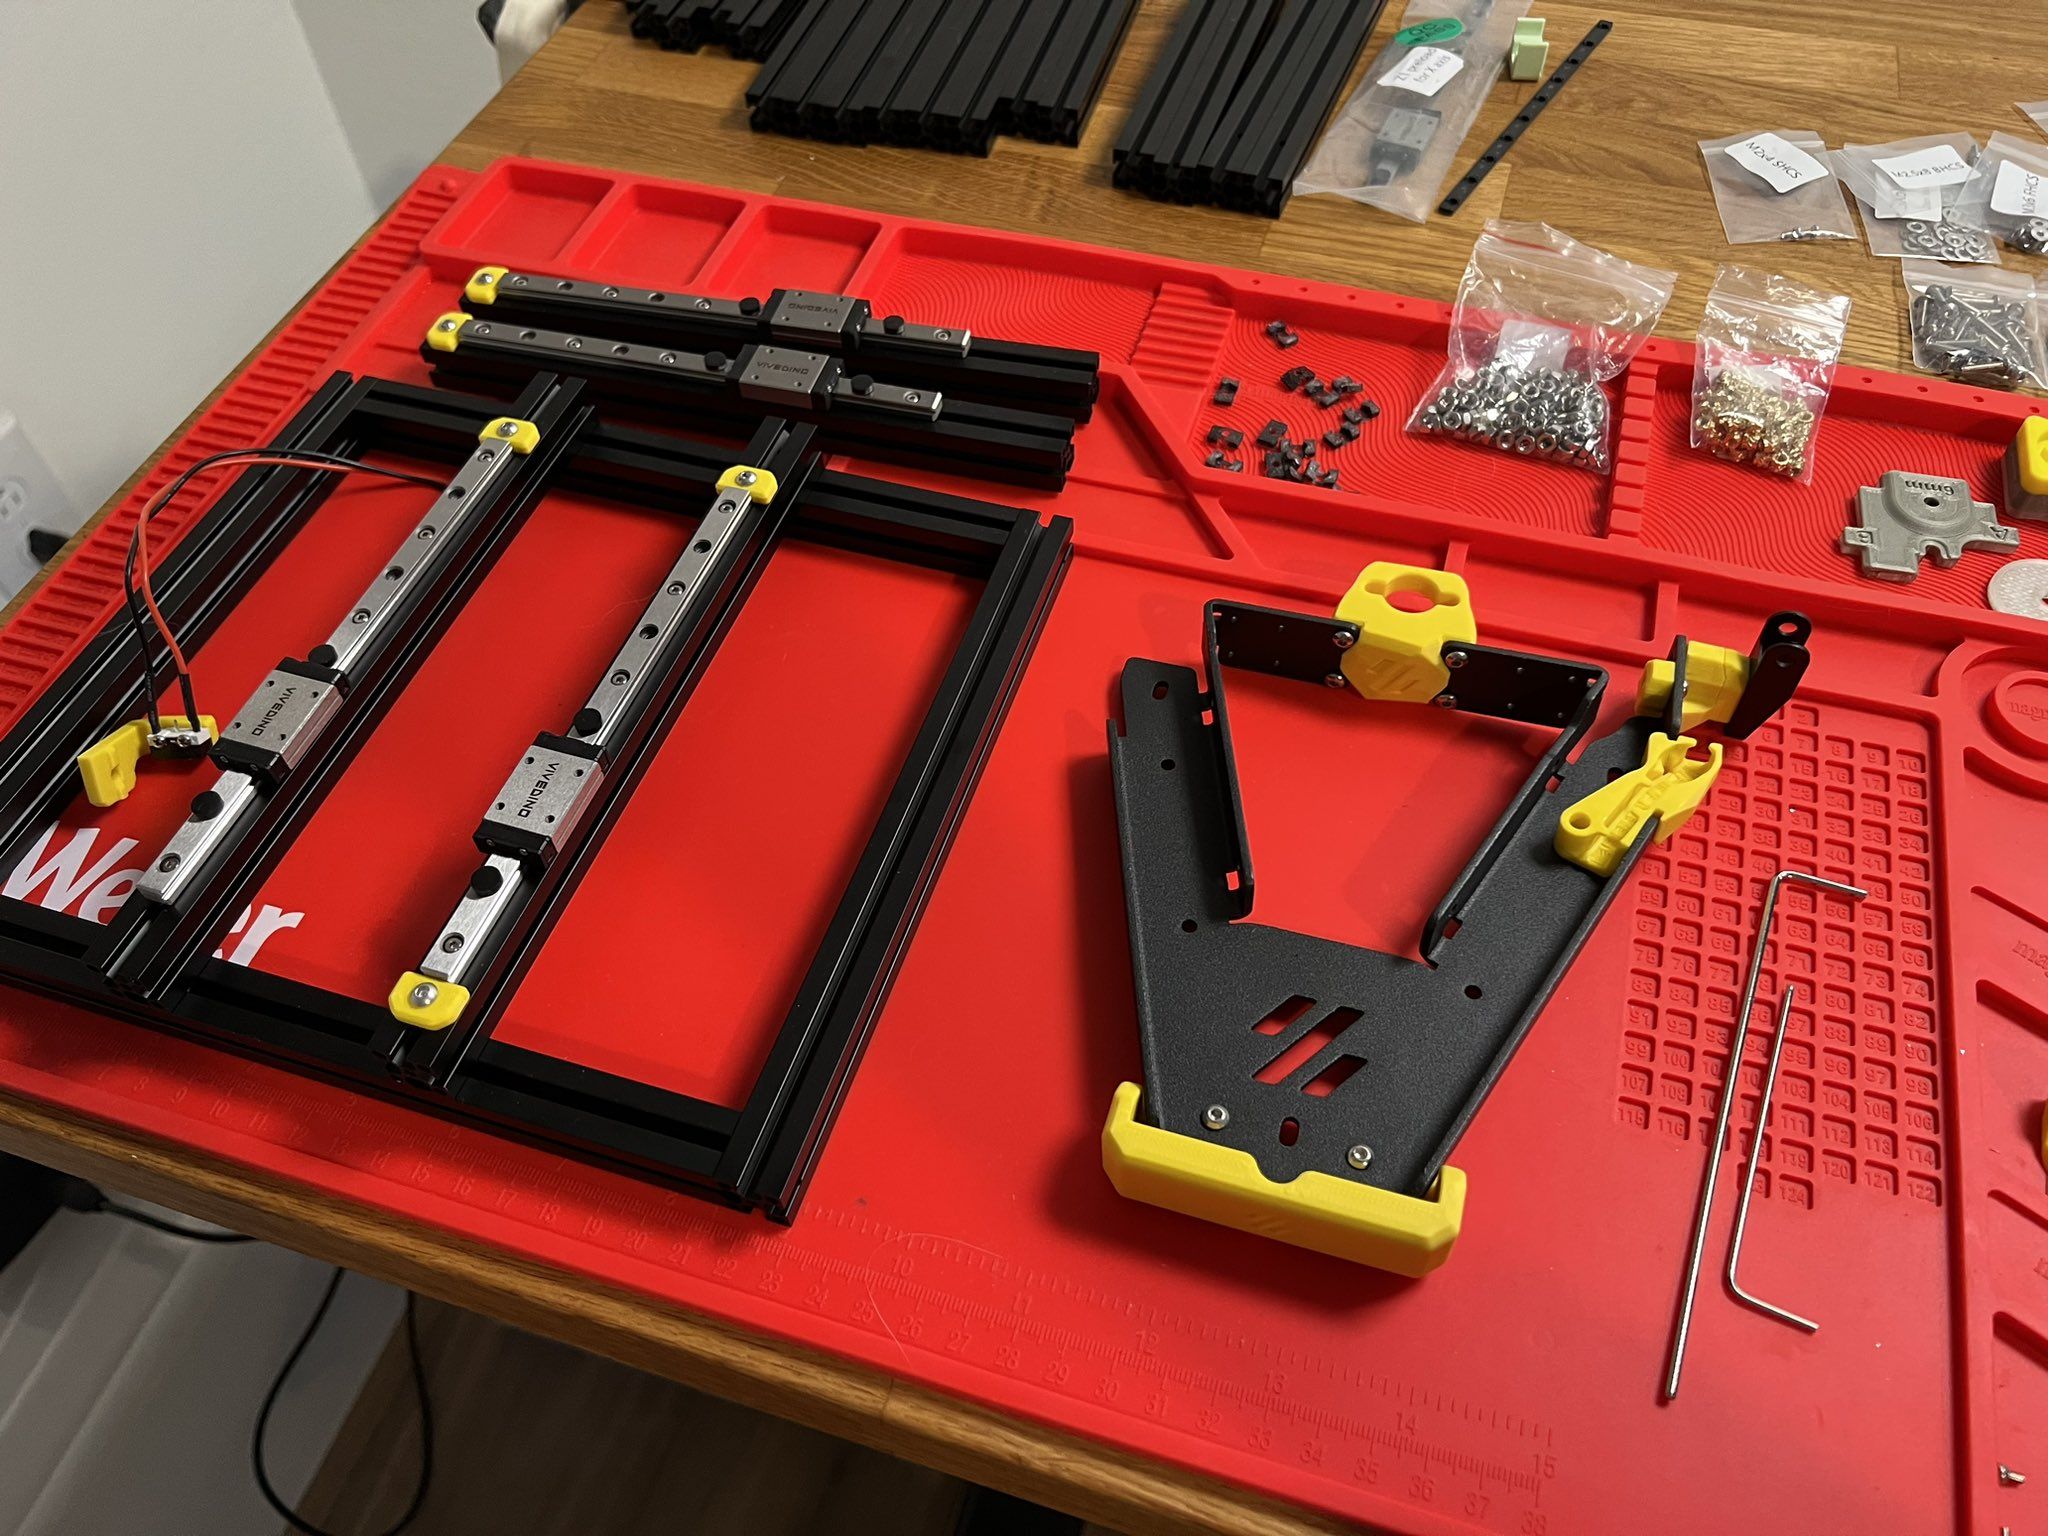
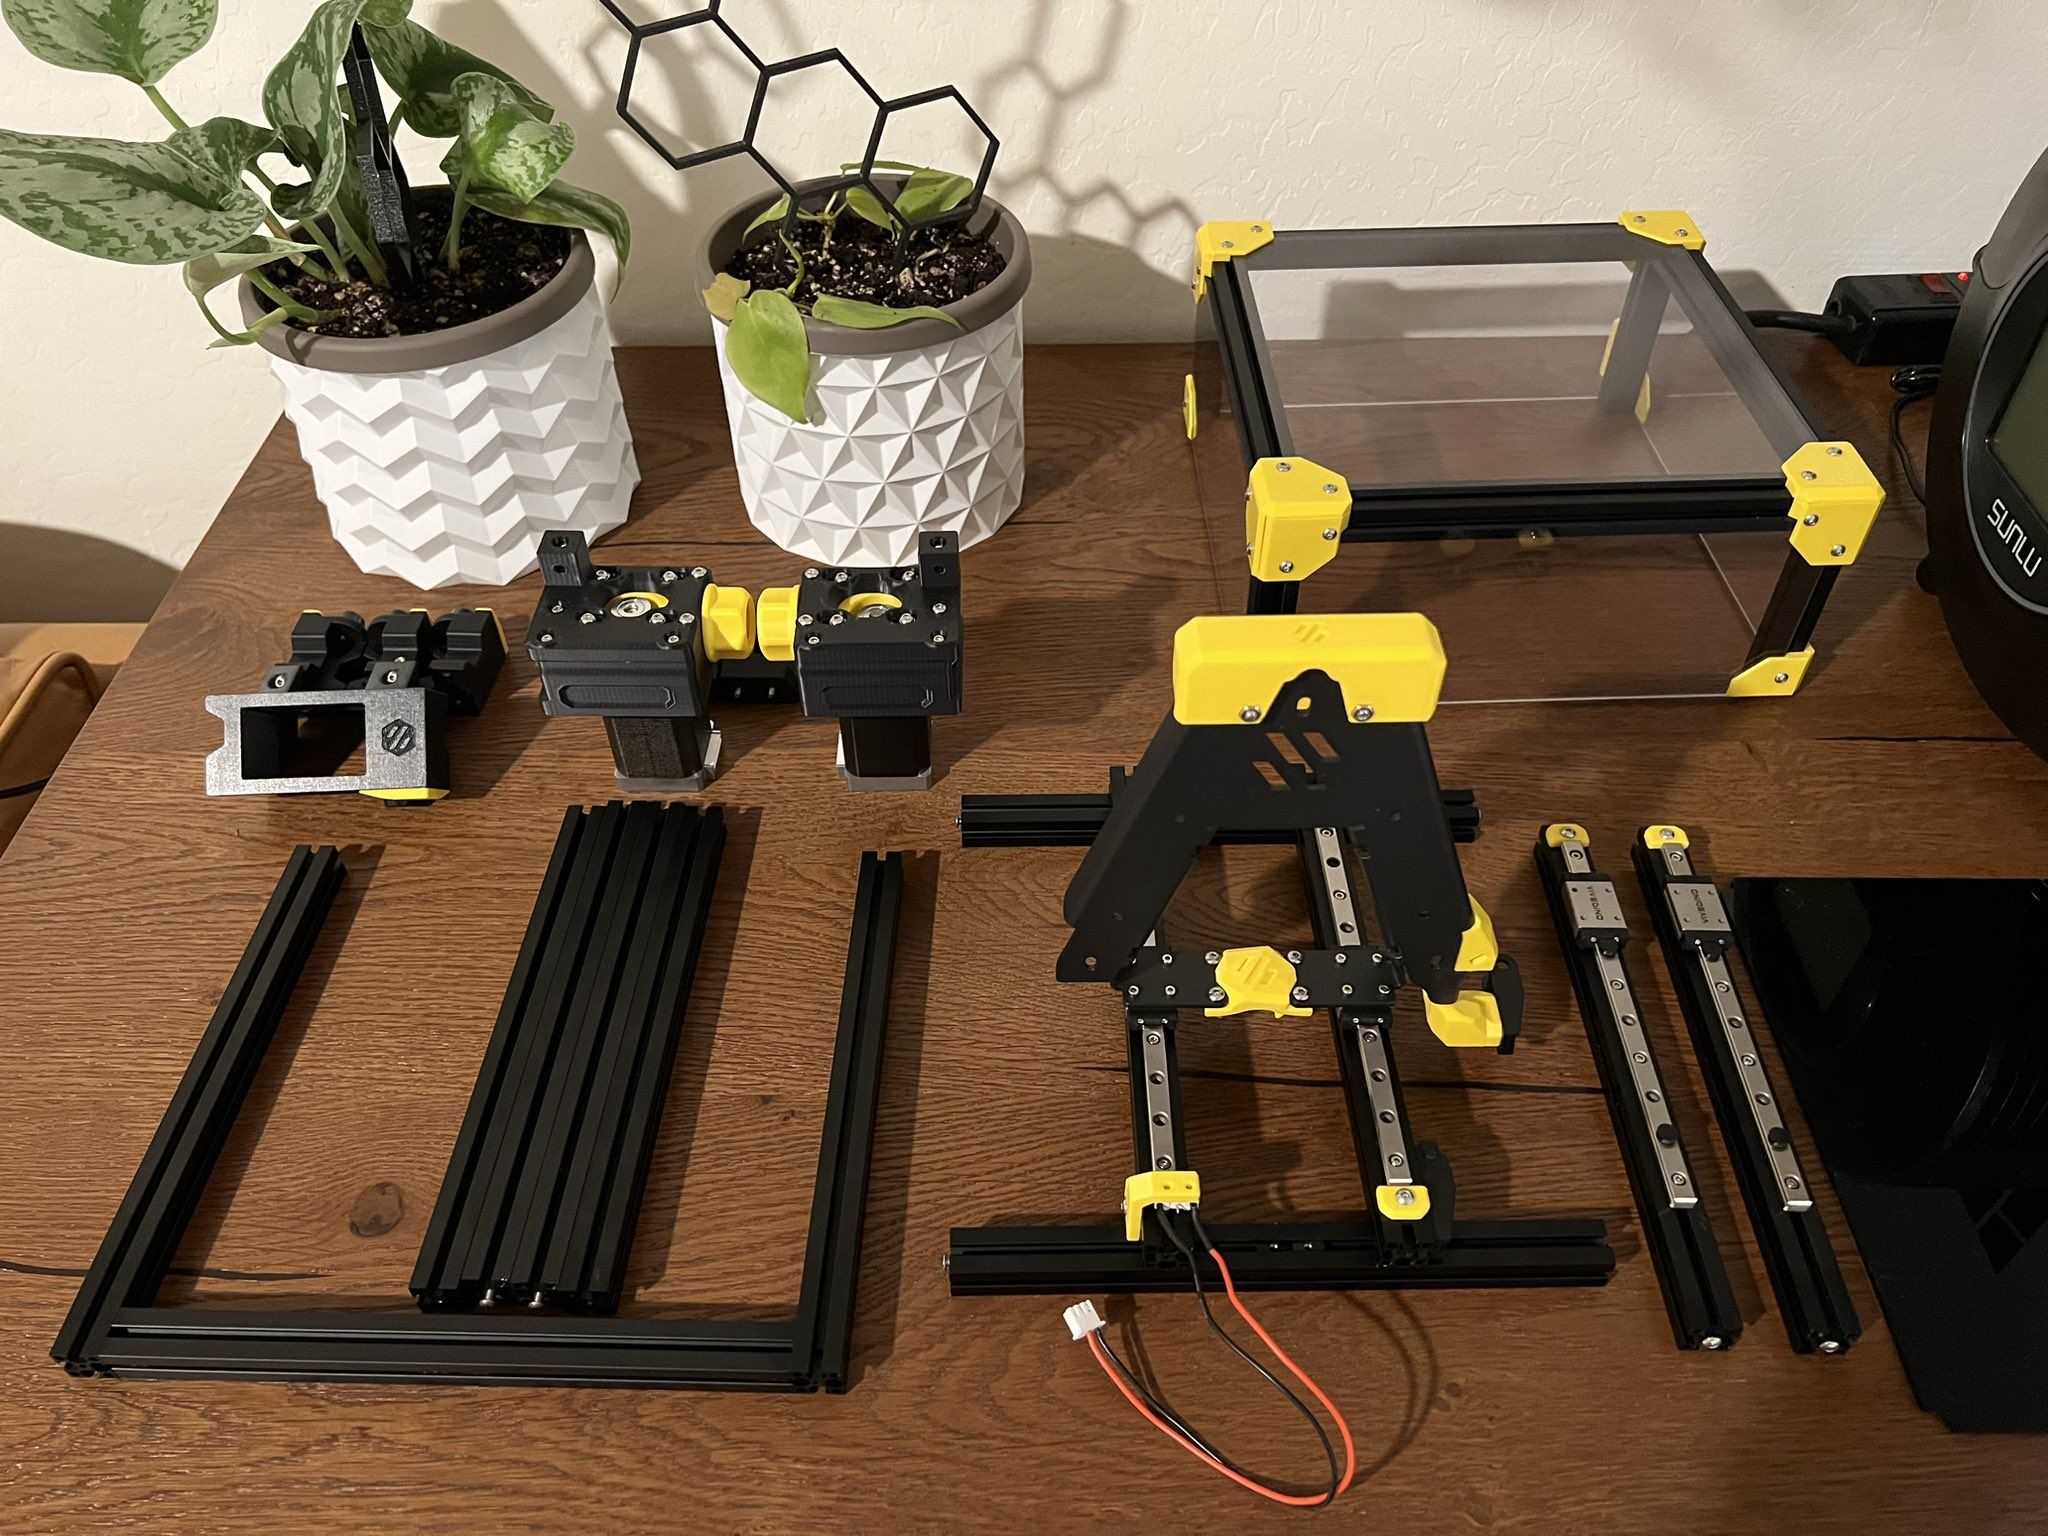
Day one progress!
I can't believe how small all the tiny nuts and screws are— assembled the y rails, z rails, z-axis, and kirigami mount.
Need some grease and threadlocker— project is on hold until Amazon delivers tomorrow. 😅
Day 2
Day two!
Still waiting for the threadlocker and grease for the bed/linear rails… so I took an easy win and built the top hat. 🎩
Was planning on naming the printer Bumblebee… but it's looking very DeWalt.
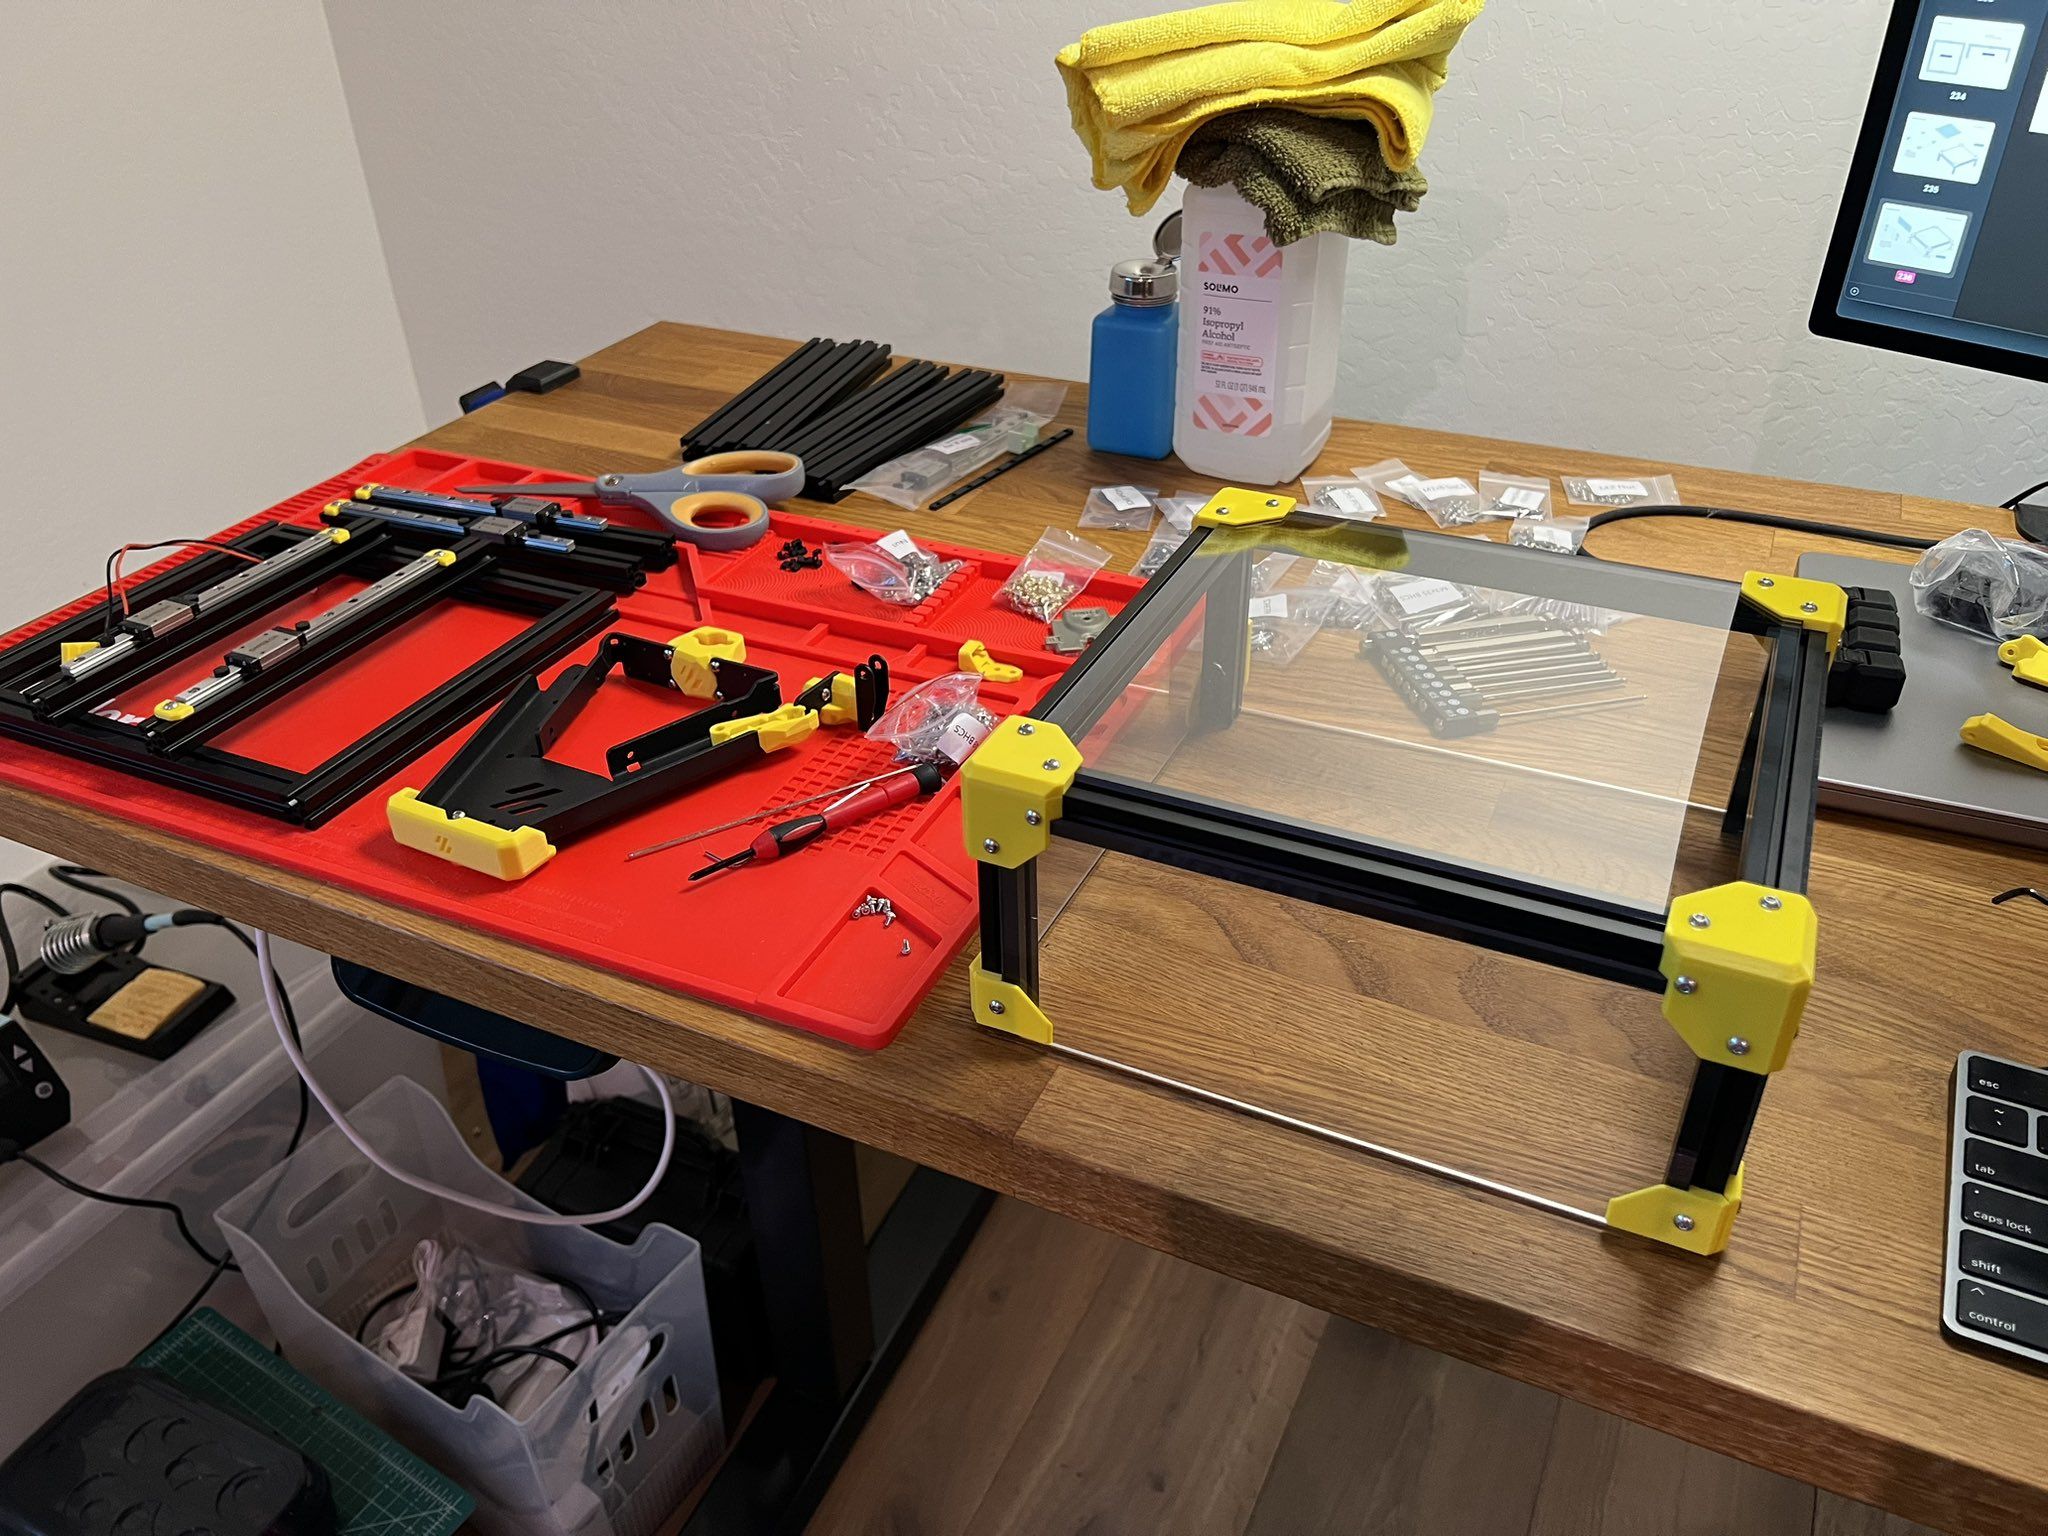
Day 3
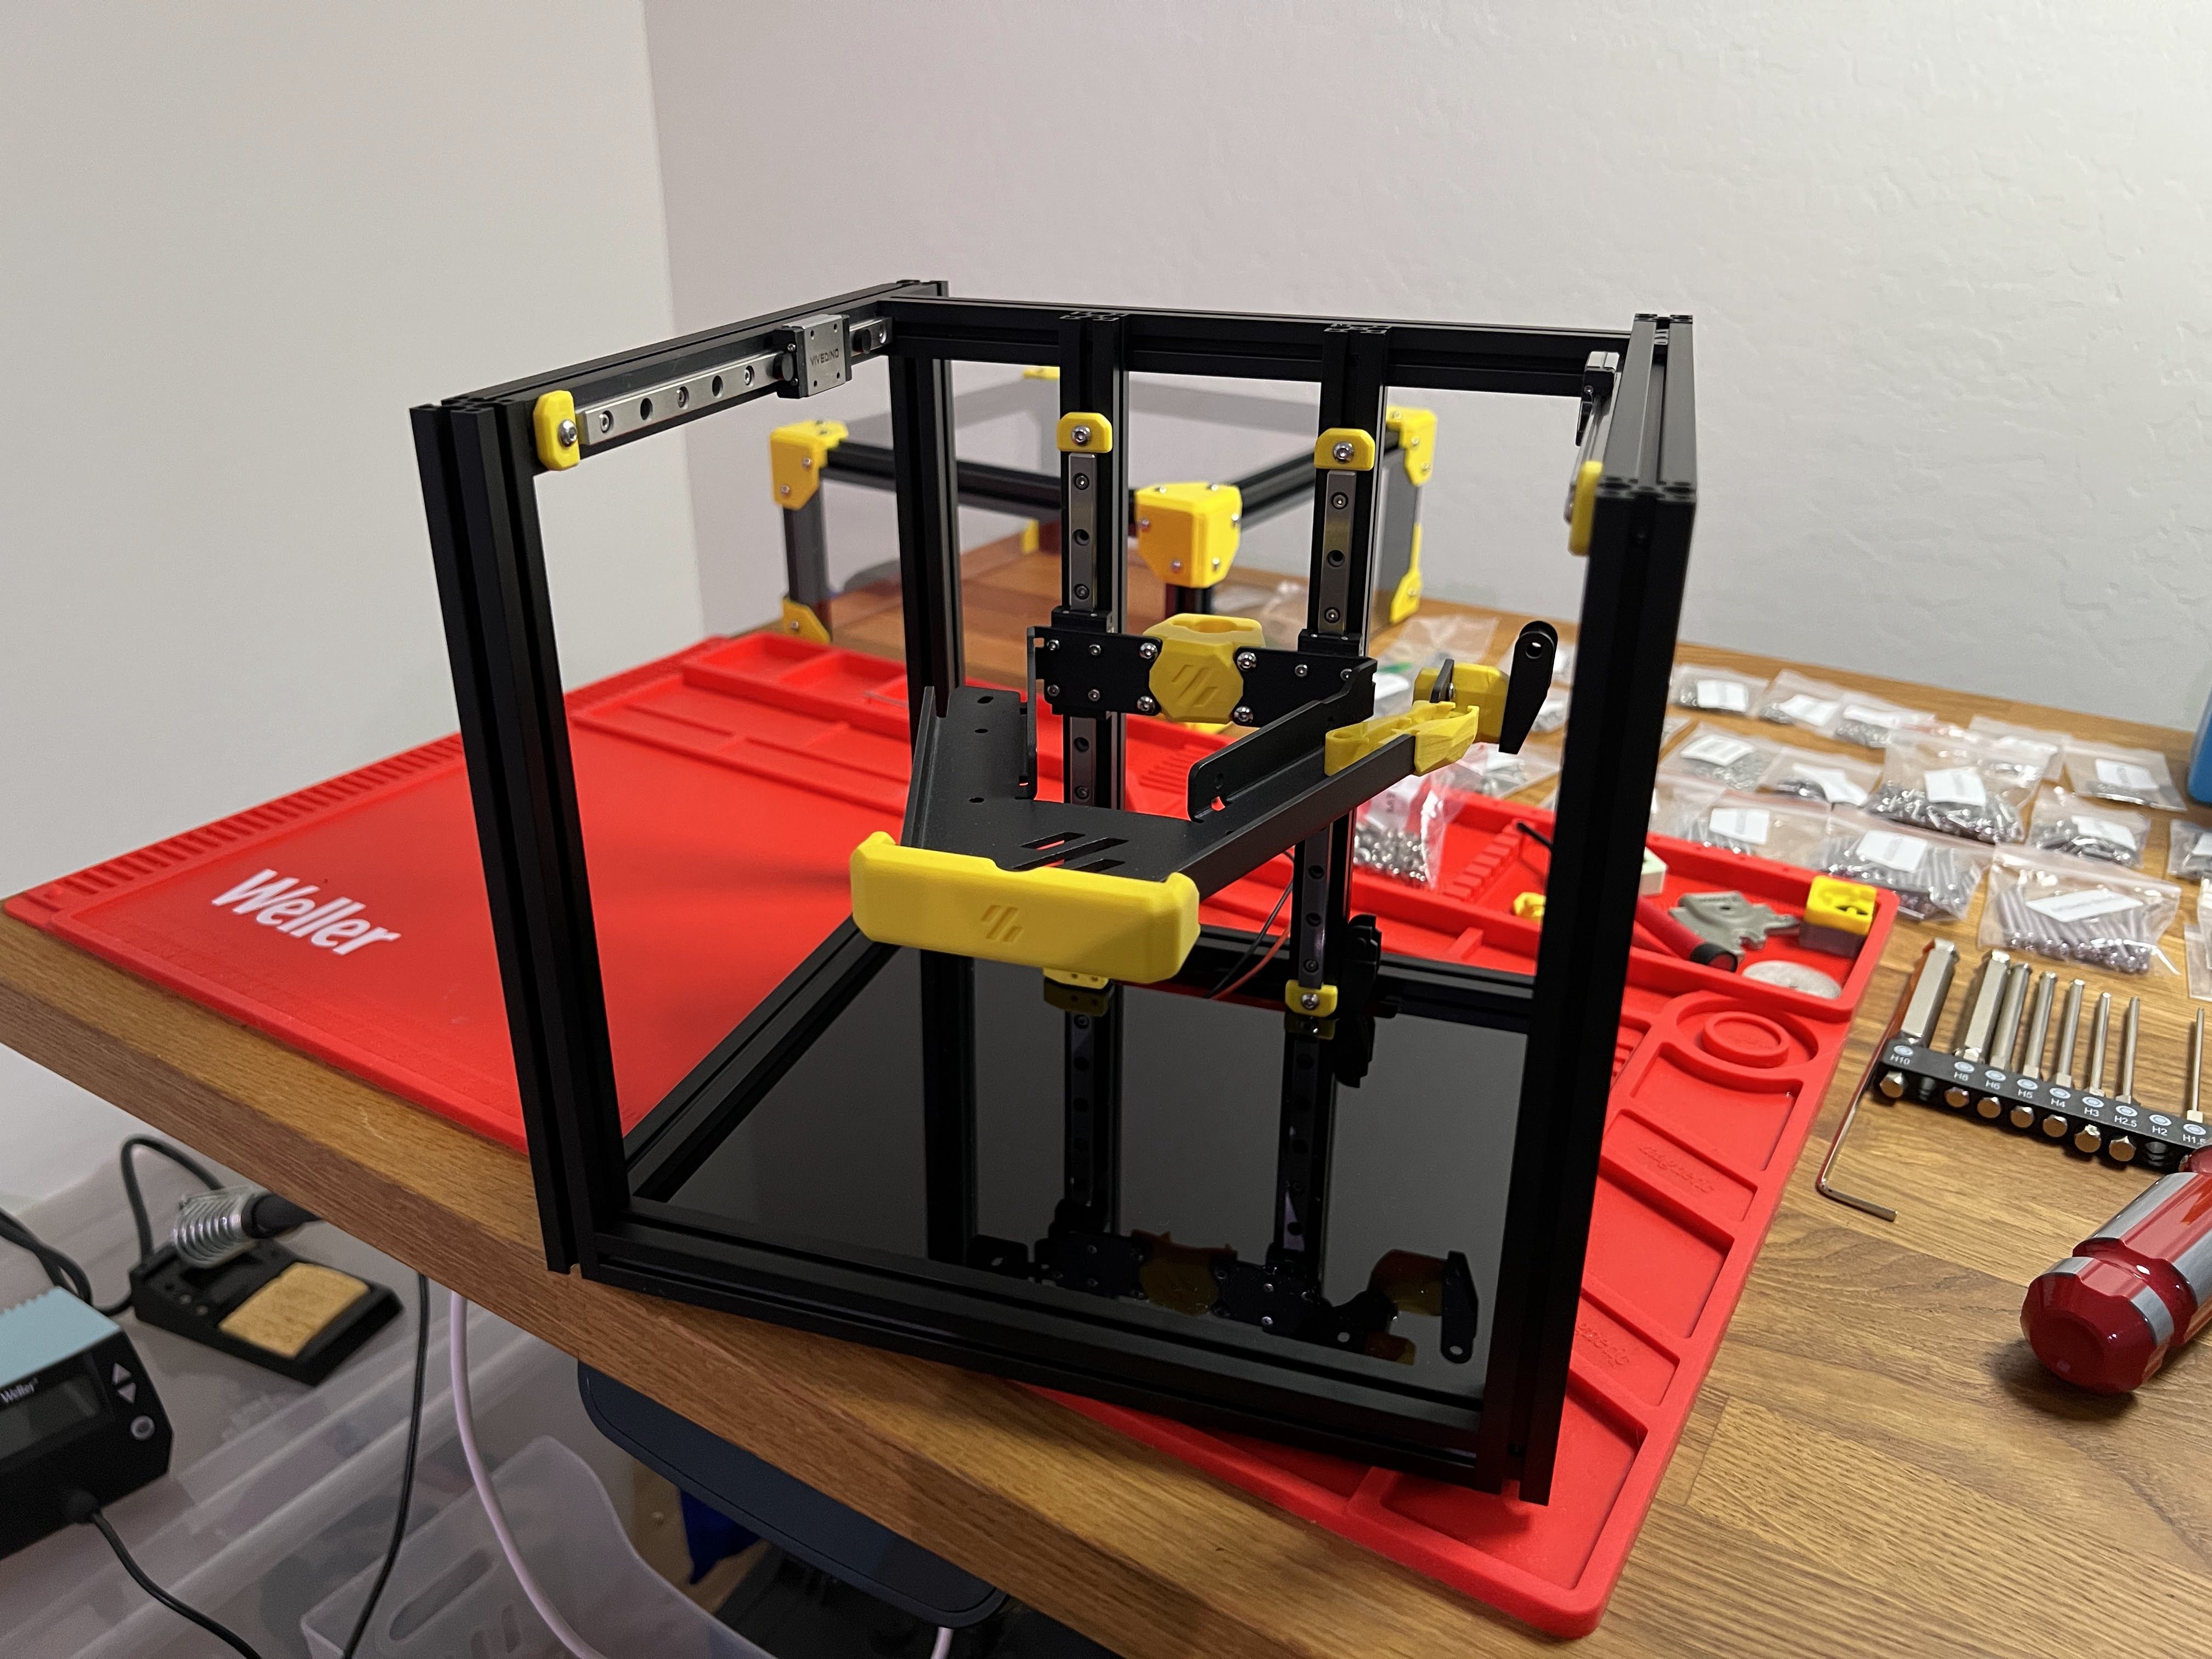
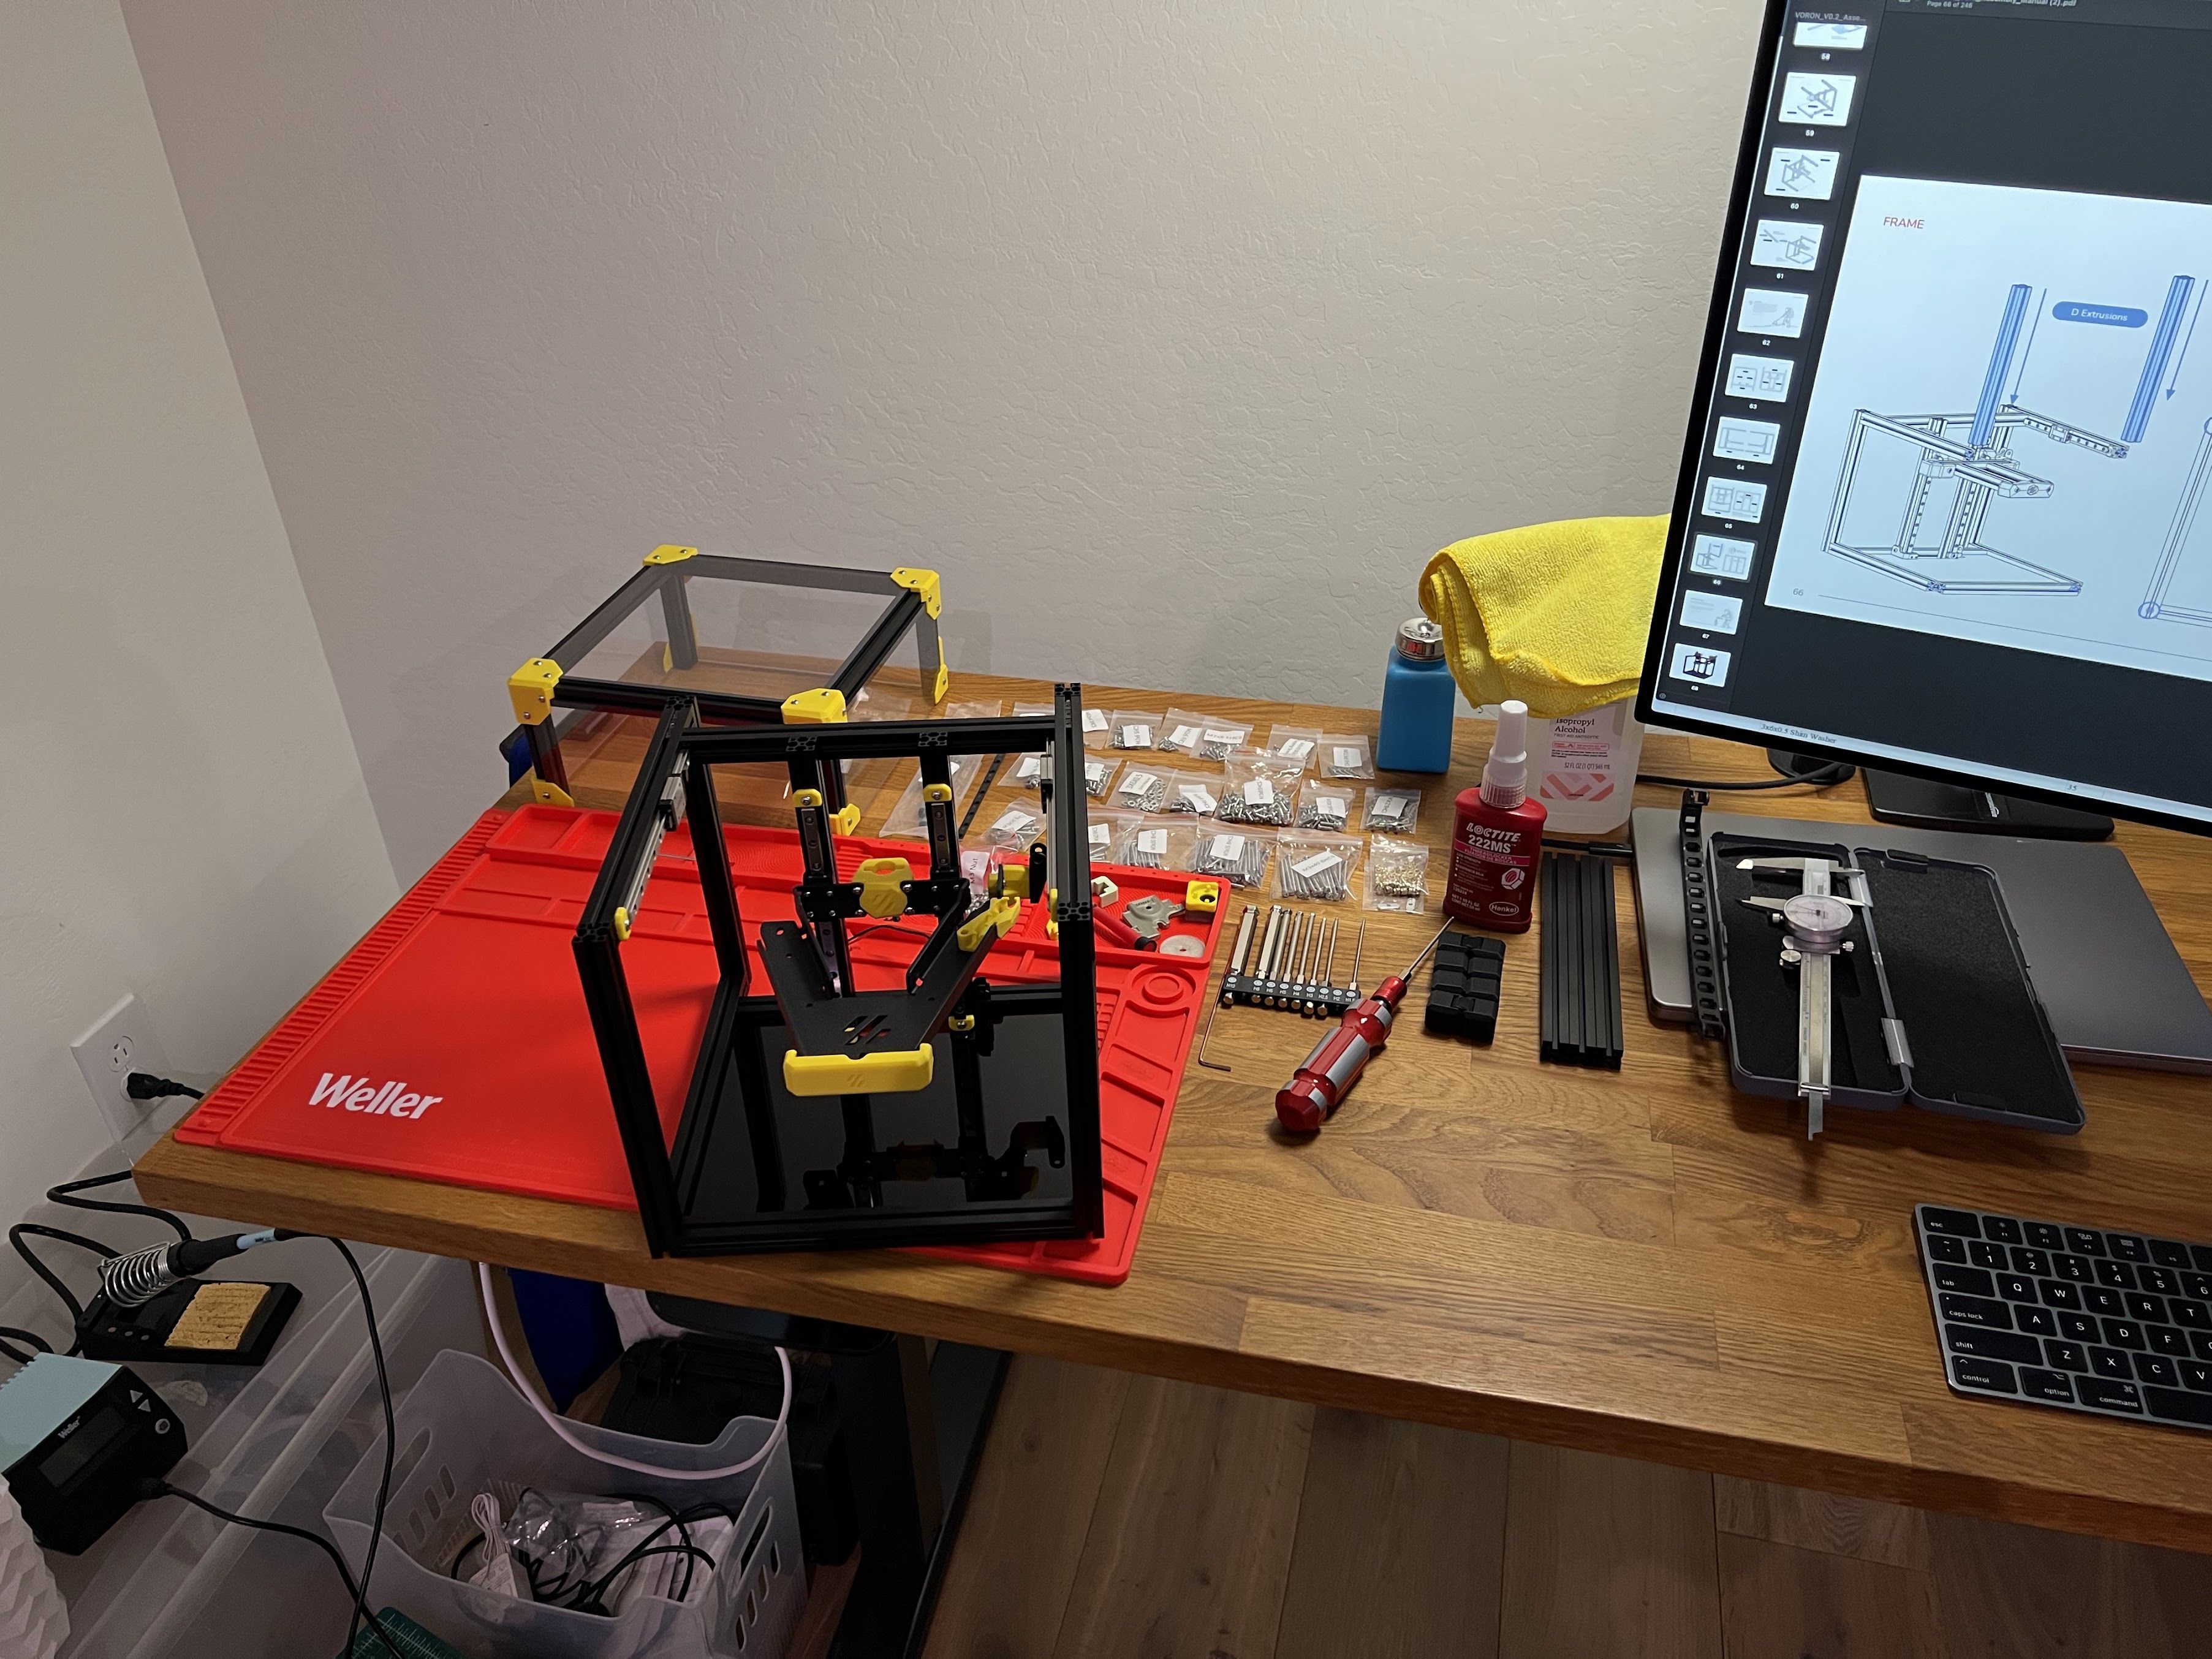
Day three!
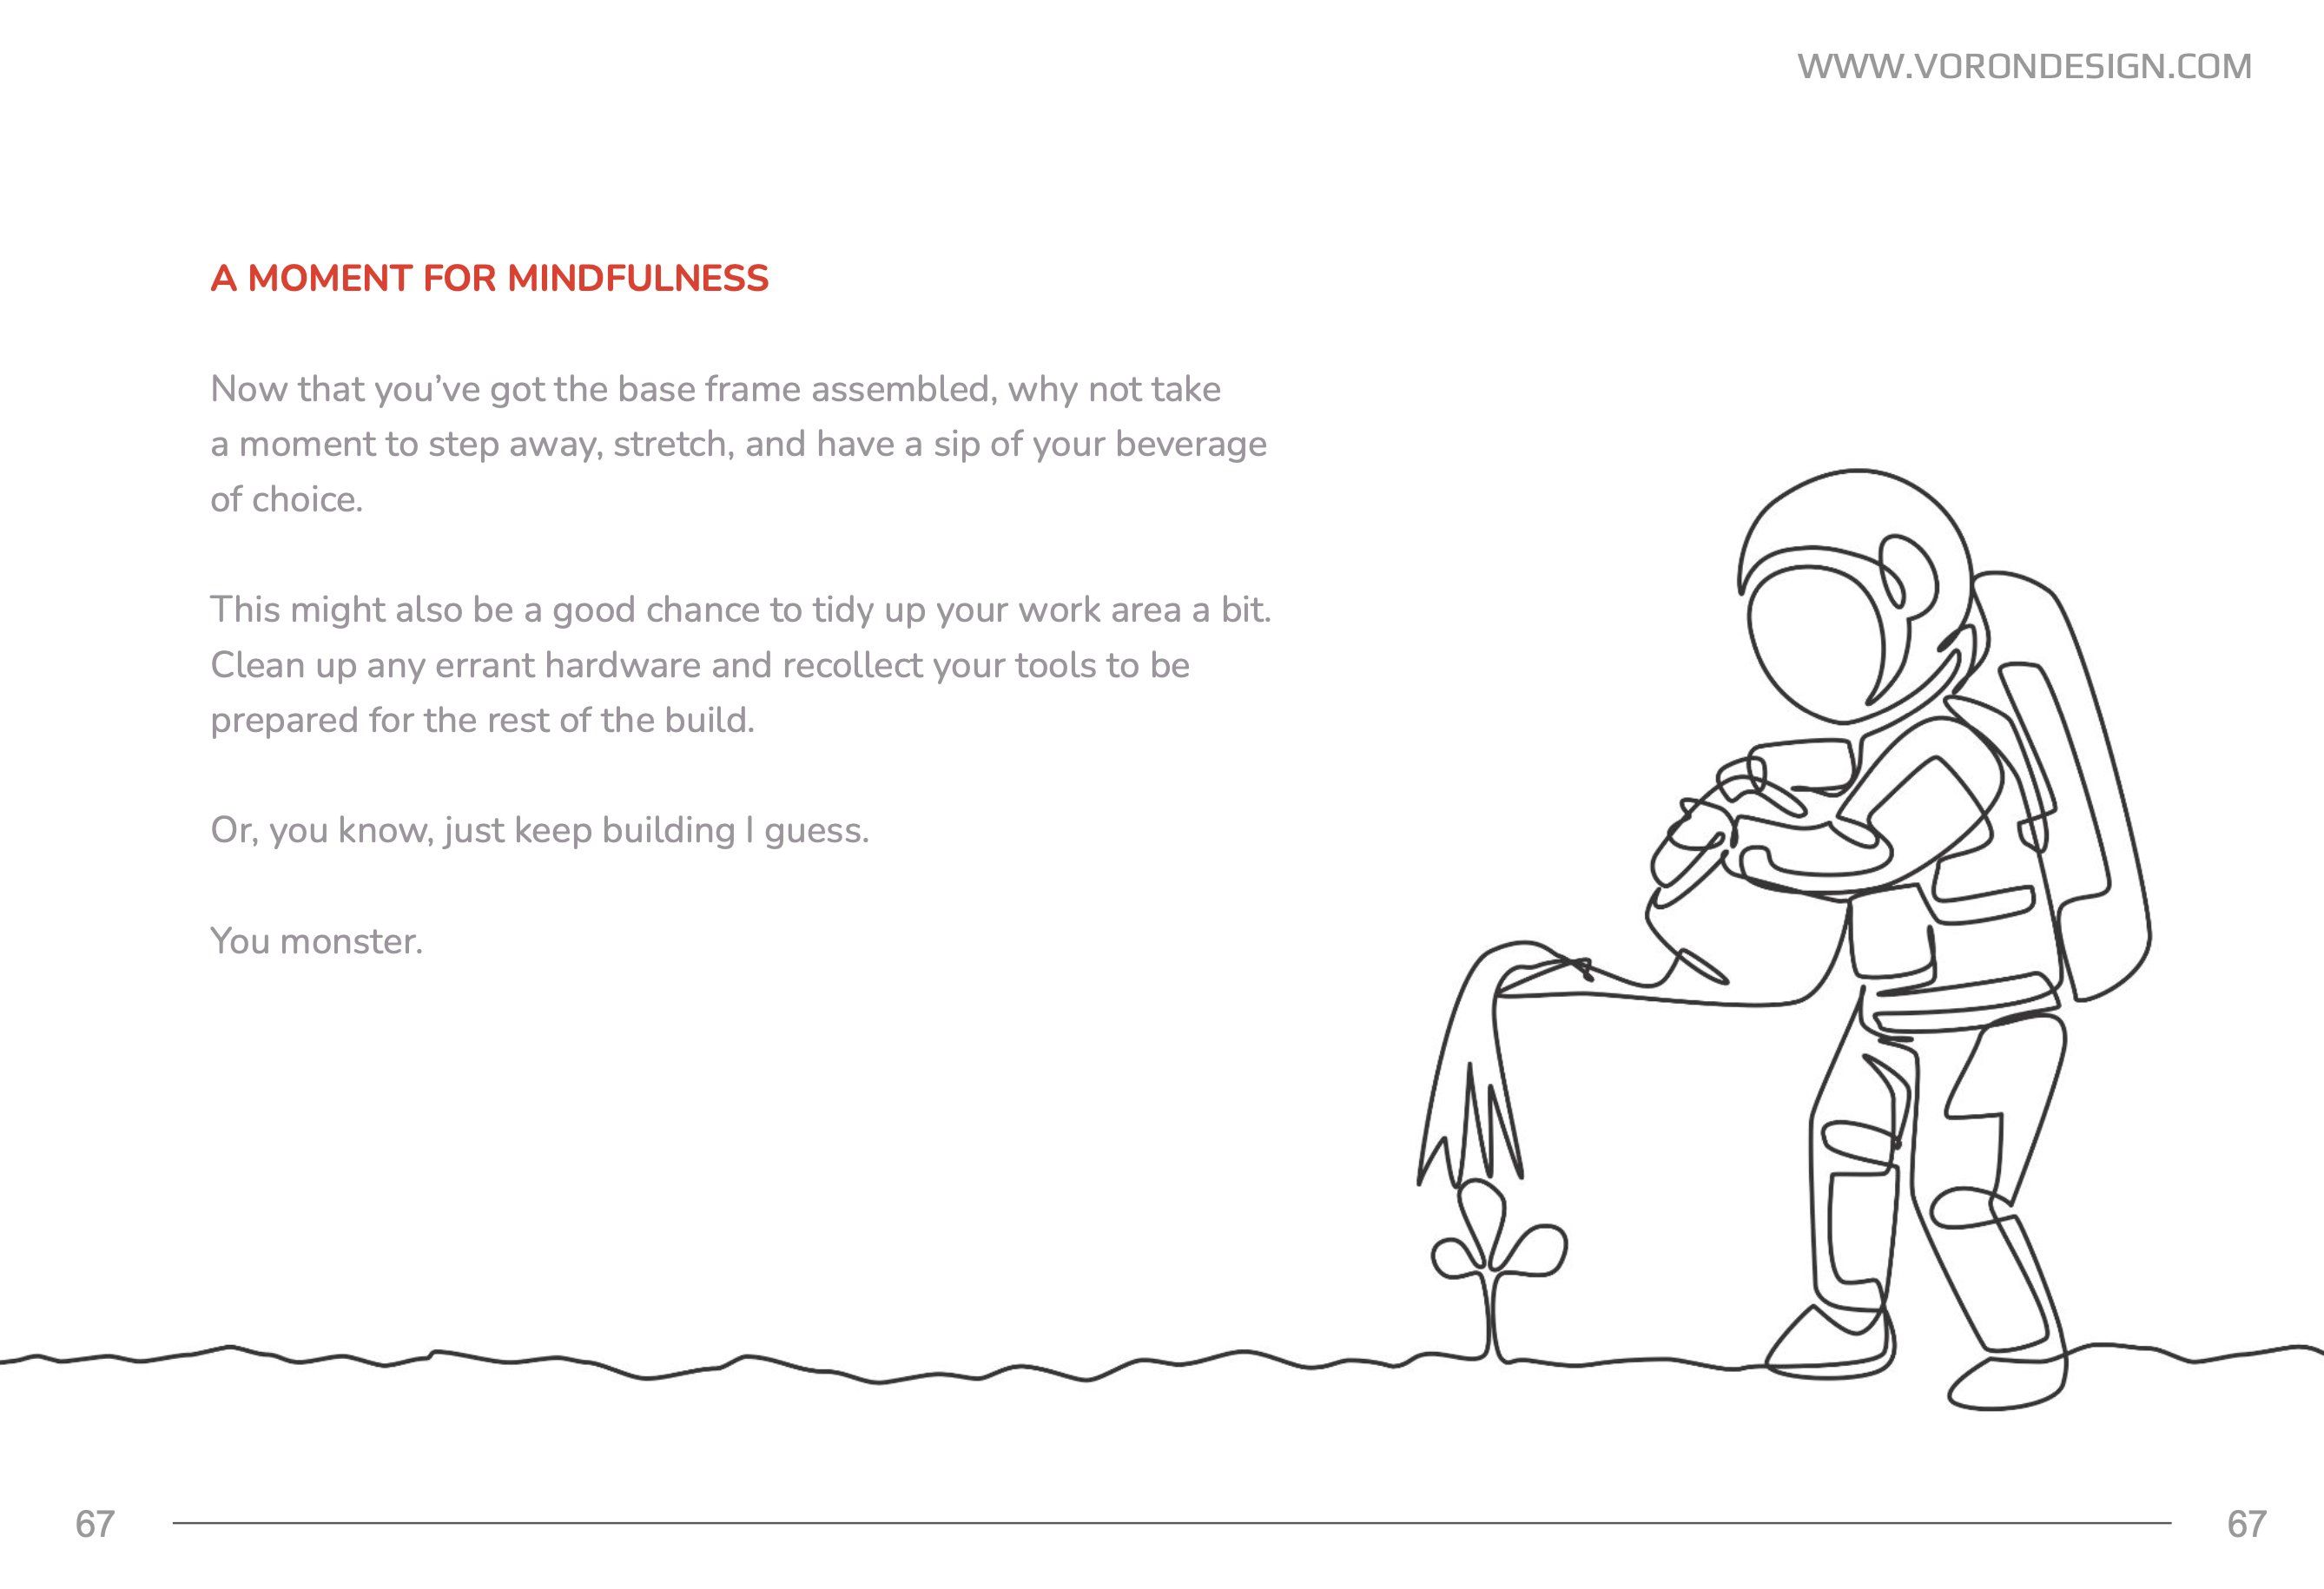
Frame is assembled– now I take "a moment for mindfulness" until tomorrow. 🙂
Day 4
Day four!
A & B Drives ⚙️ A/B Idlers and the feet are now attached!
But... I started on the Z-axis and realized I'm missing nuts in 2 different places (both on the same extrusion). 😭
Traced my problem back to 2 steps near the beginning.
Now I've gotta figure out how to reverse. 😅
I disassembled the entire frame so I could place/preload the 4 missing nuts.
Re-trammed the z-axis— I can officially start to reassemble it all!
That was a bummer of a mistake. 😅
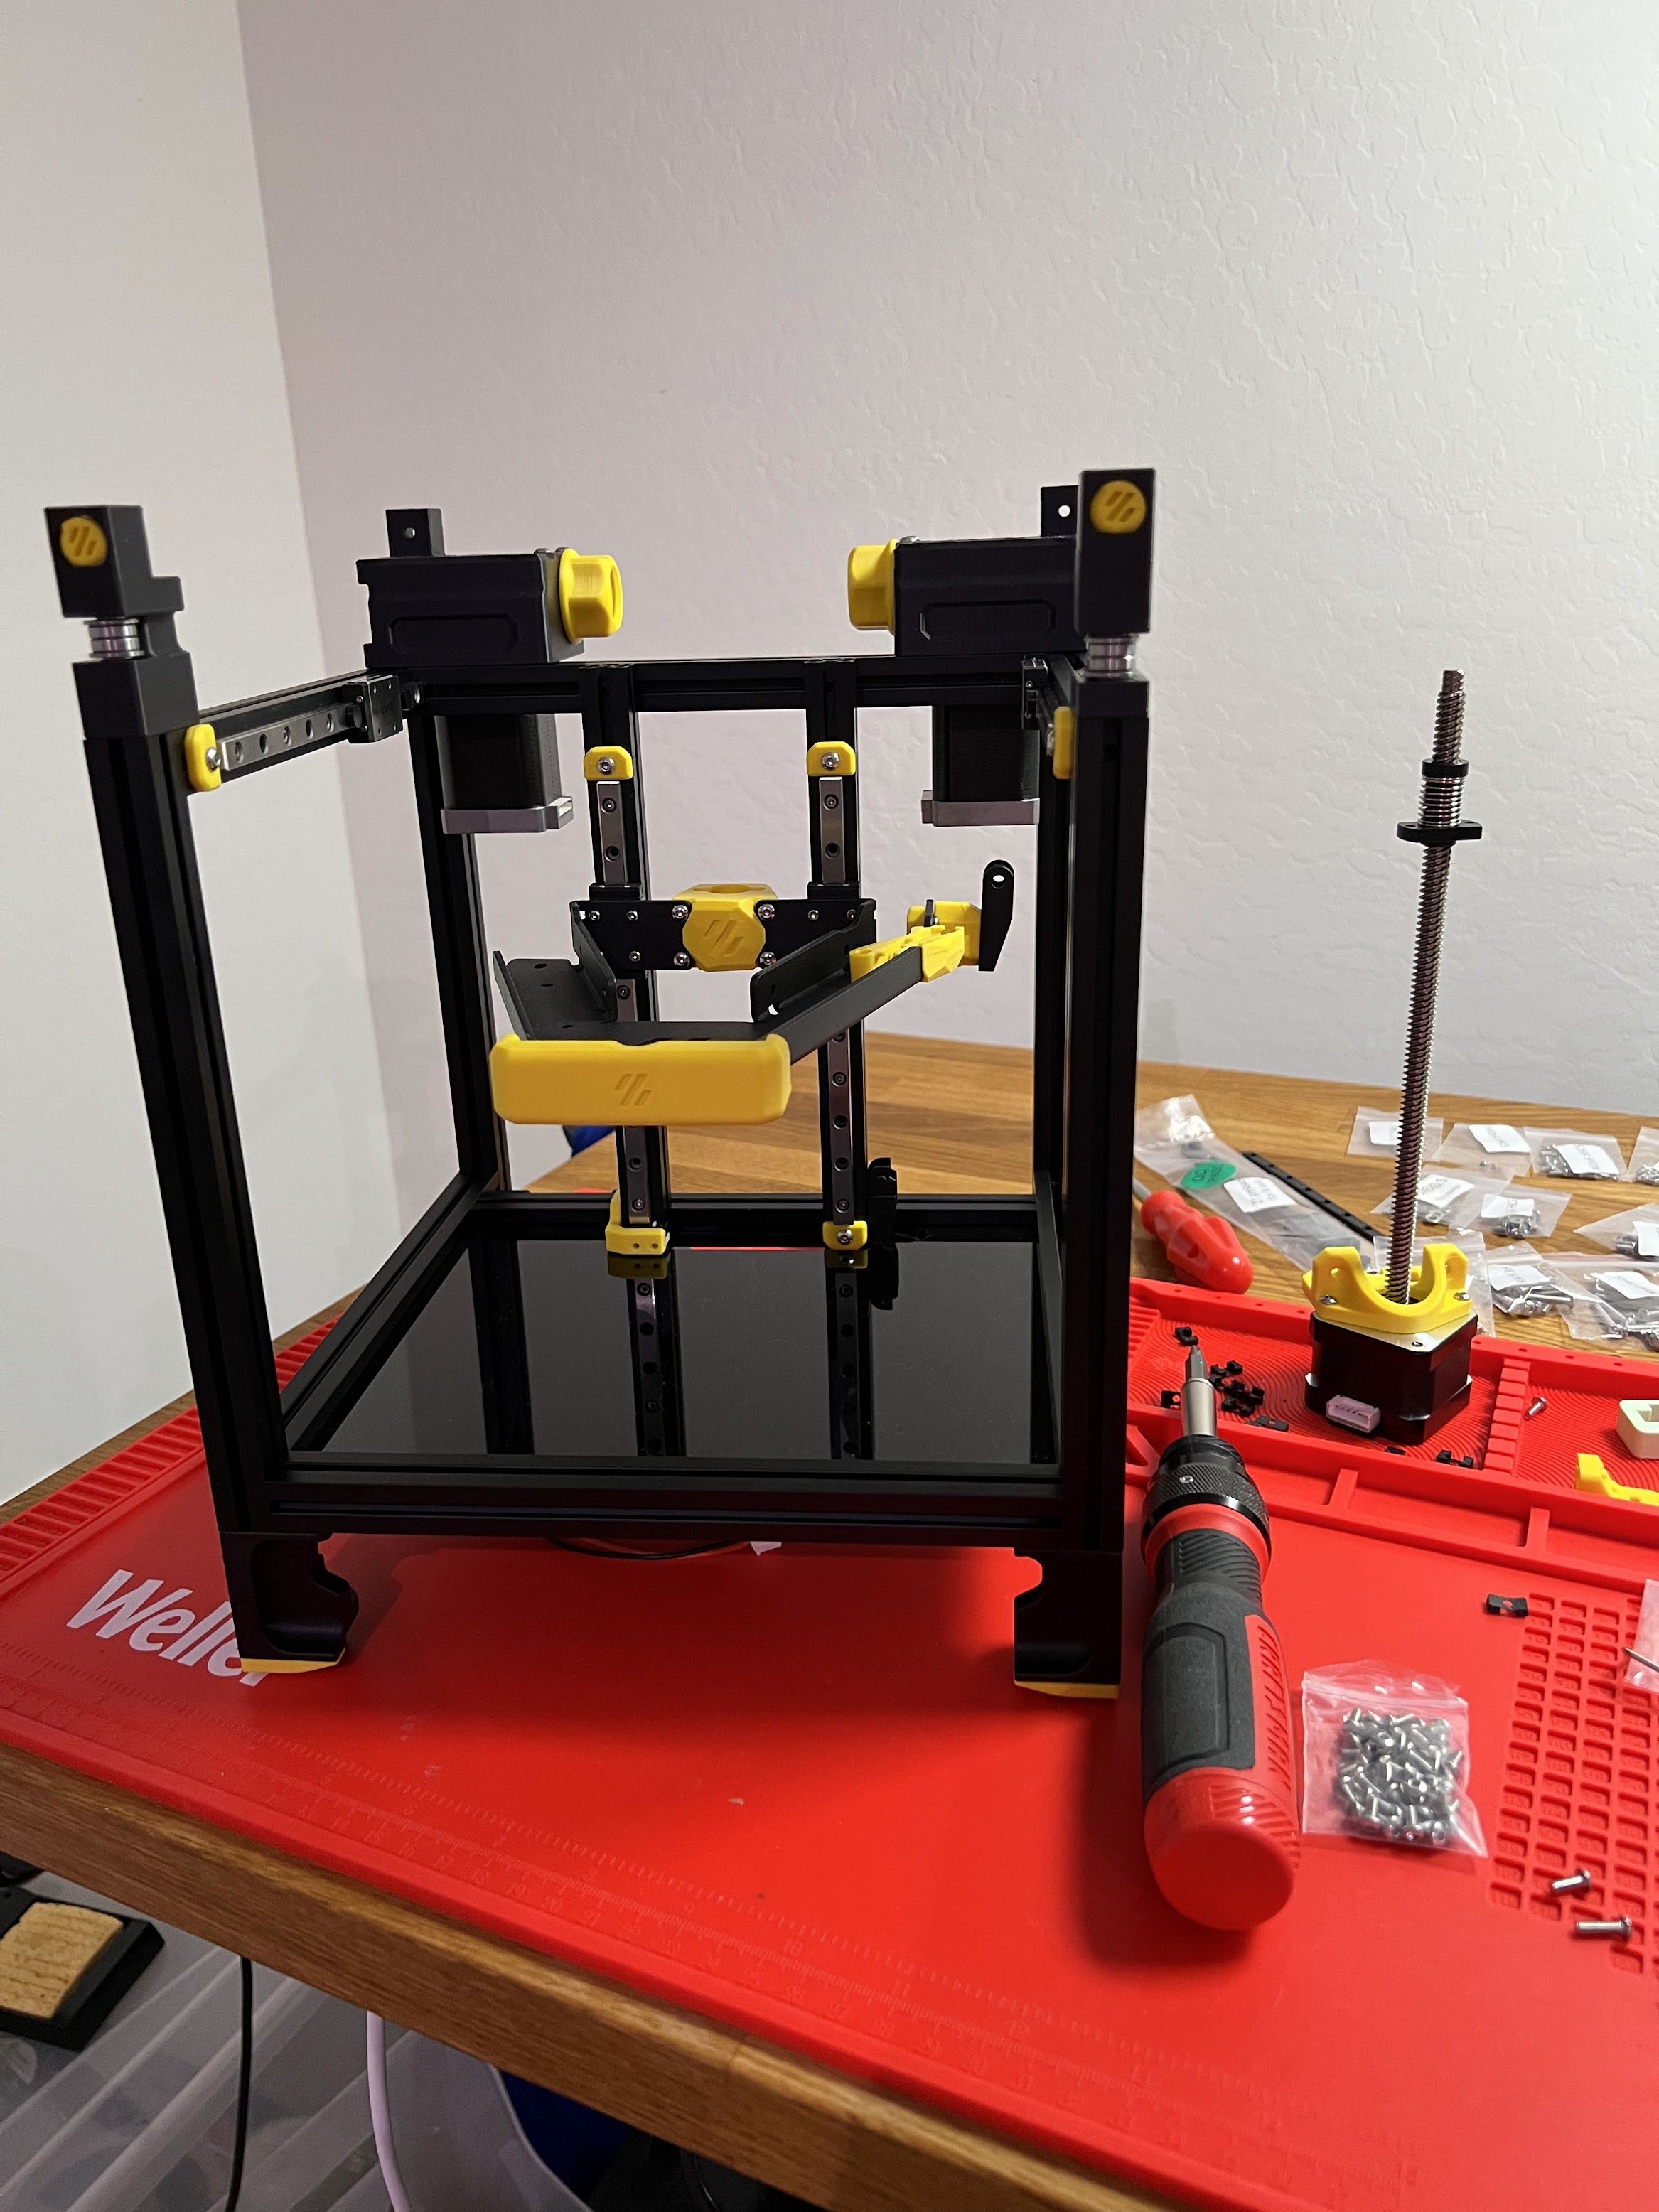
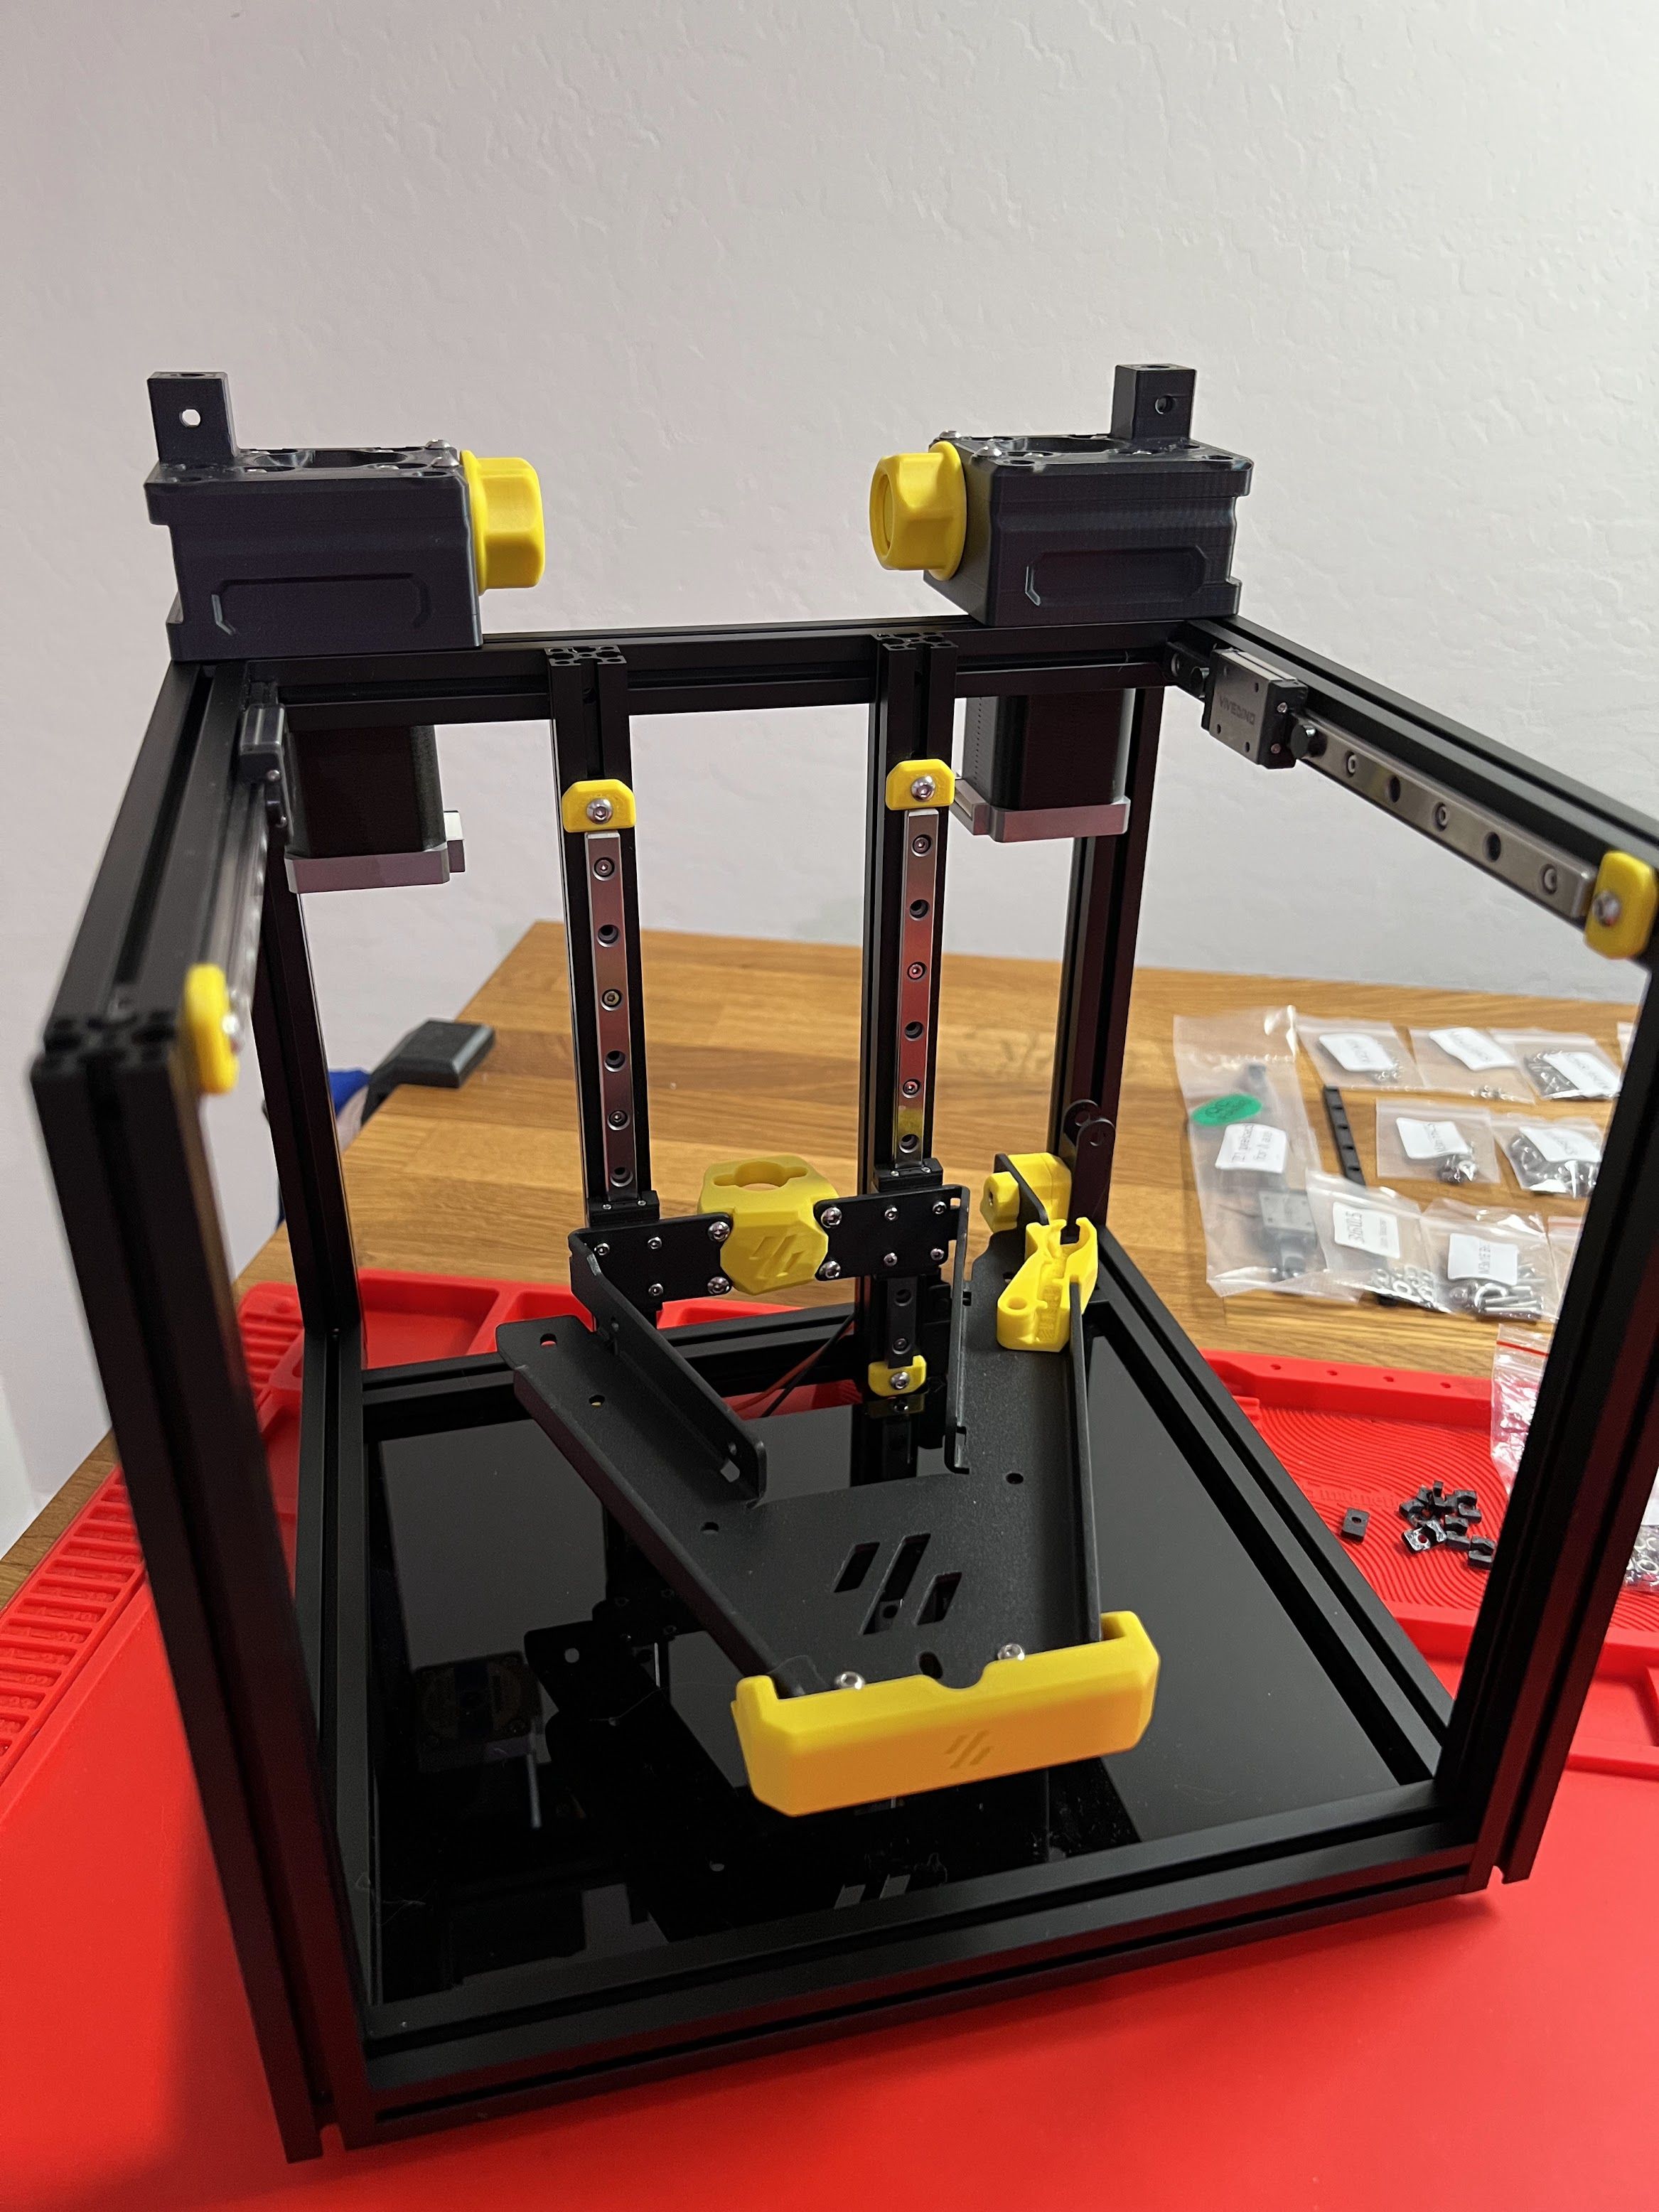
View this post on 𝕏 View this post on 𝕏 View this post on 𝕏
Day 5
Day five!
Reassembled everything, triple checking nuts along the way. 🔩
Made it to the z-axis again and got the Z motor mounted.
Still enjoying every minute of this build! 😊
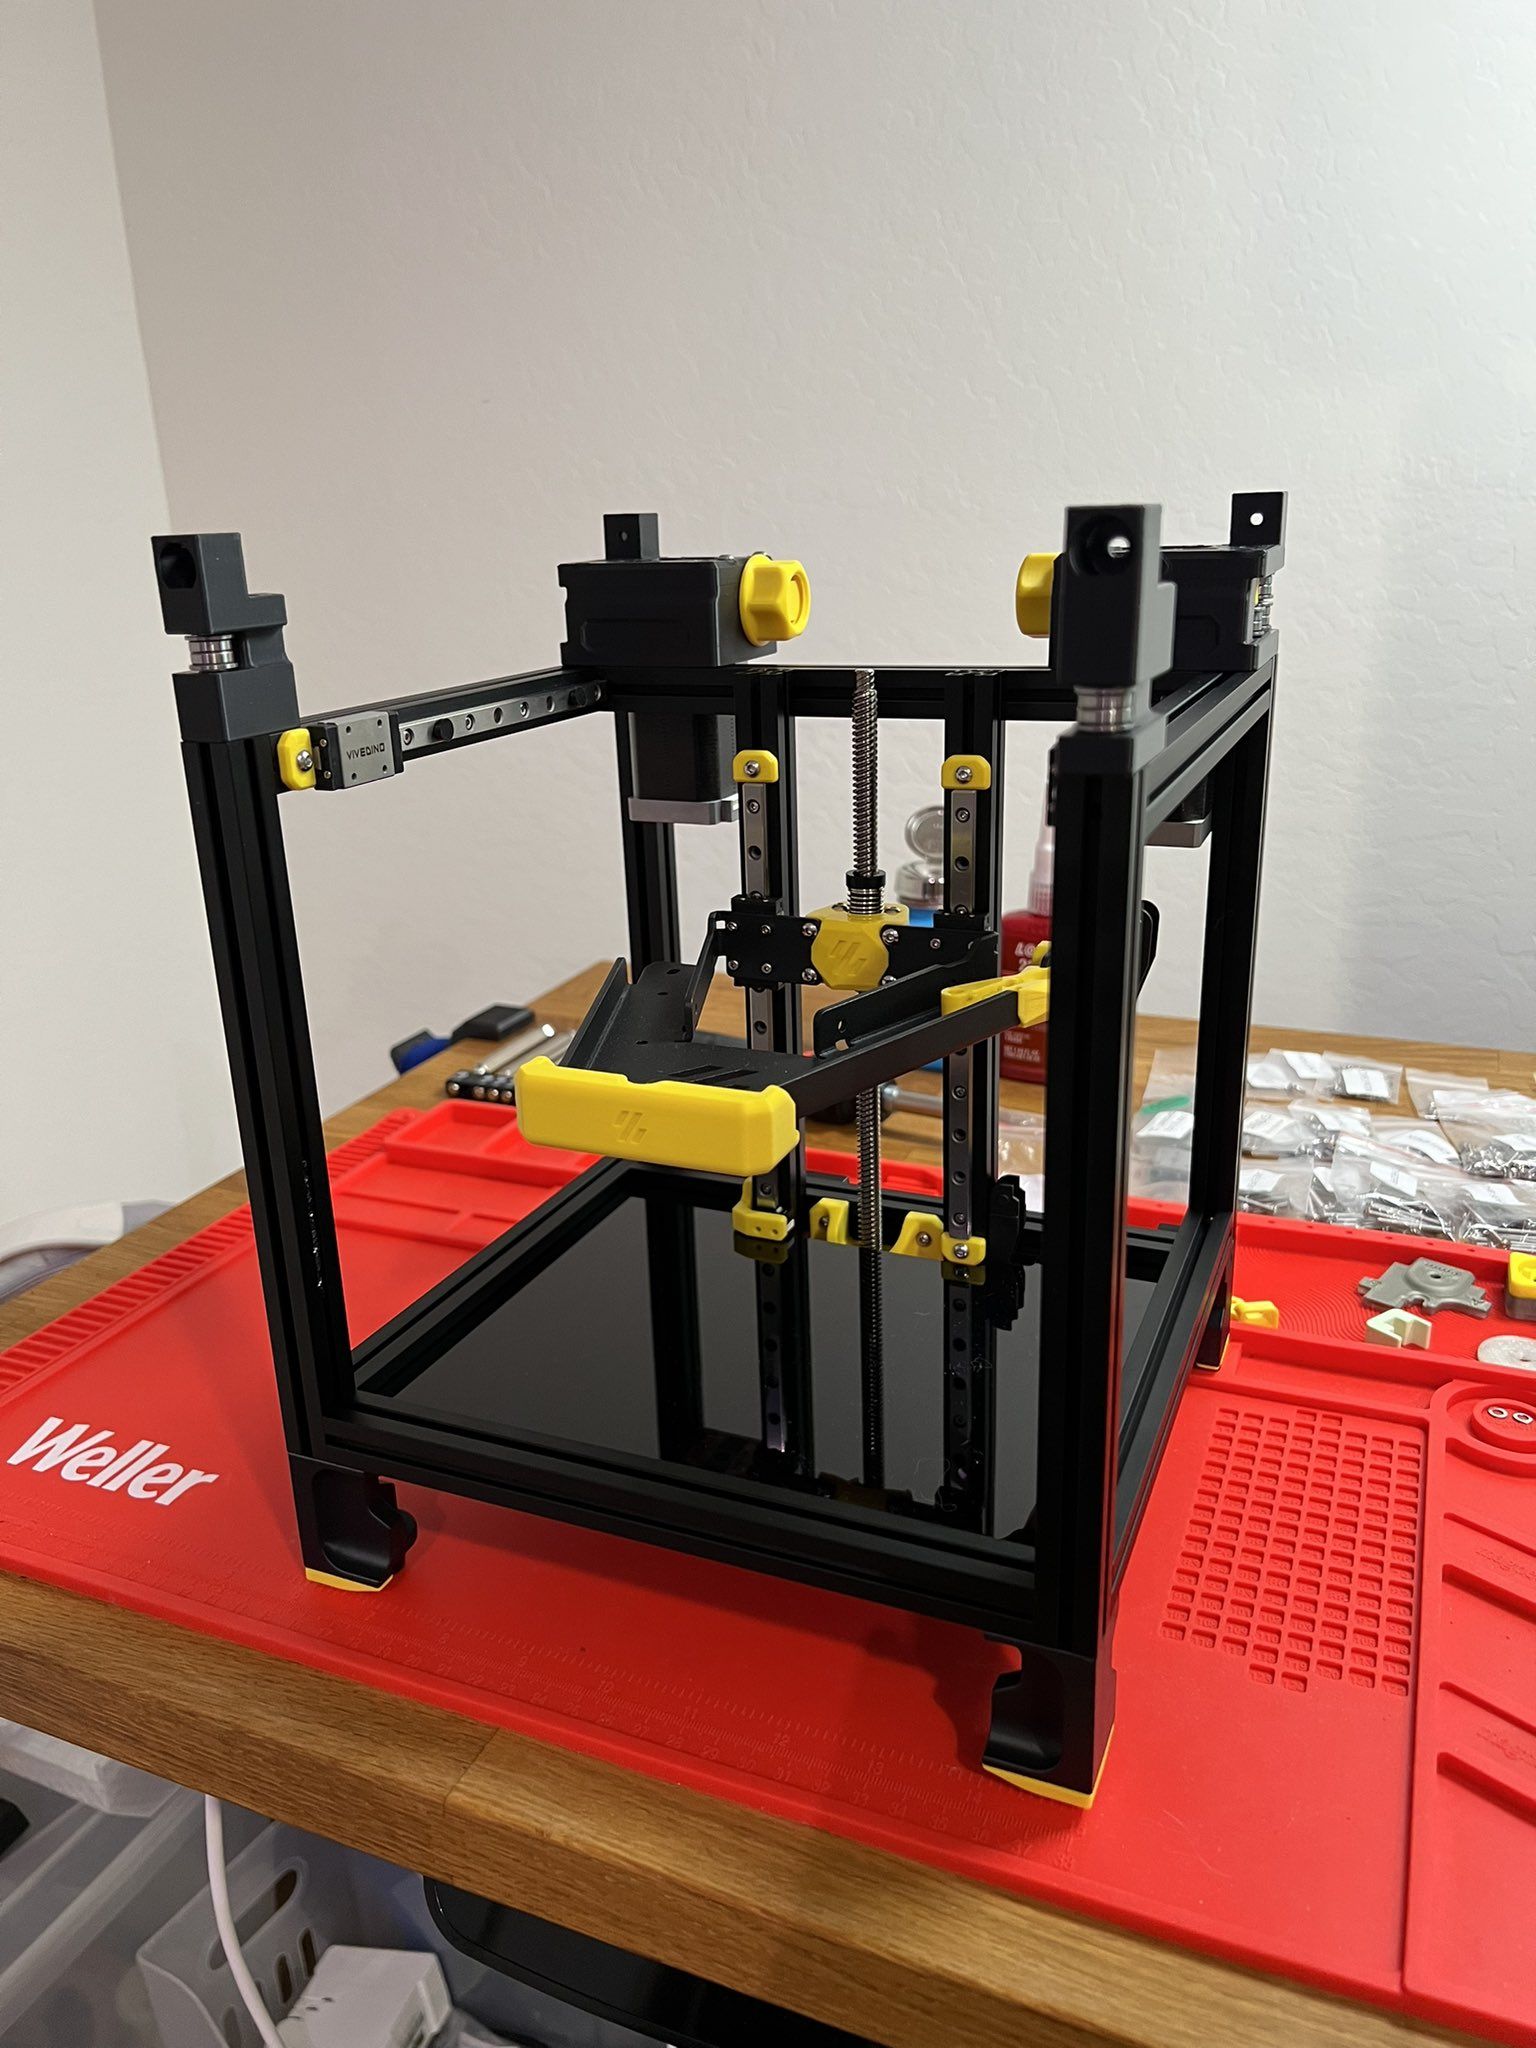
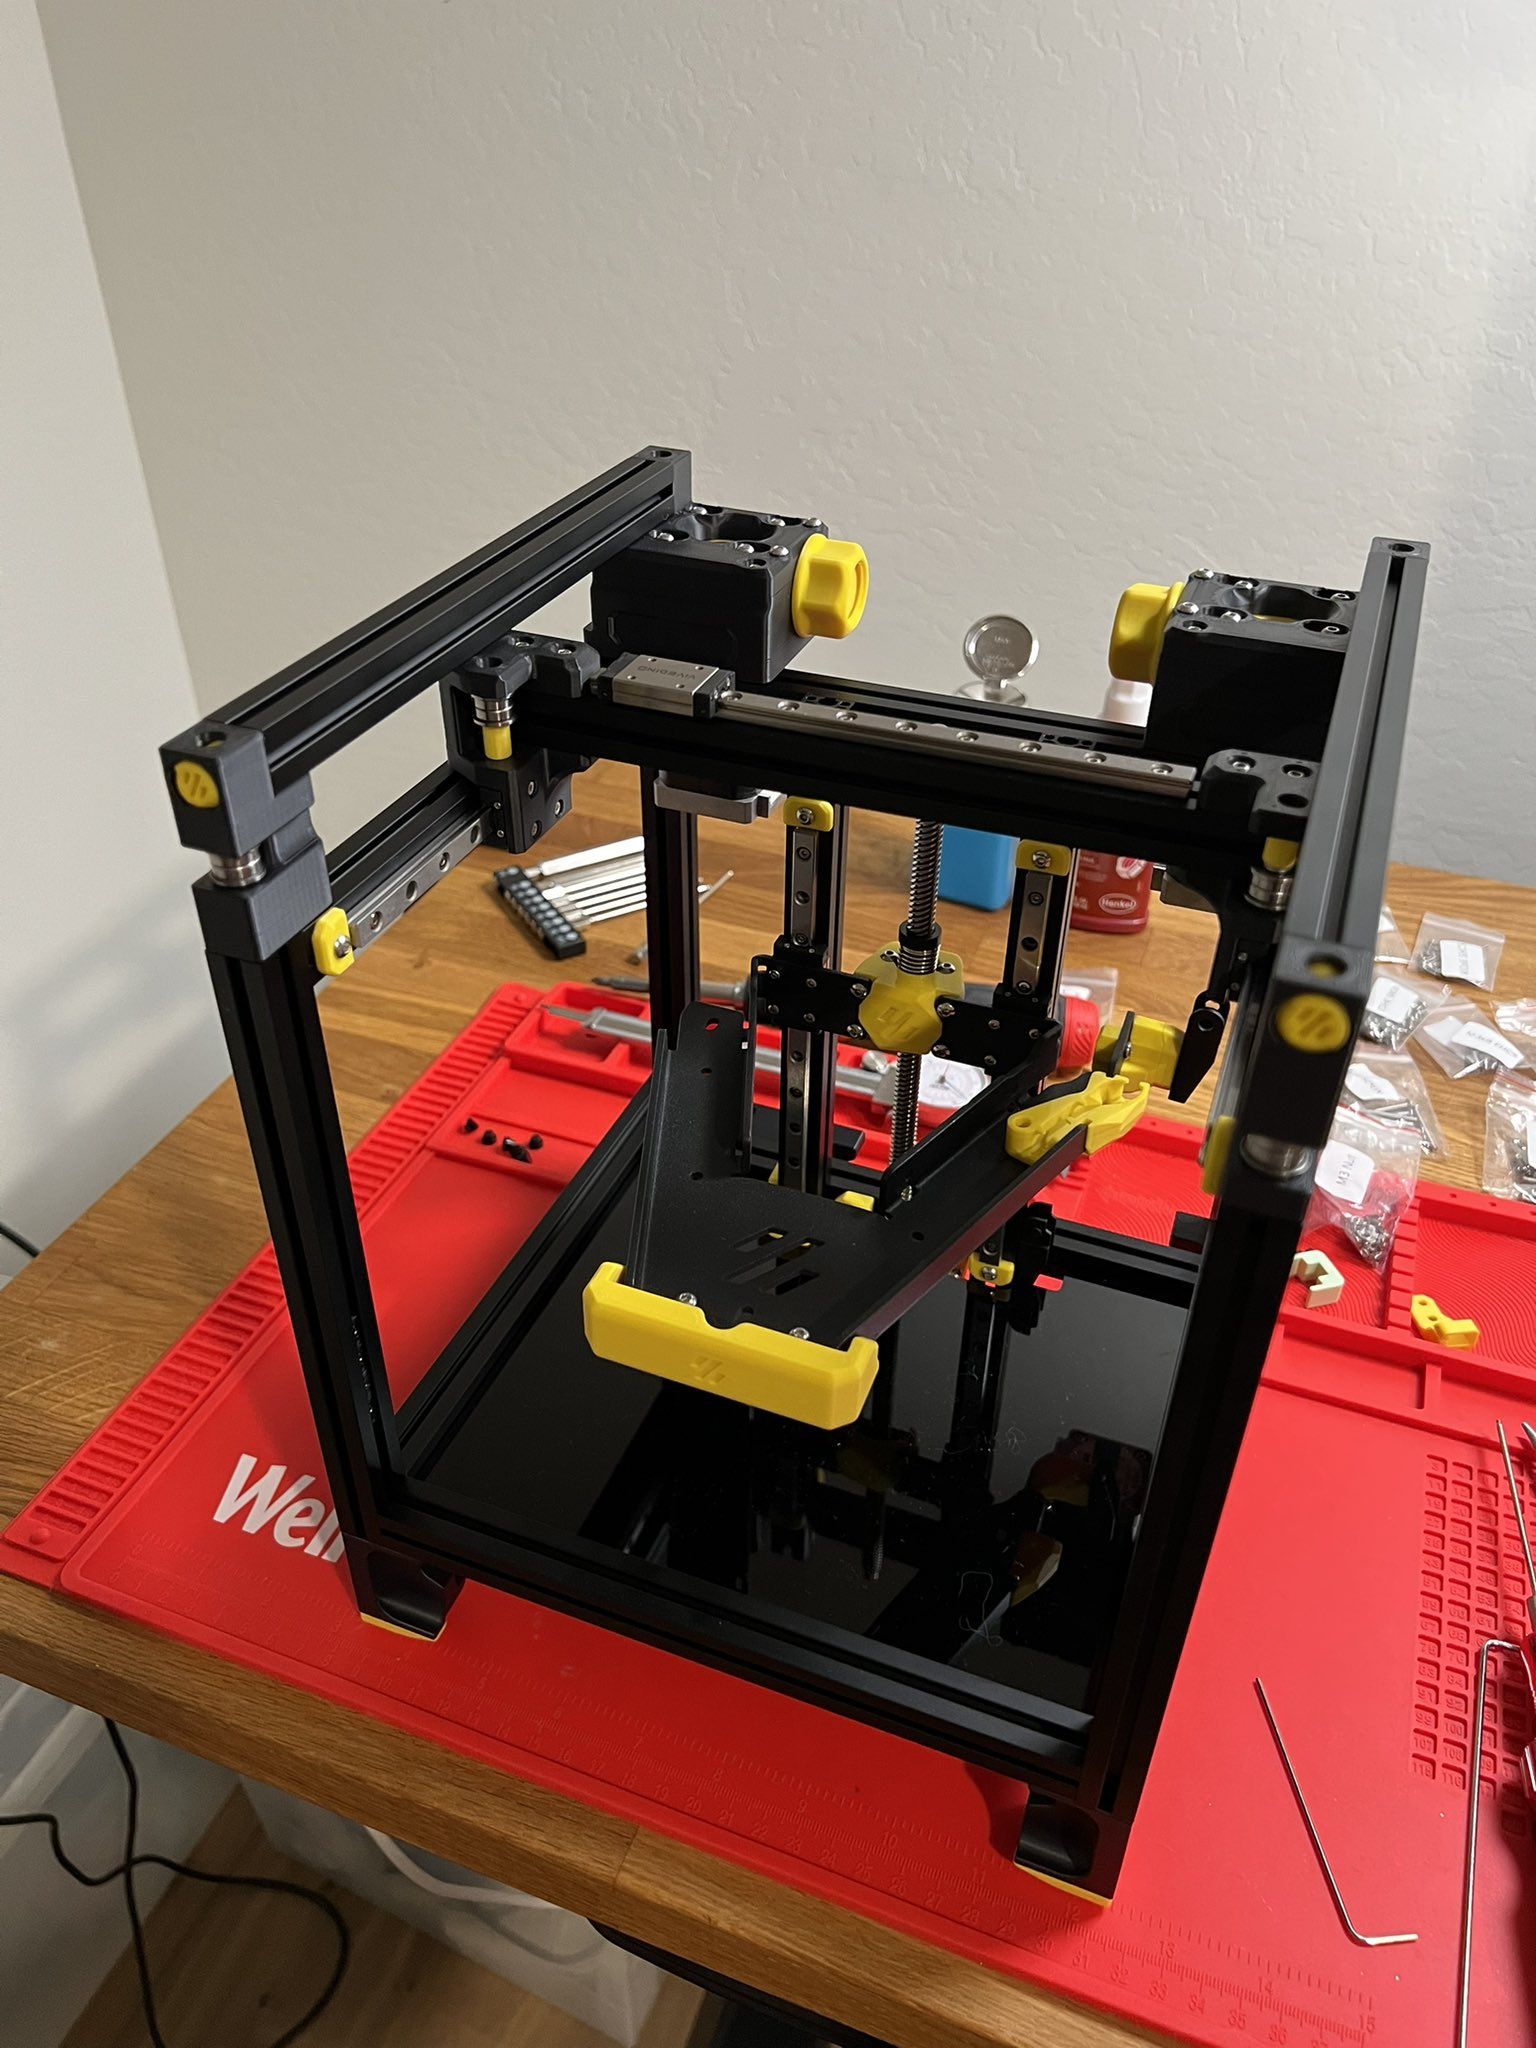
Finished the x-axis! 🙅♂️
Love the way this thing looks— the pictures don't adequately portray how tiny and how precise every little piece is.
View this post on 𝕏 View this post on 𝕏
Day 6
Day six!
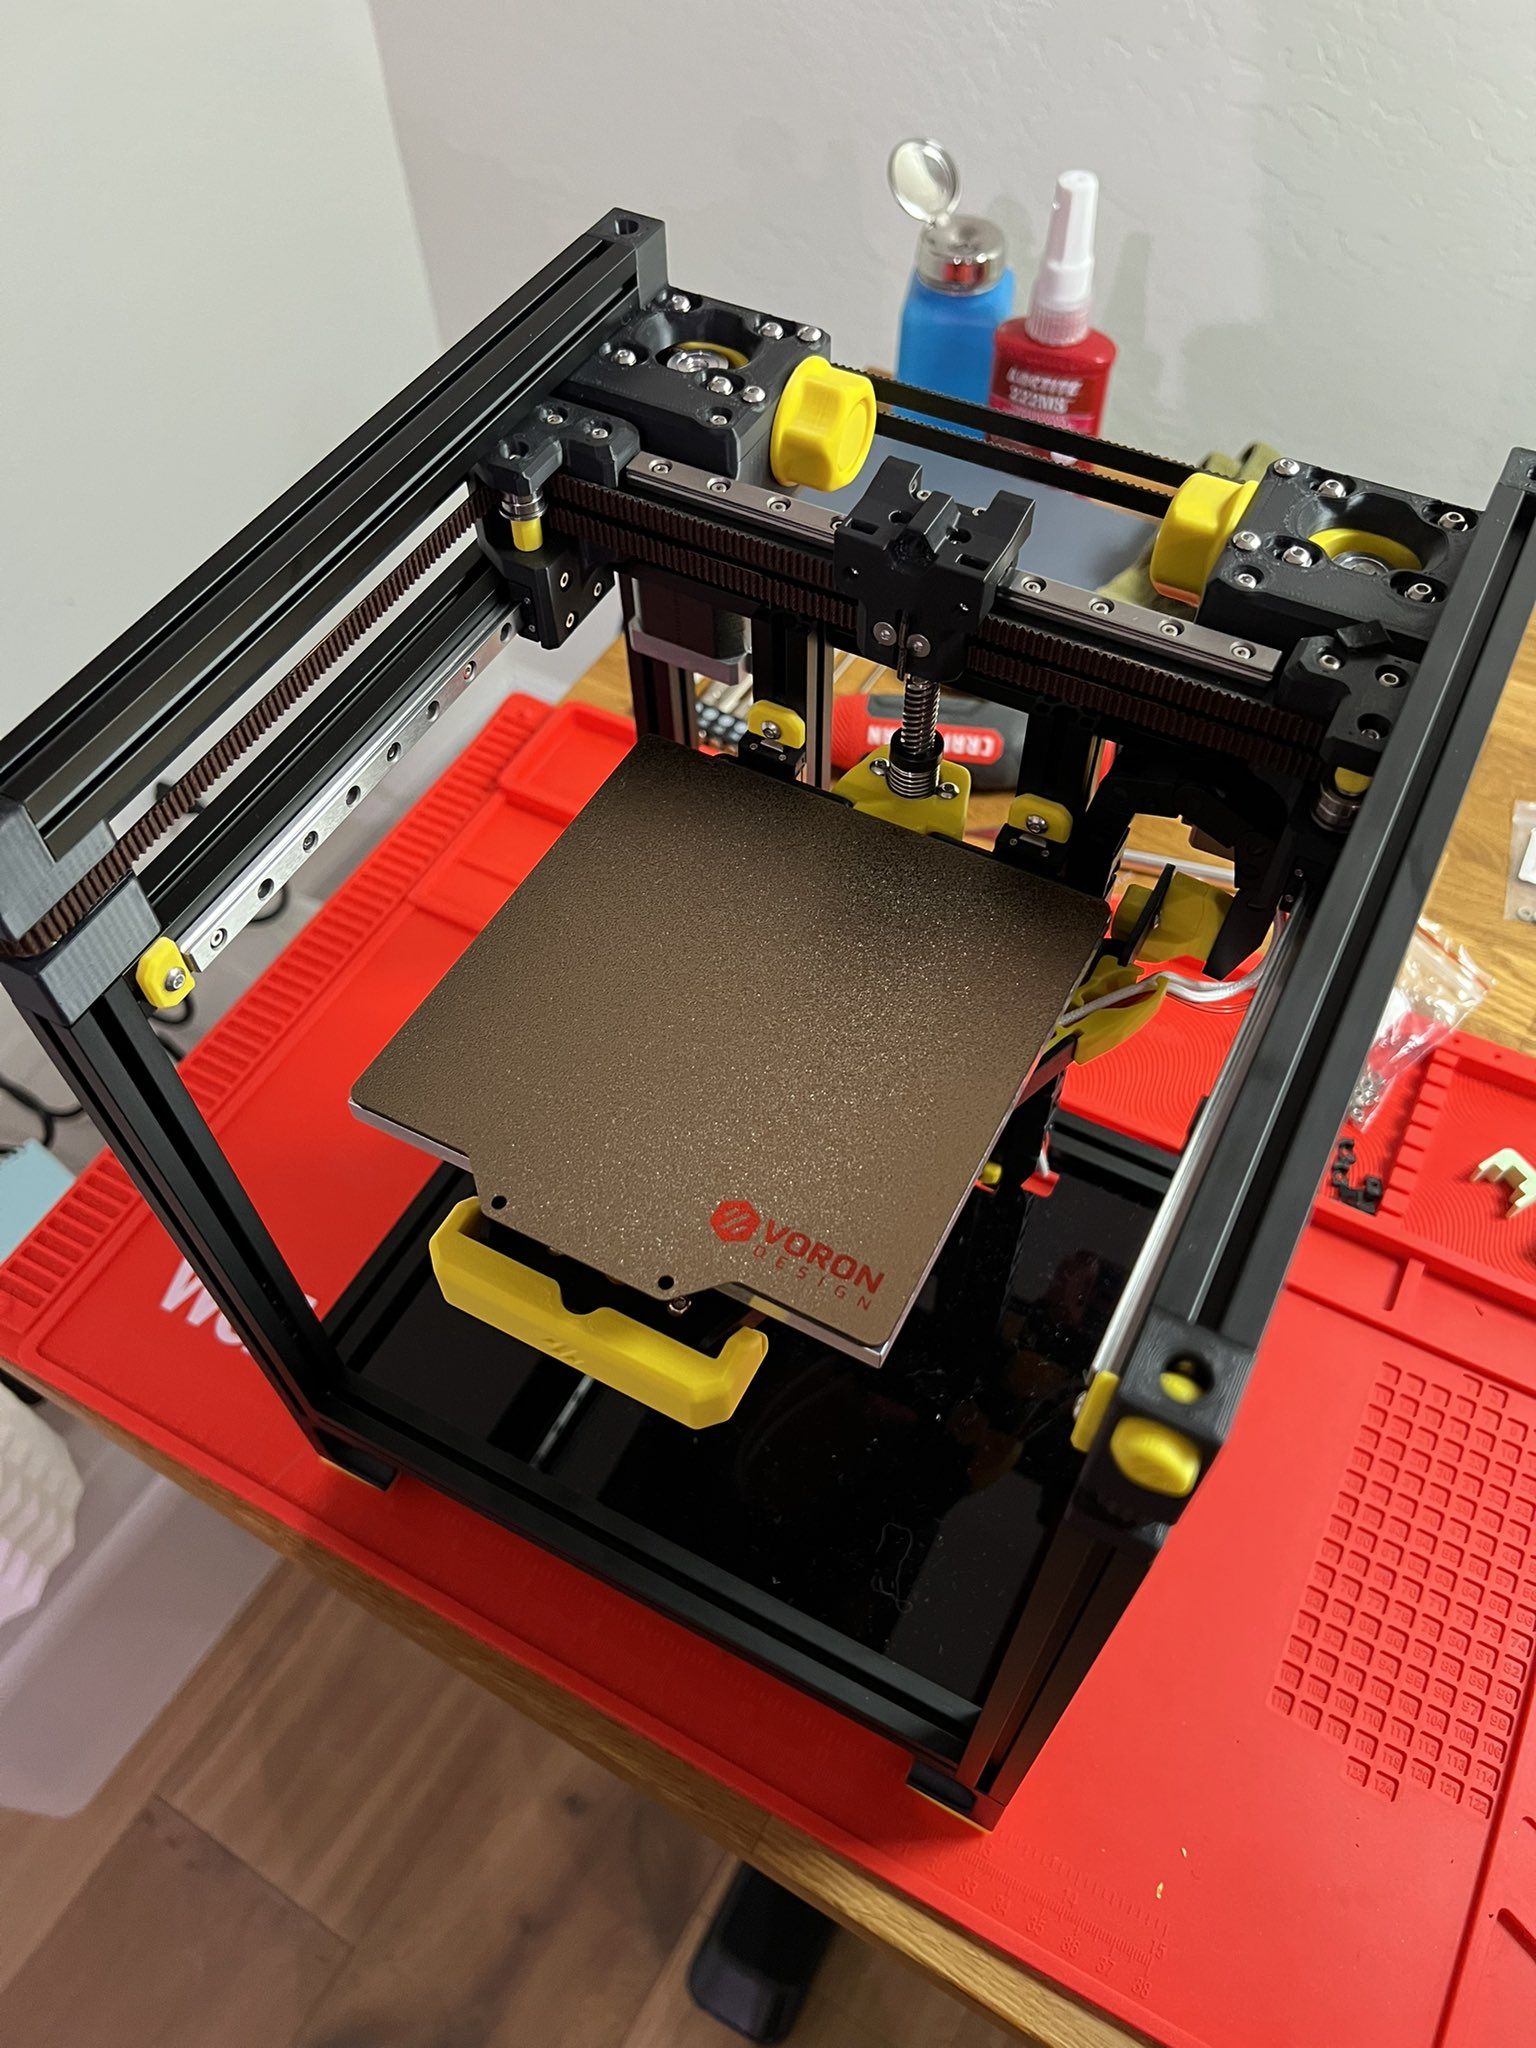
Belts are added and tensioned— bed is attached and heater wires are passed through the chain.
Time to play Diablo 4! 😈
Day 7
Day seven!
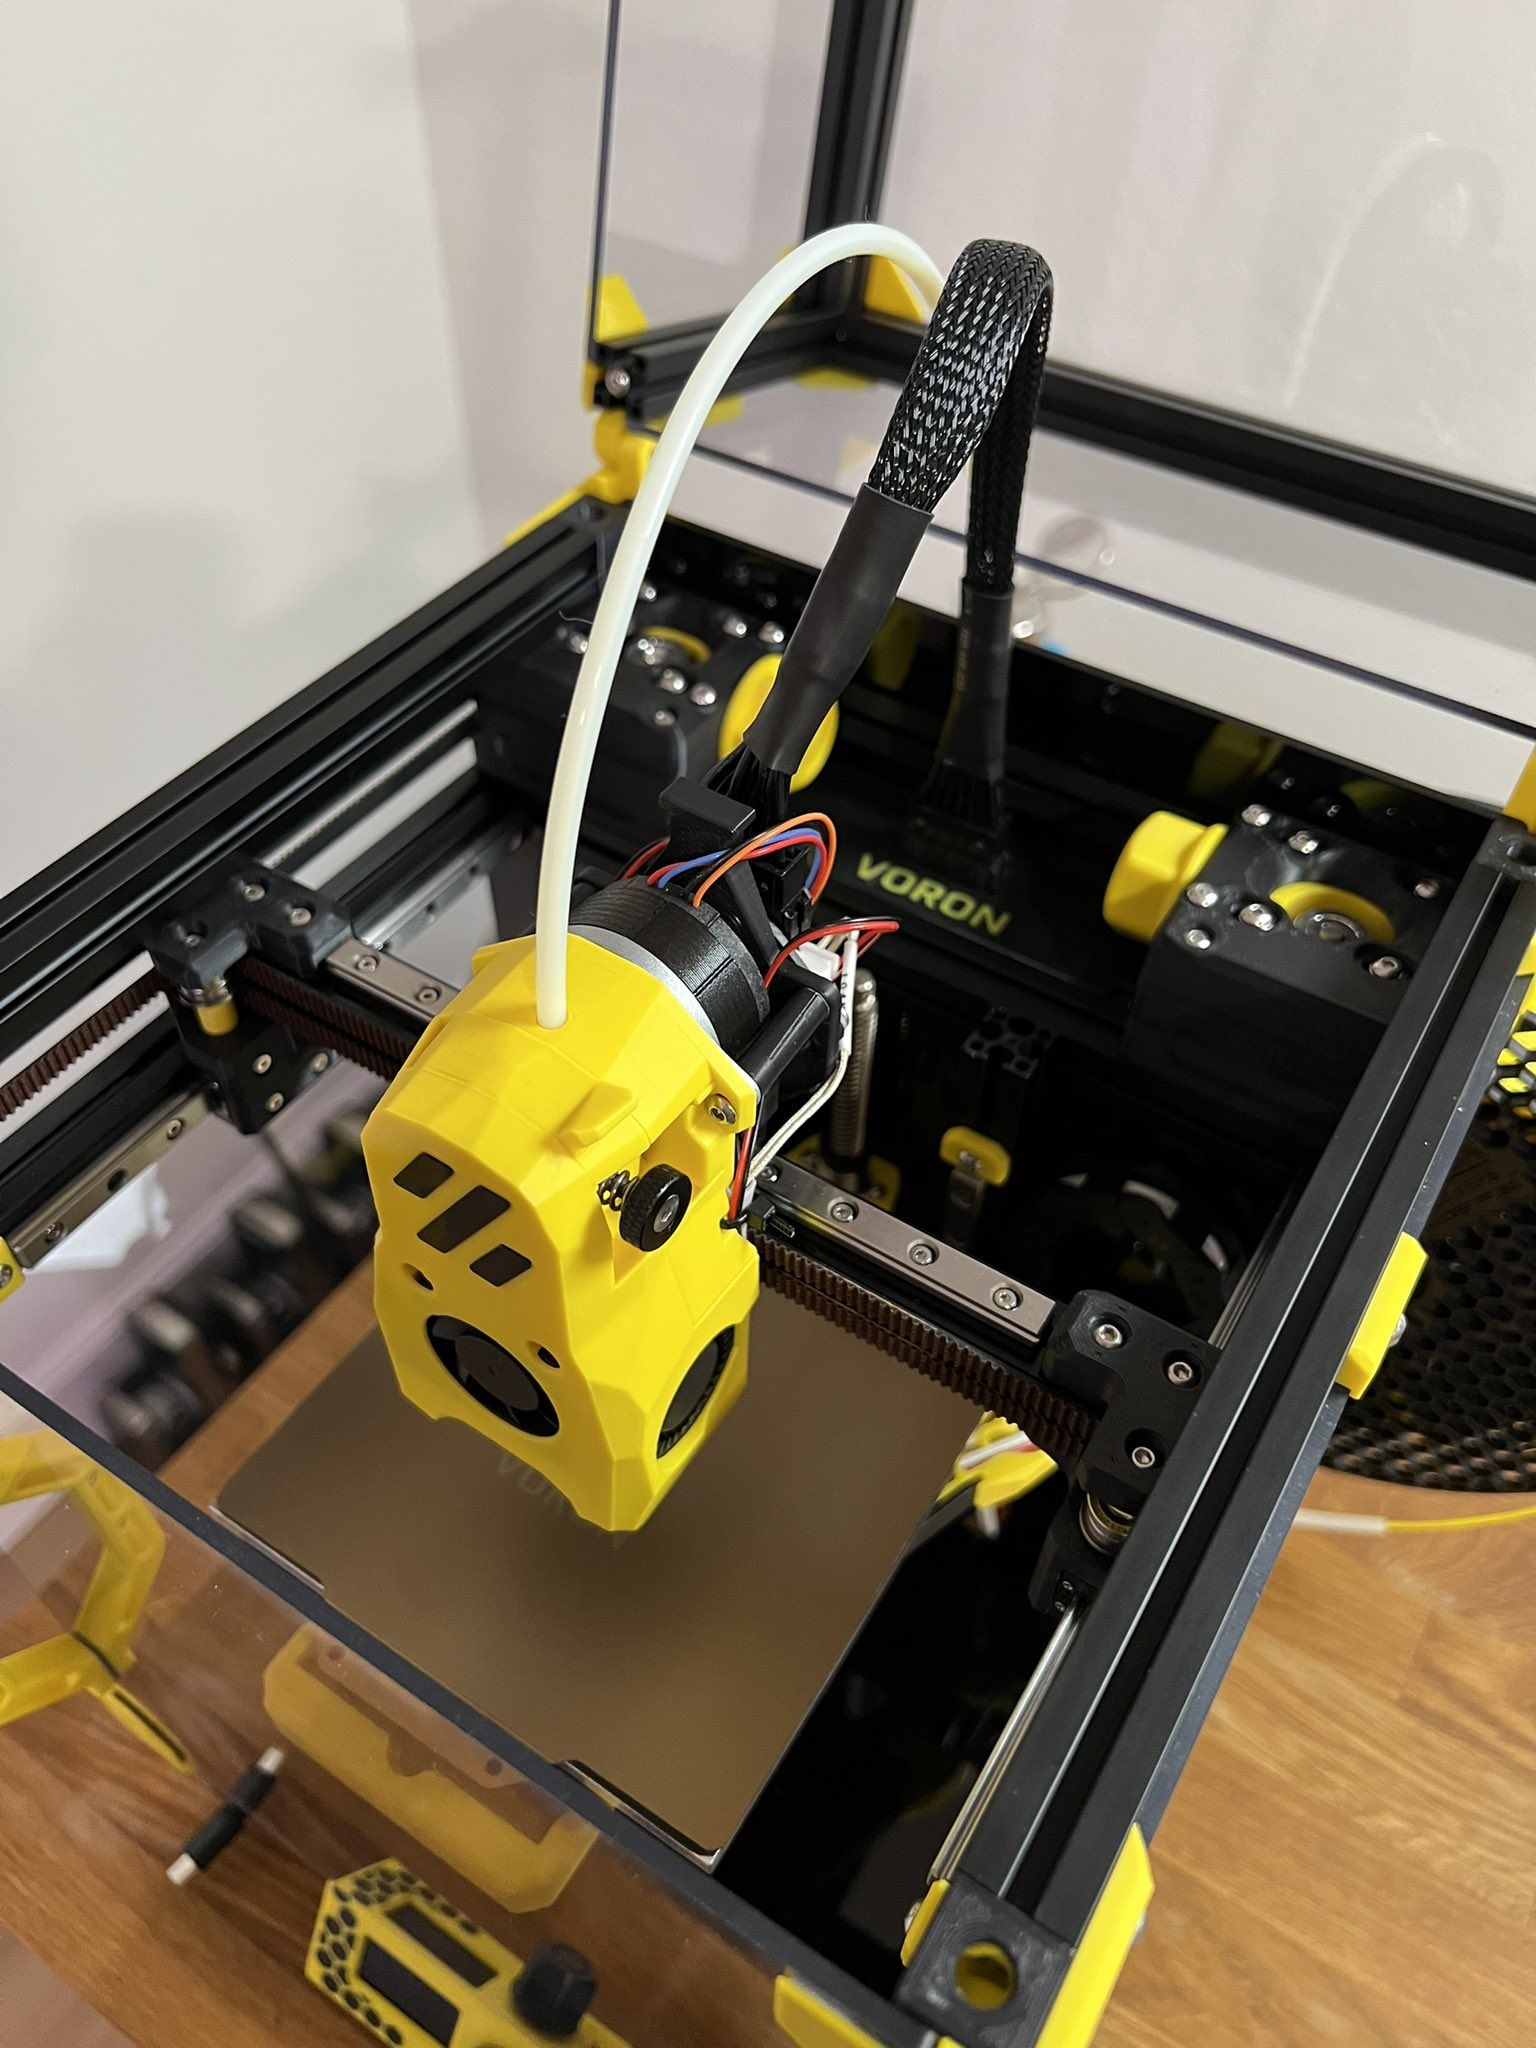
Assembled the print head! Took a bit of patience but the @Voron_Design Mini Stealthburner looks awesome. 😎
Only concerning thing is the hotend wiring seems like a tight bend— can anyone confirm this is alright? (See second picture)
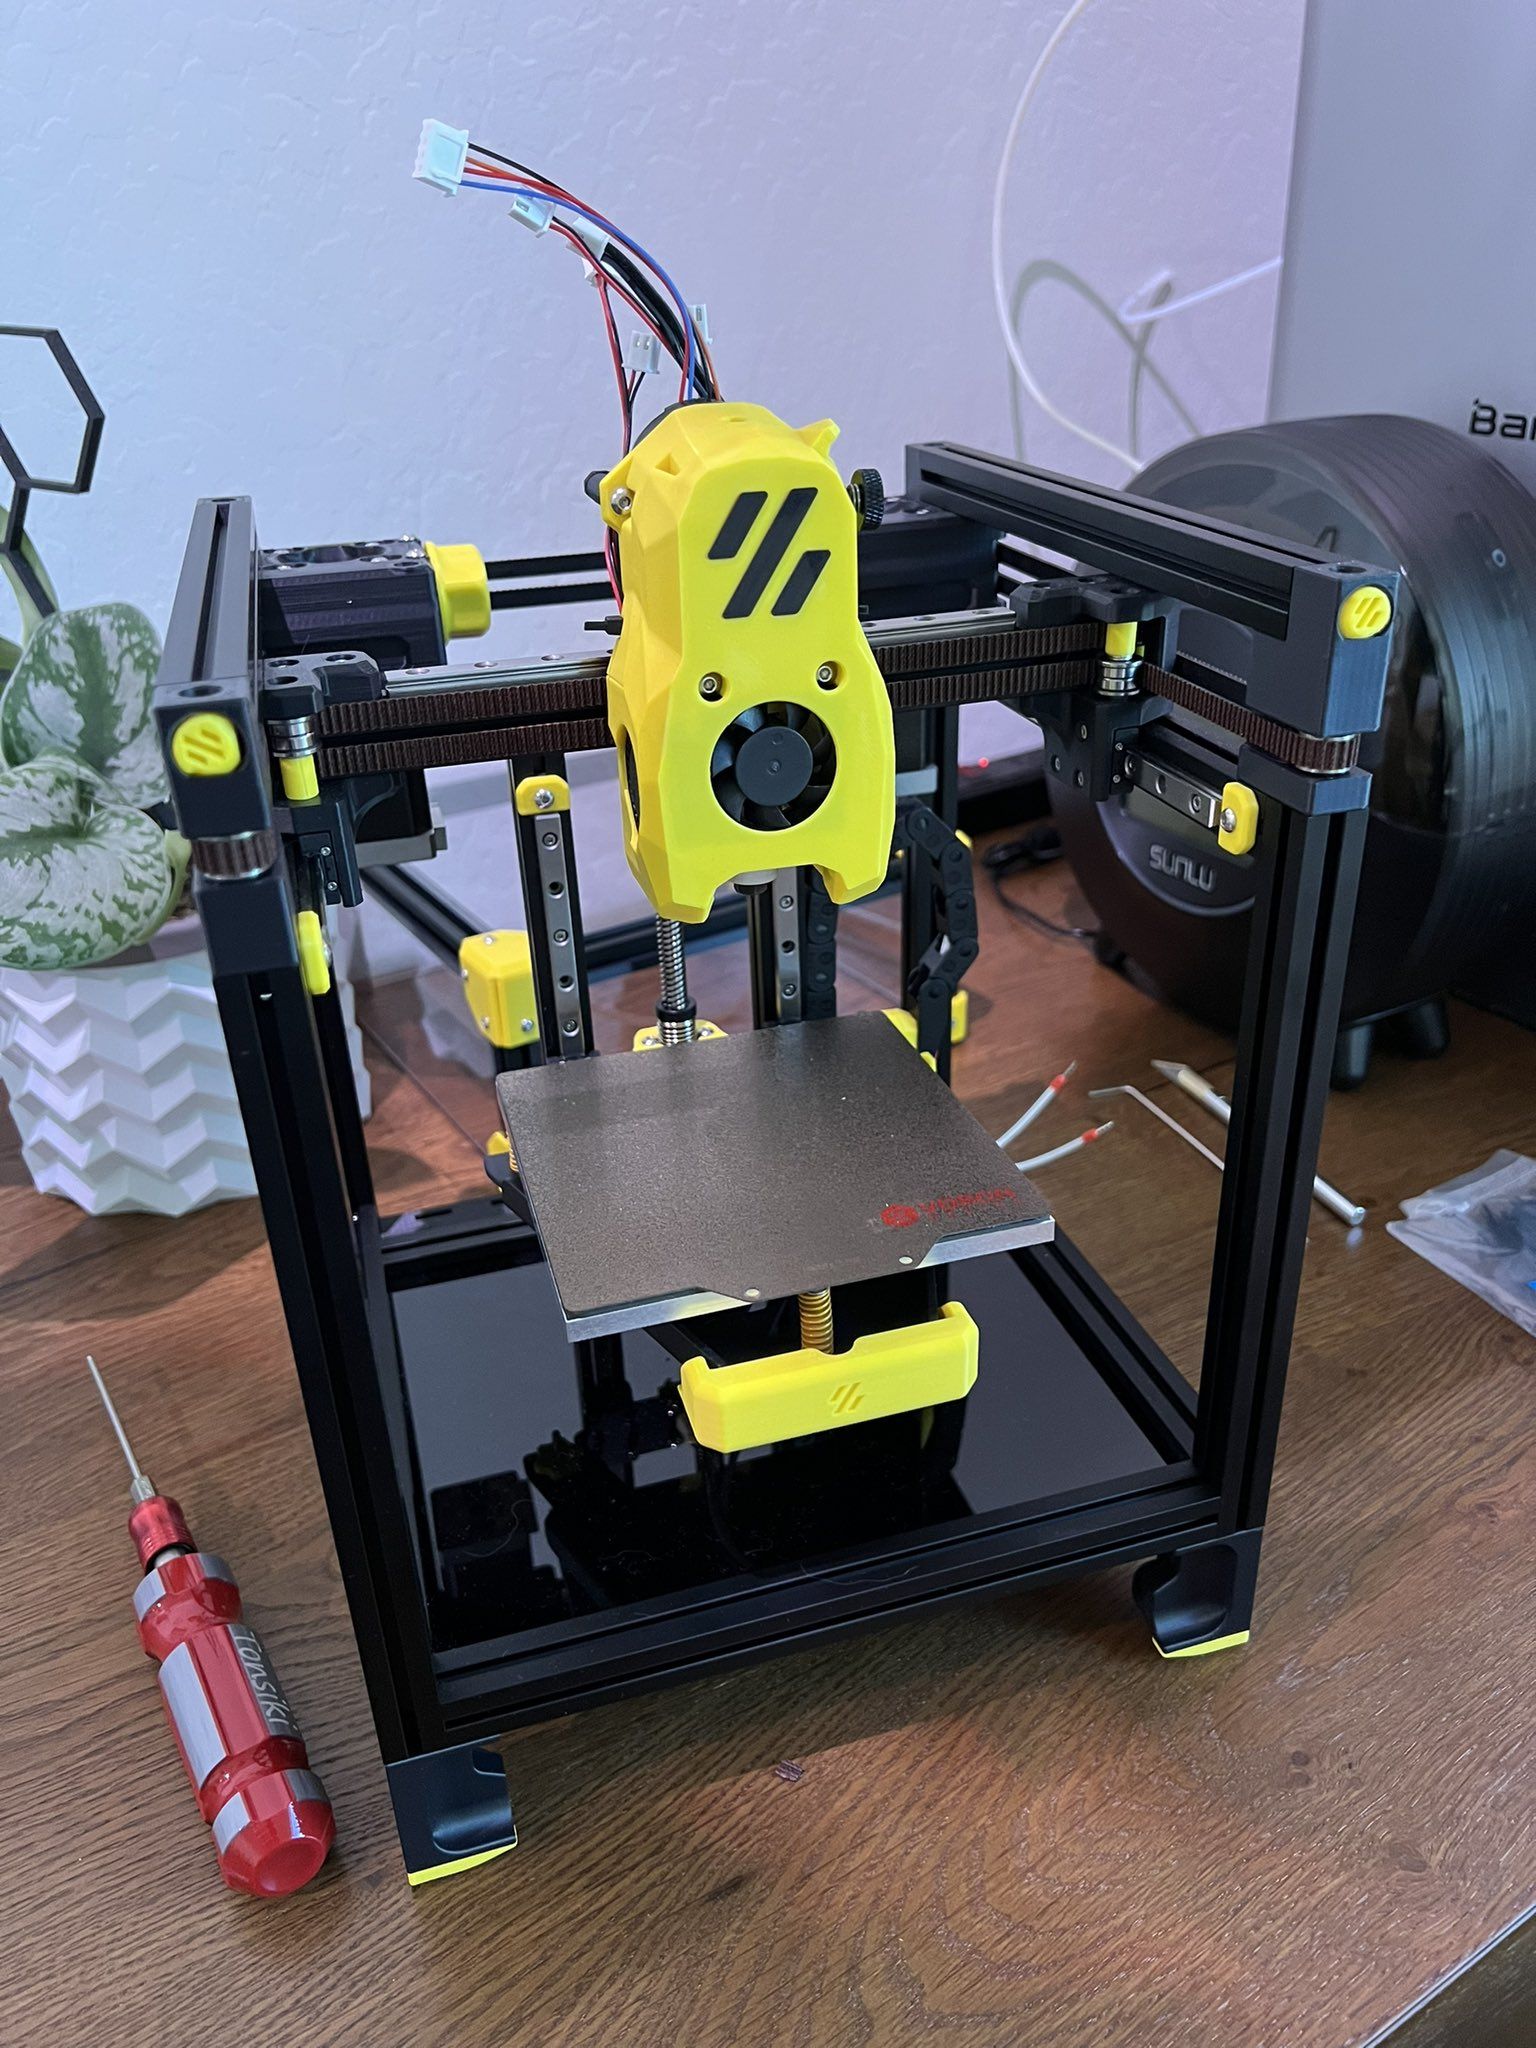
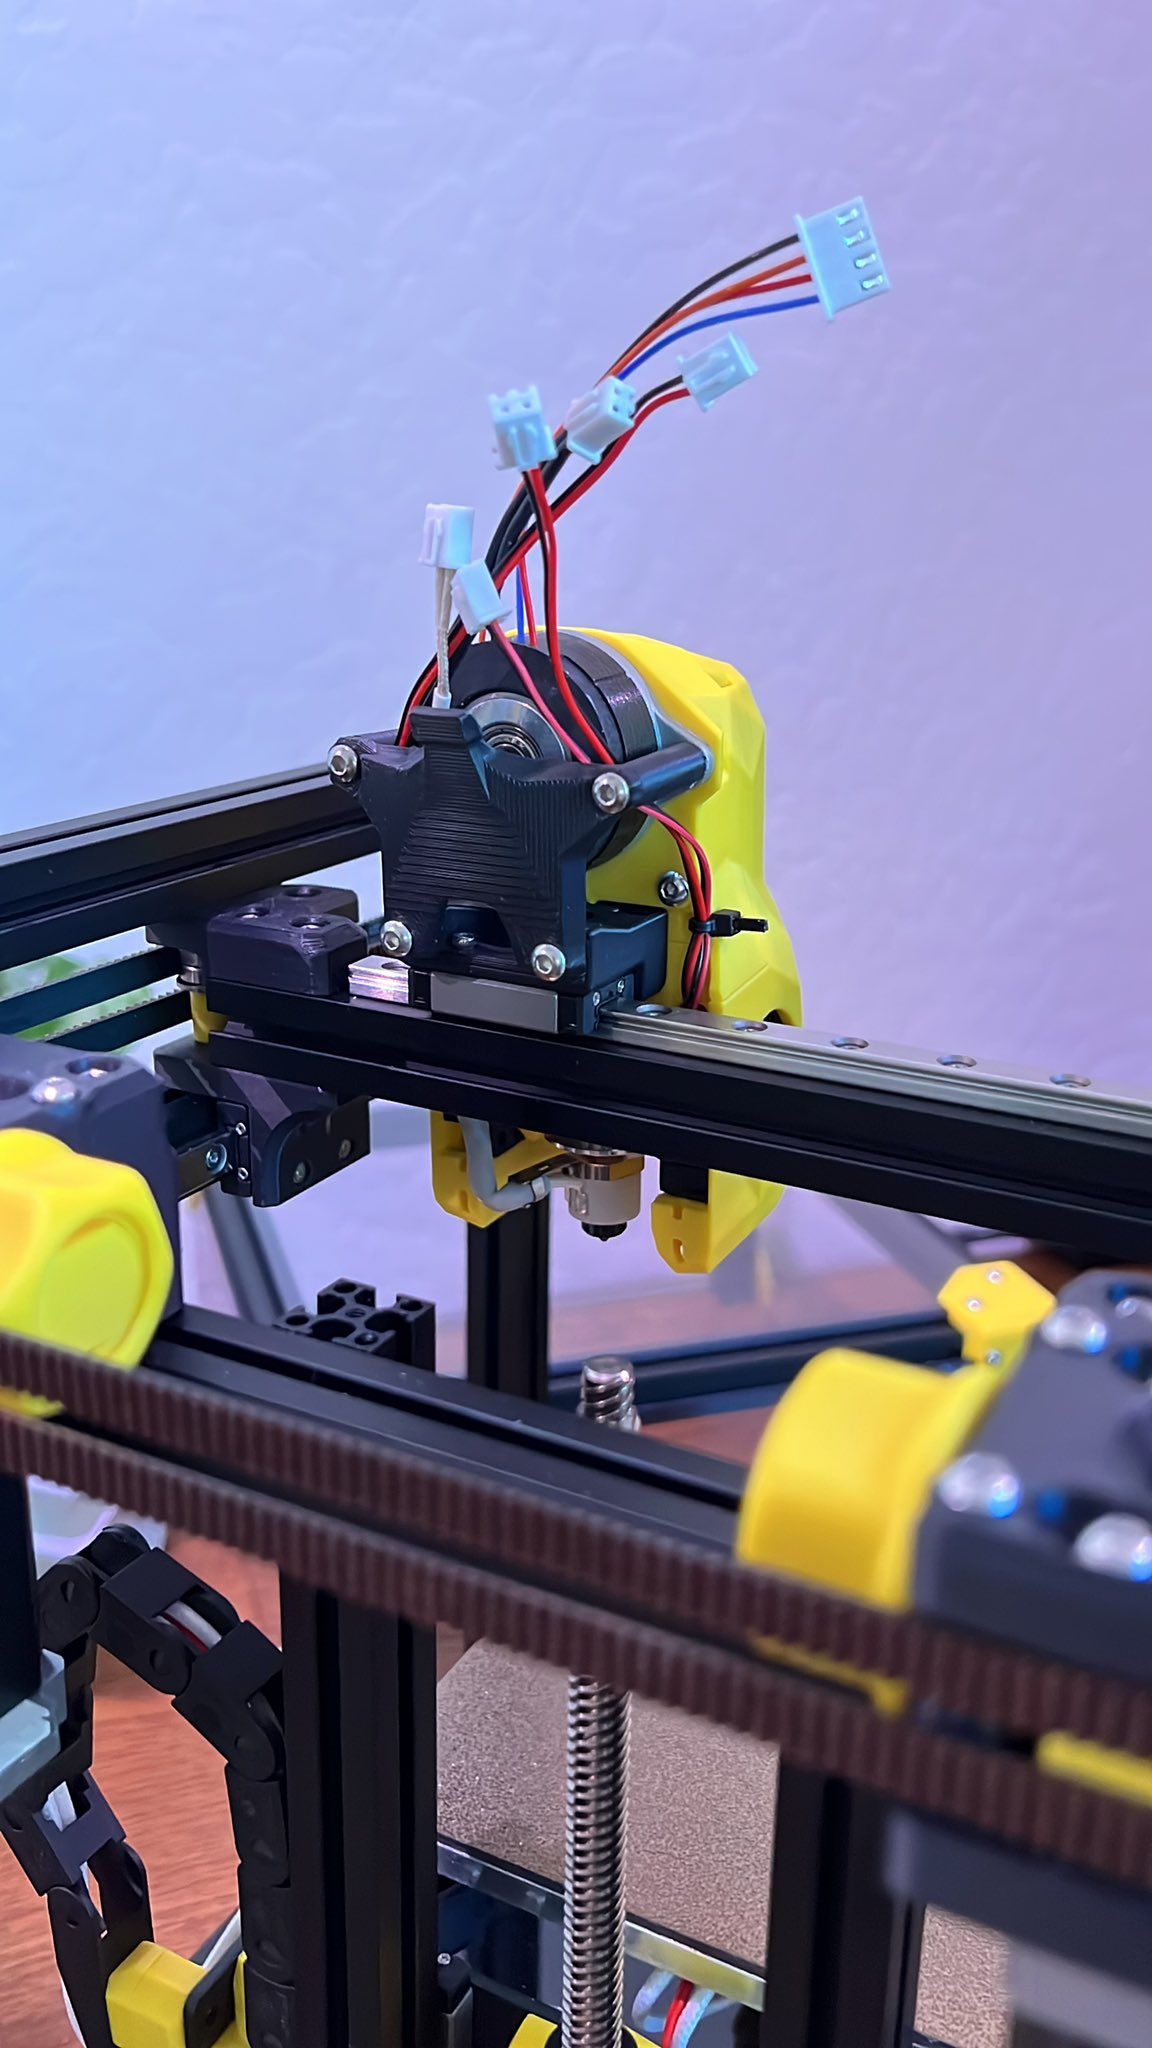
Day 8
Day eight!
It's been a few weeks… but @themitch22 inspired me to get building again. 🔥
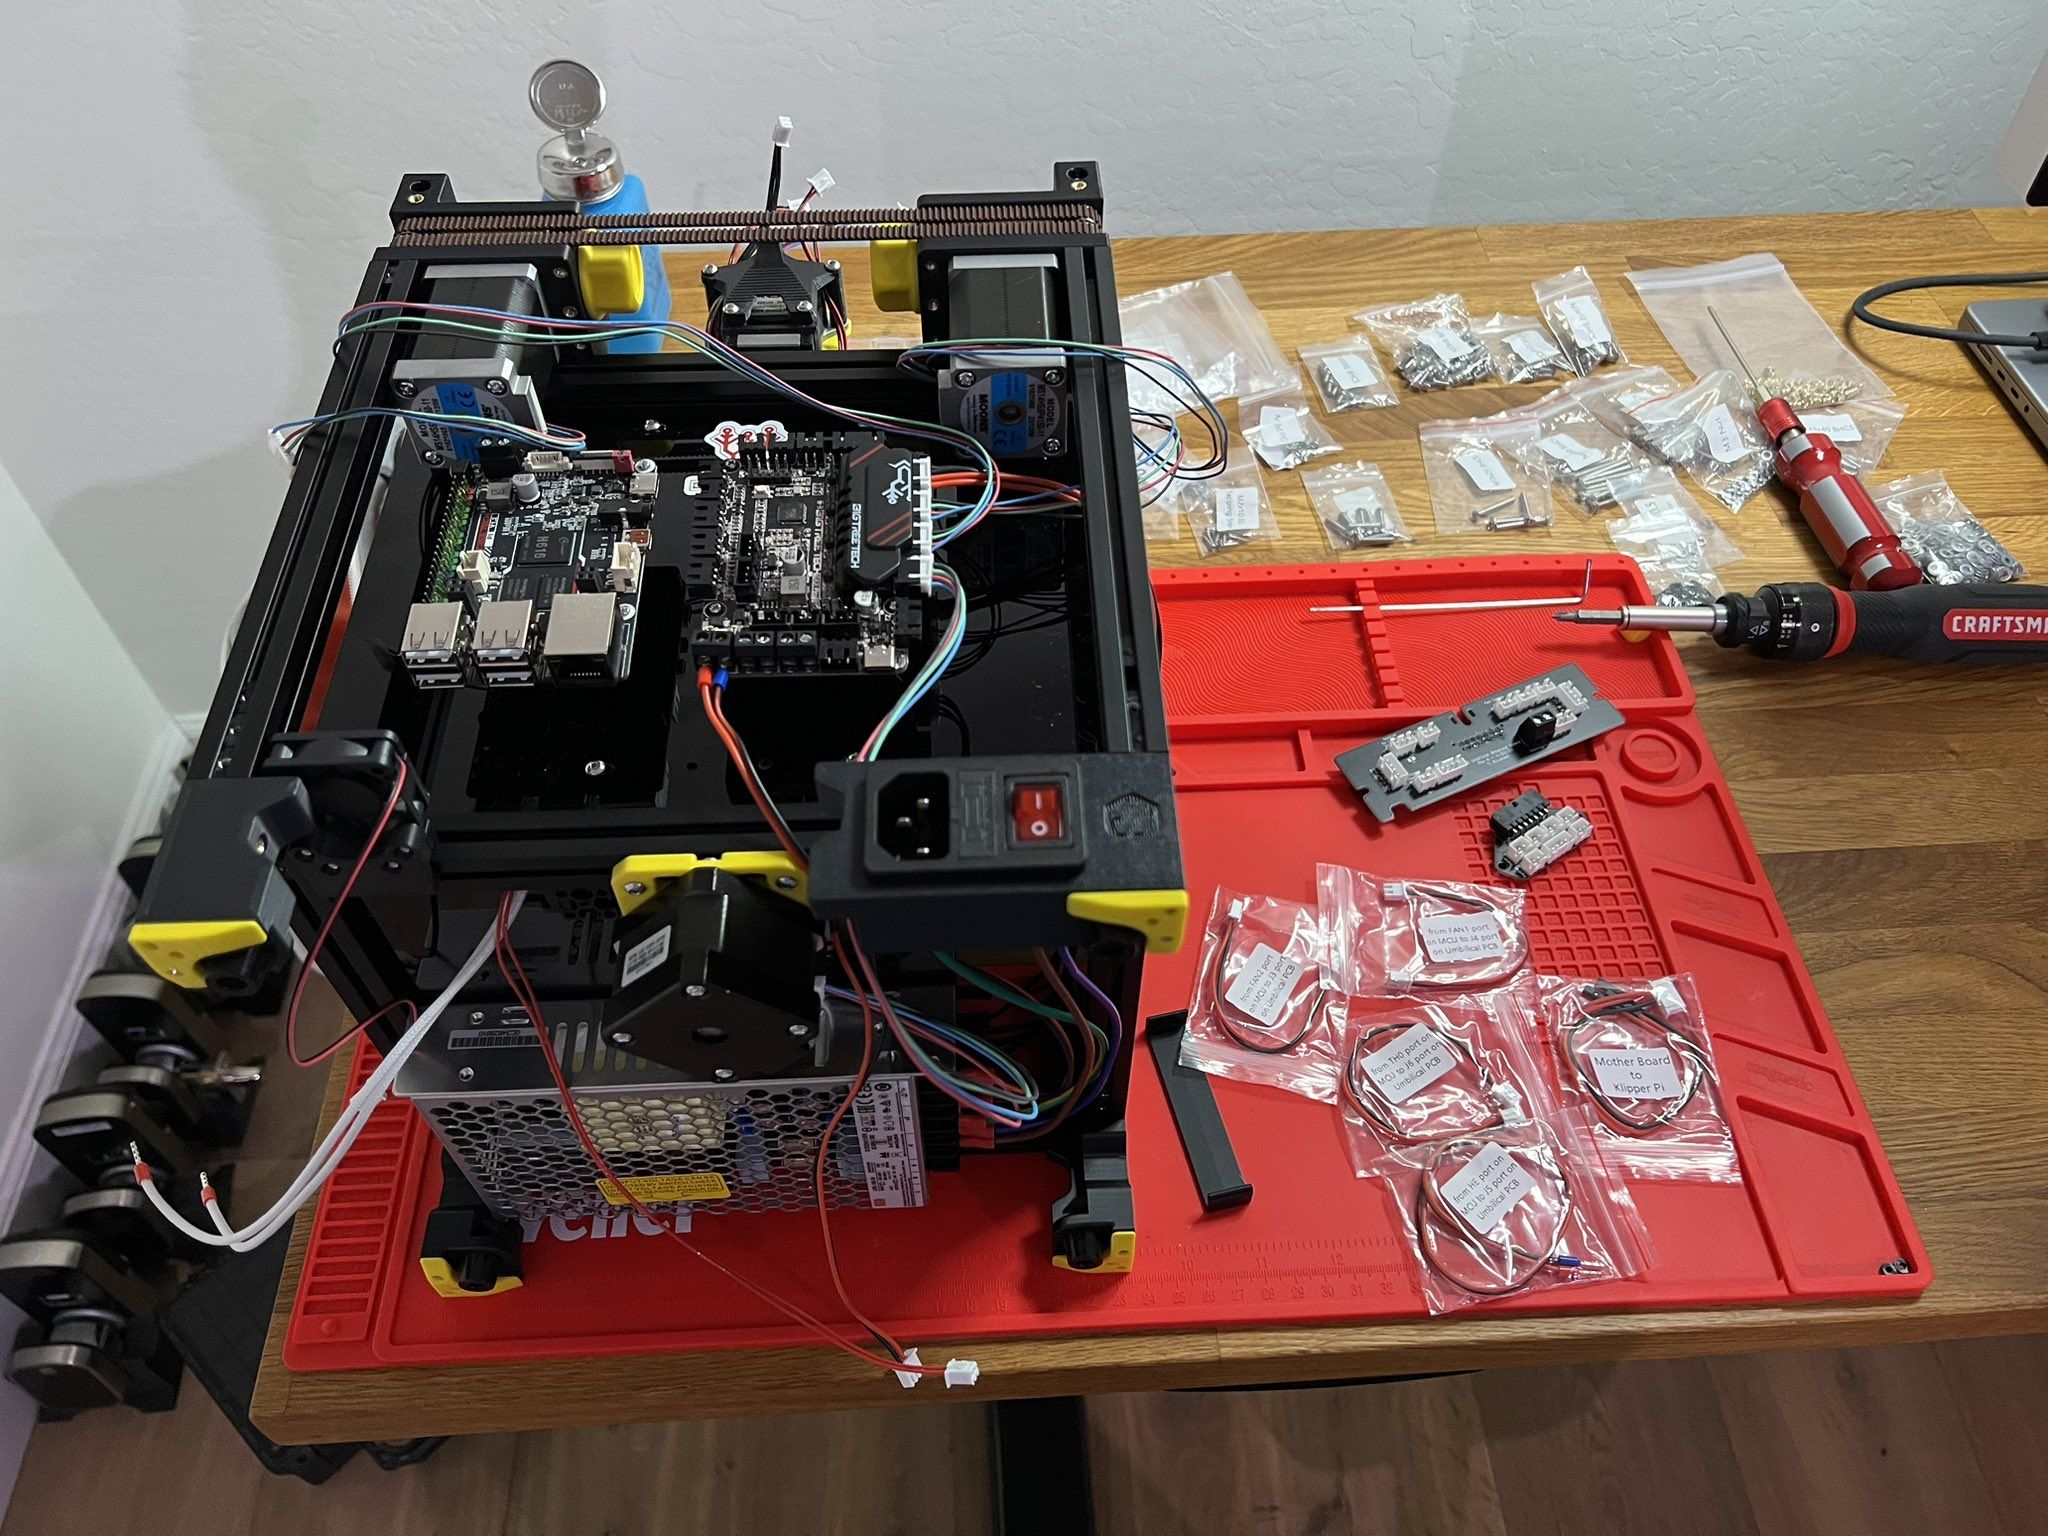
Got the electronics mounted… next step is wiring and I'm gonna save that for when it's not 10:30pm! 😴
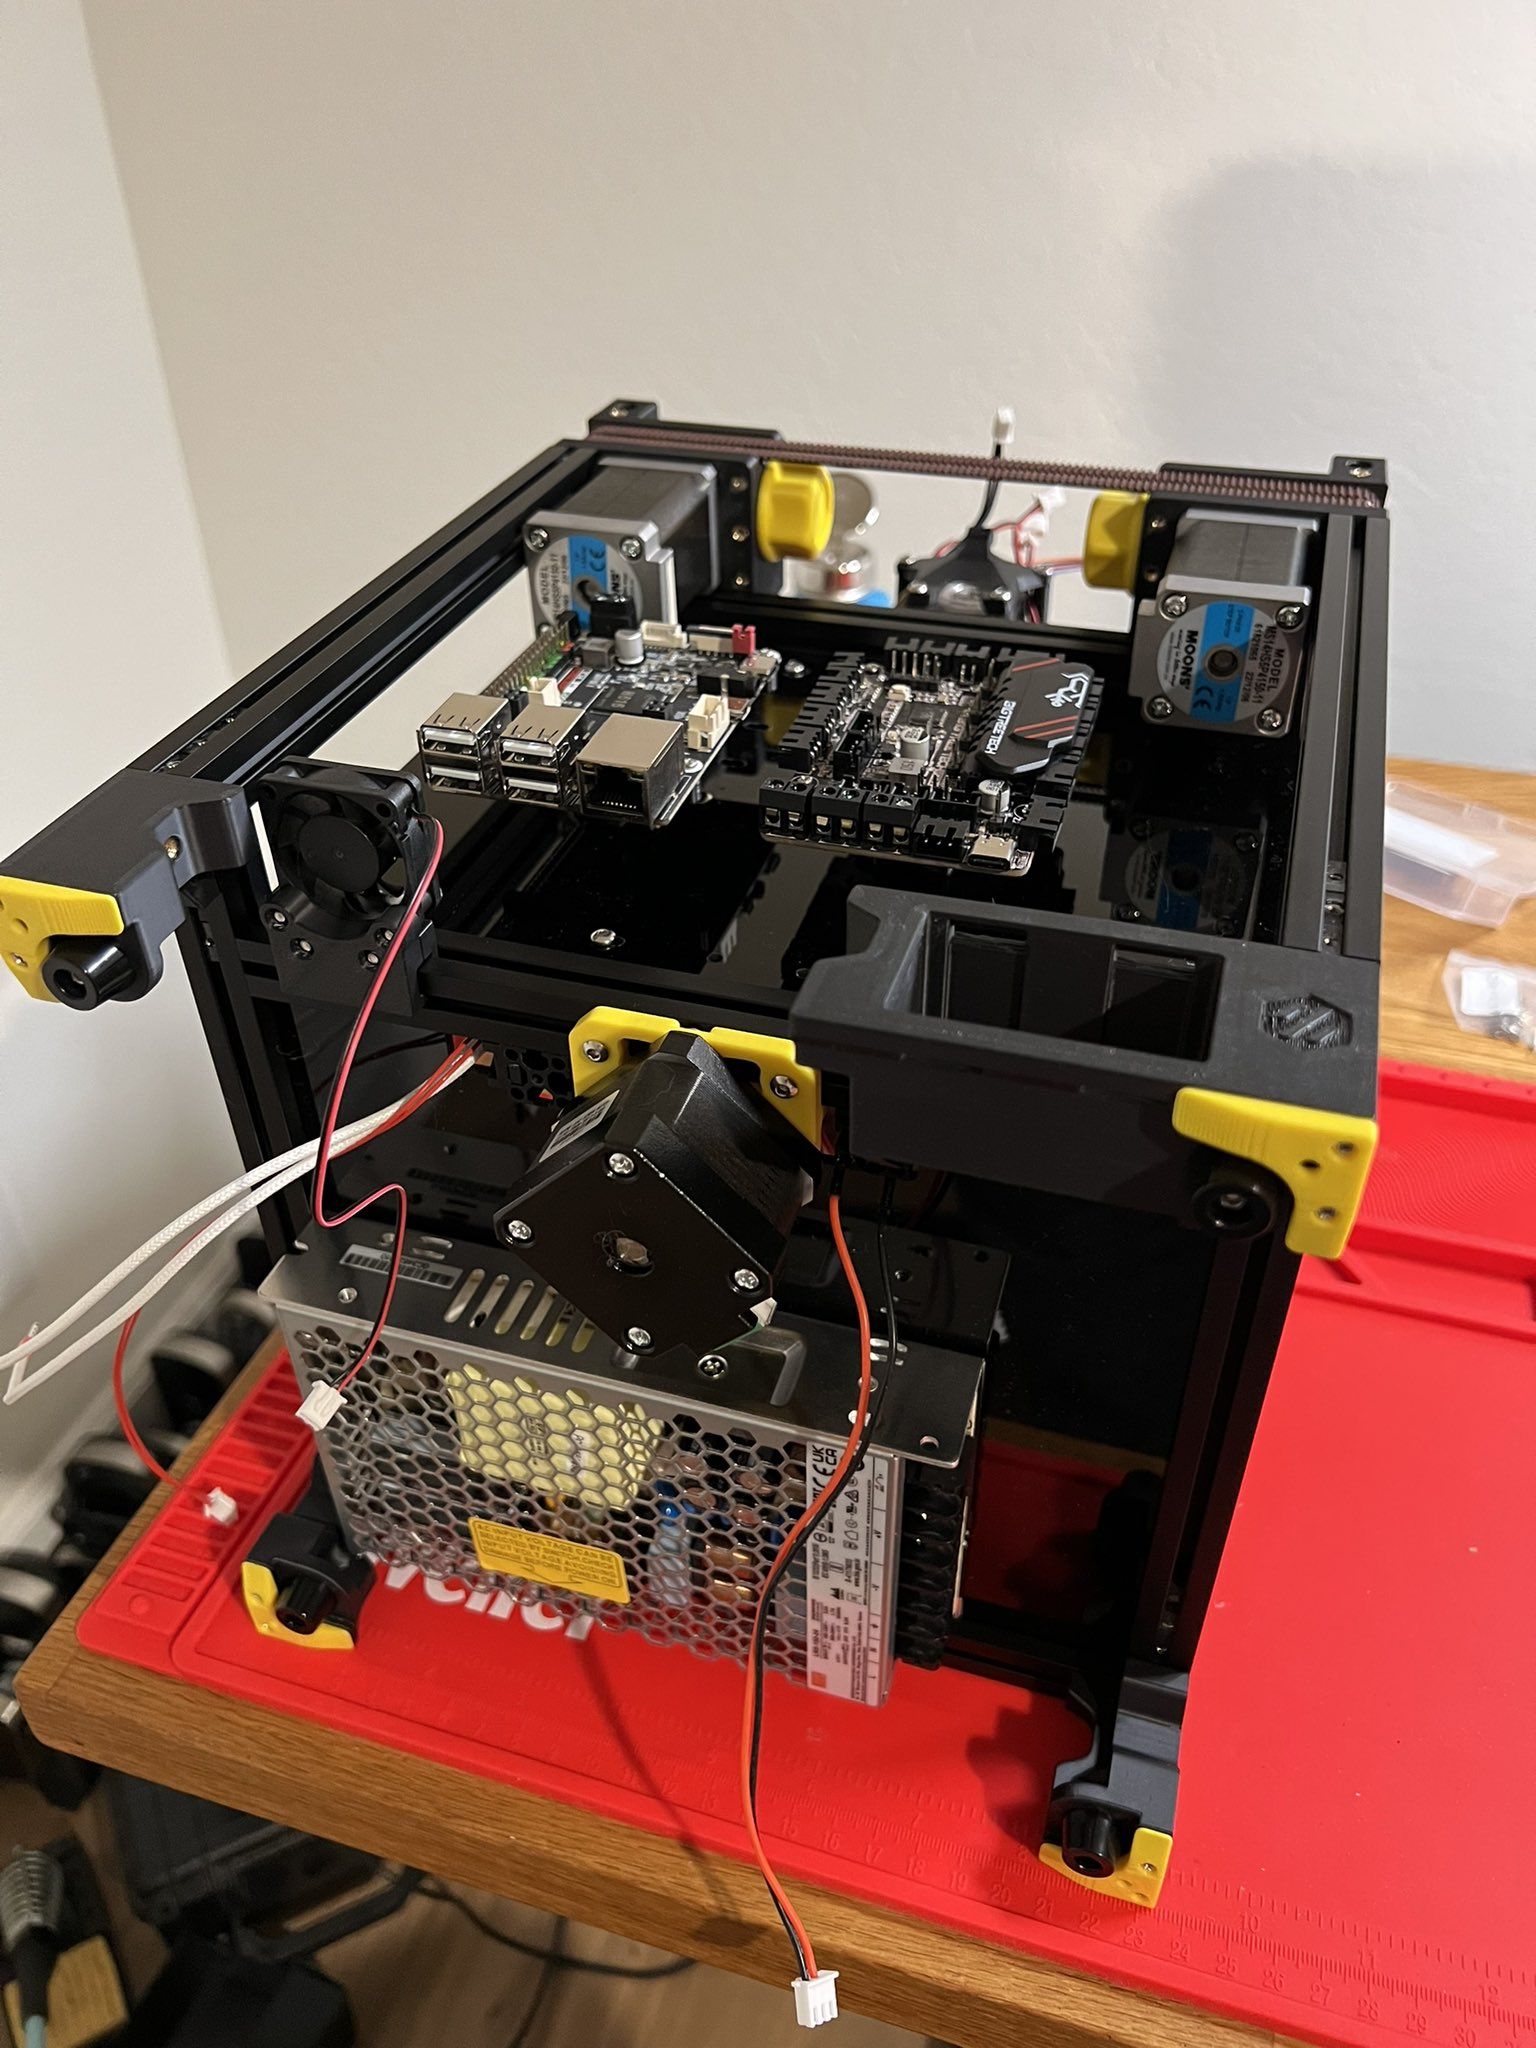
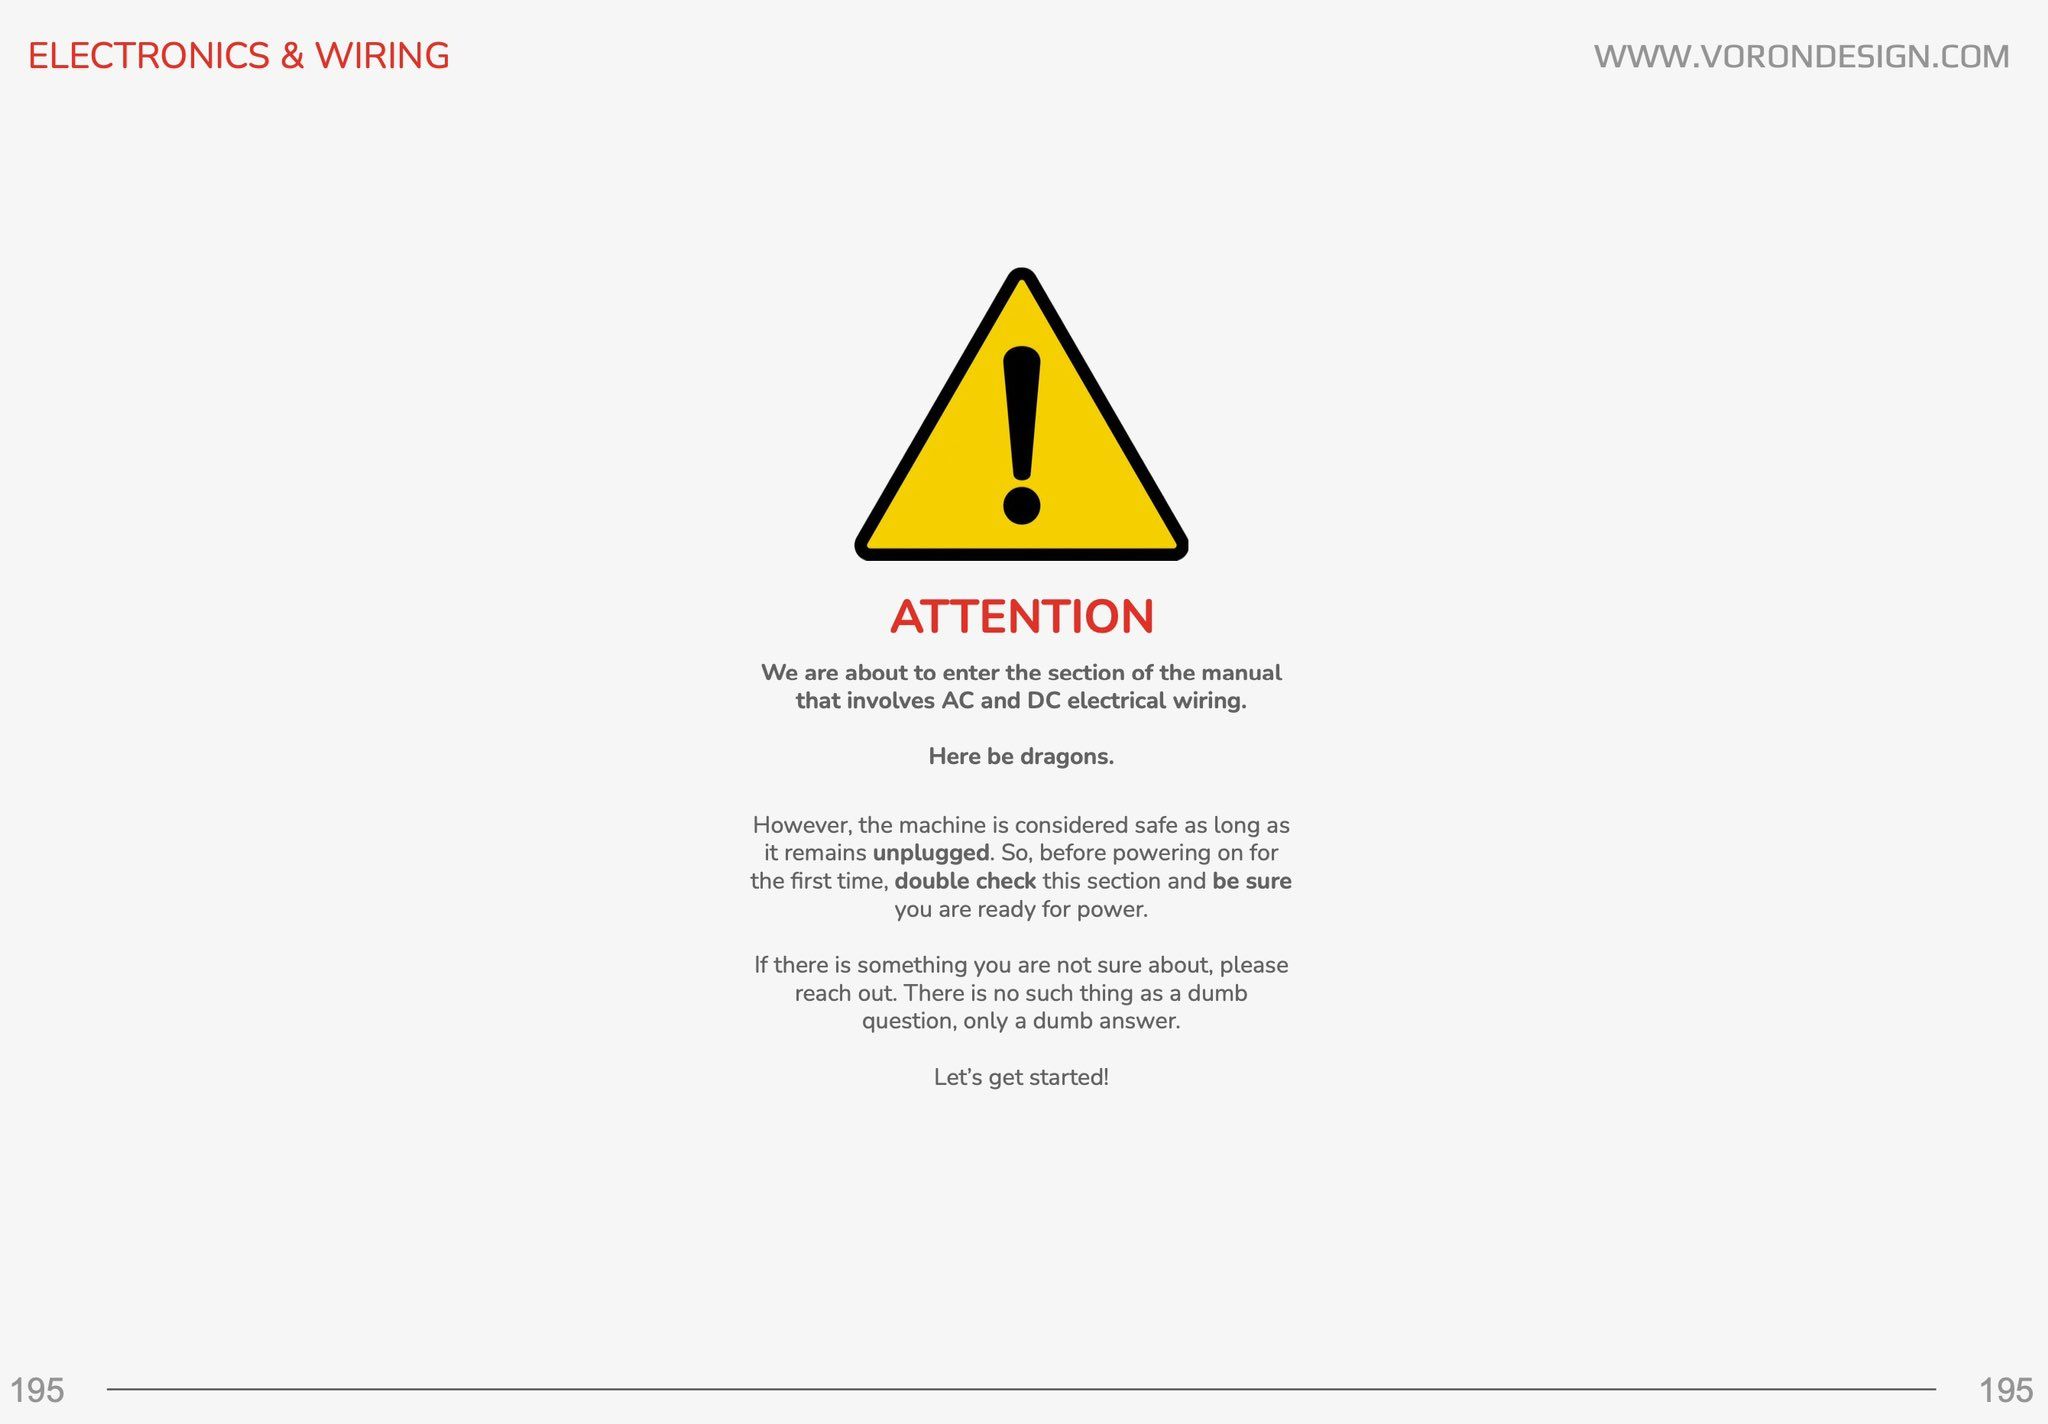
Day 9
Day nine!
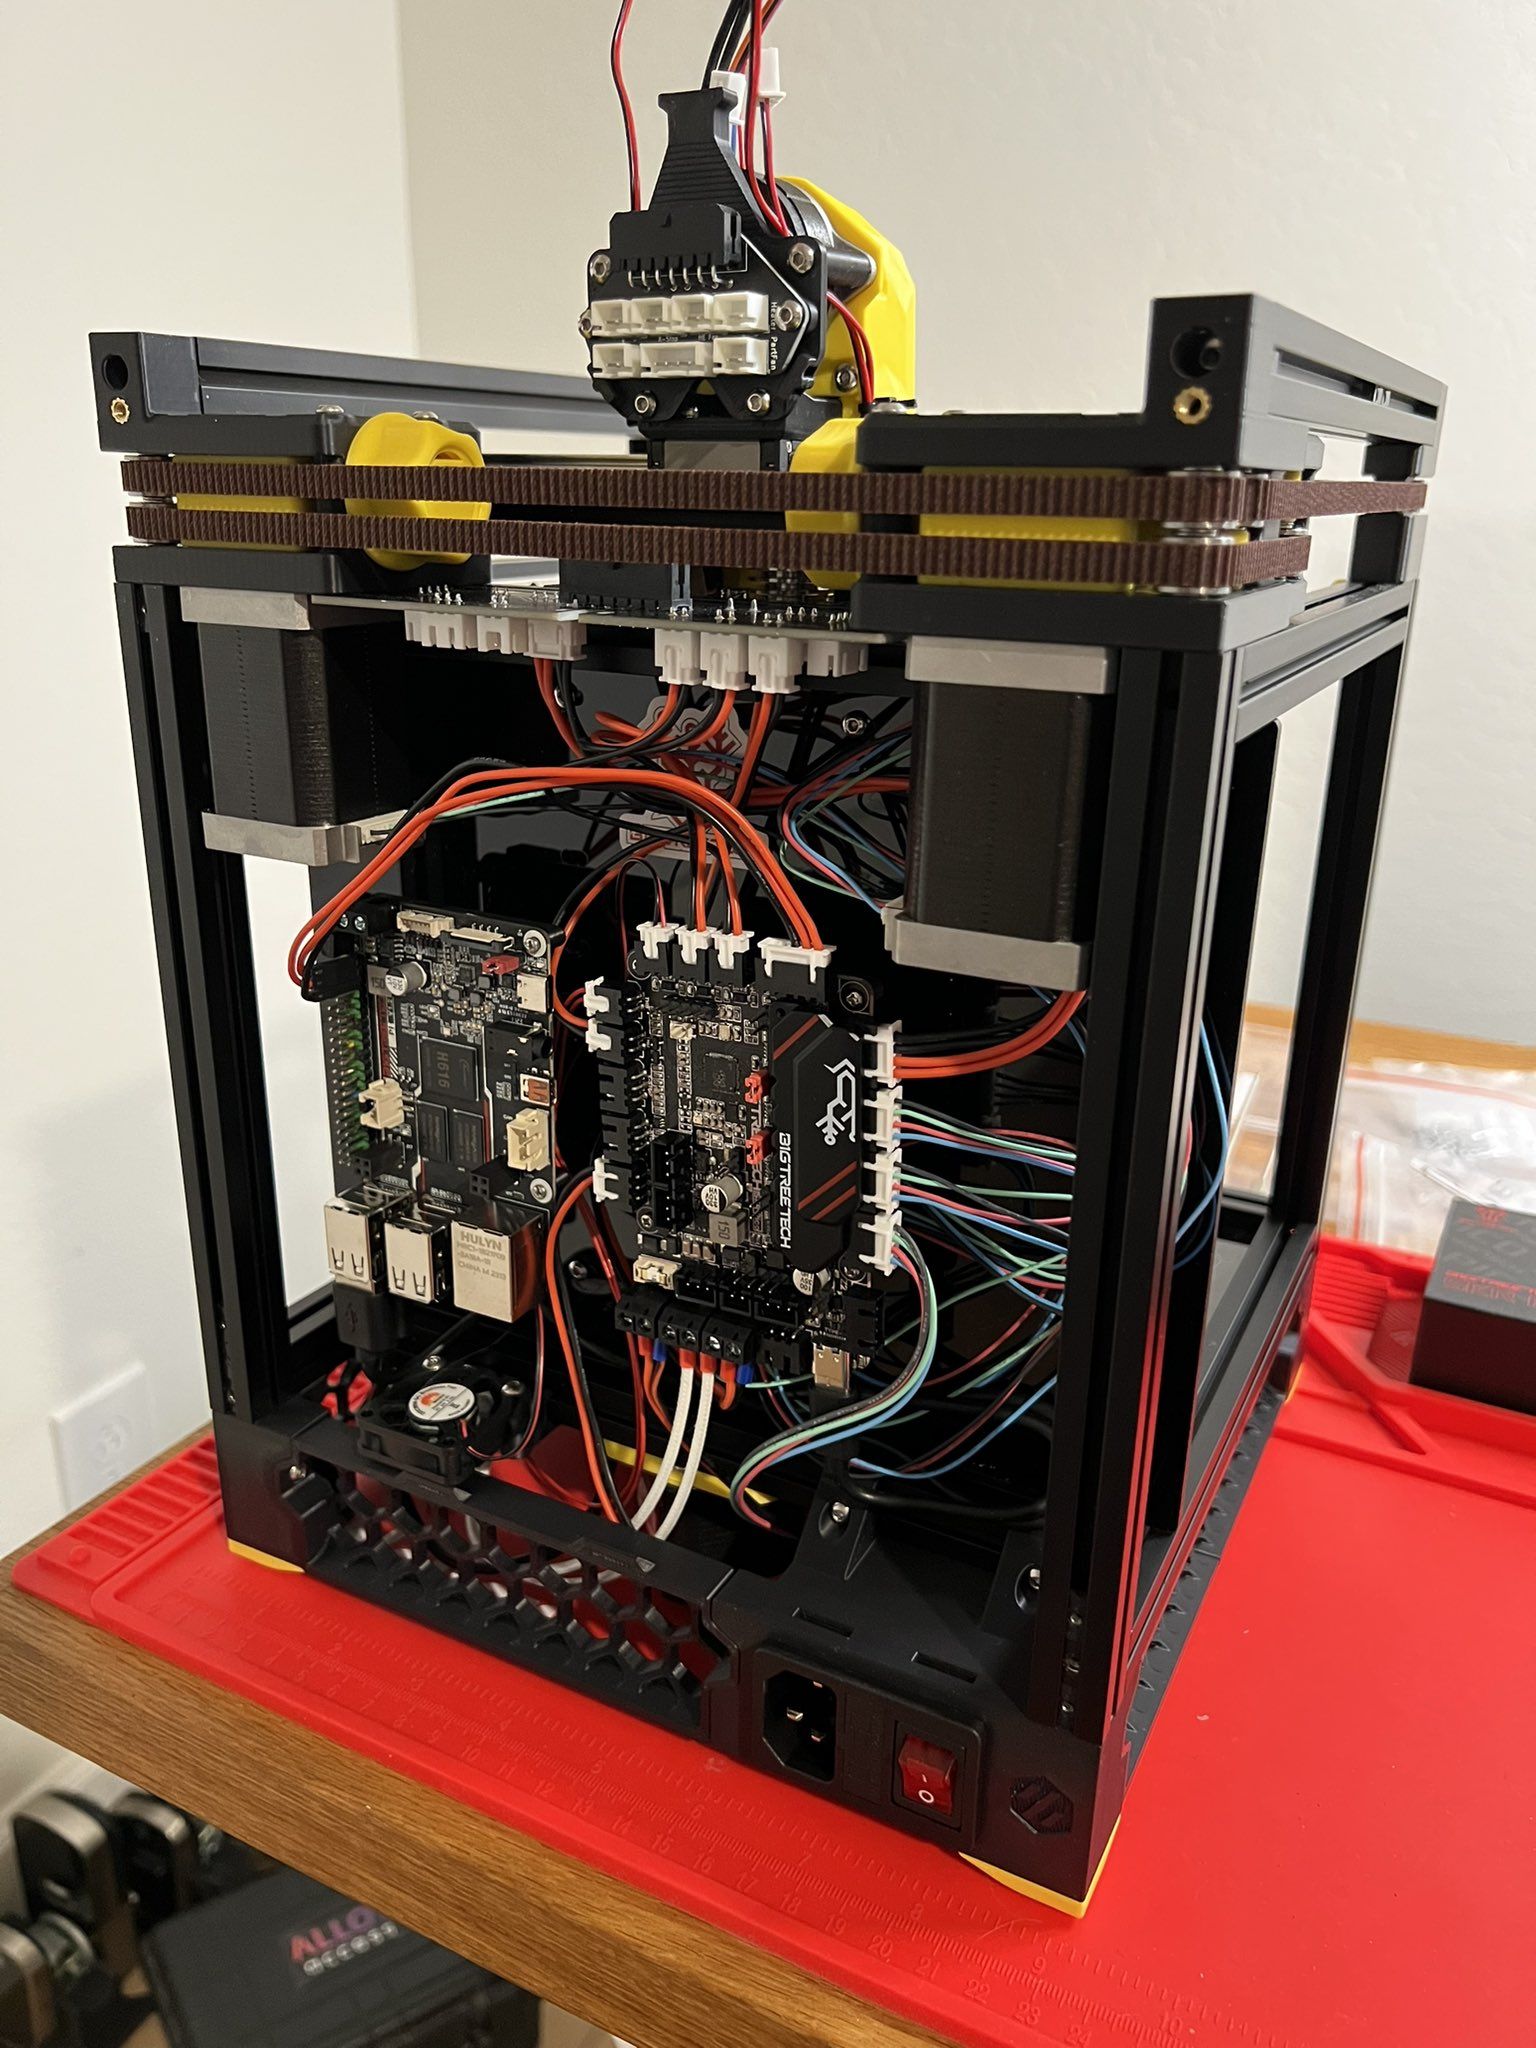
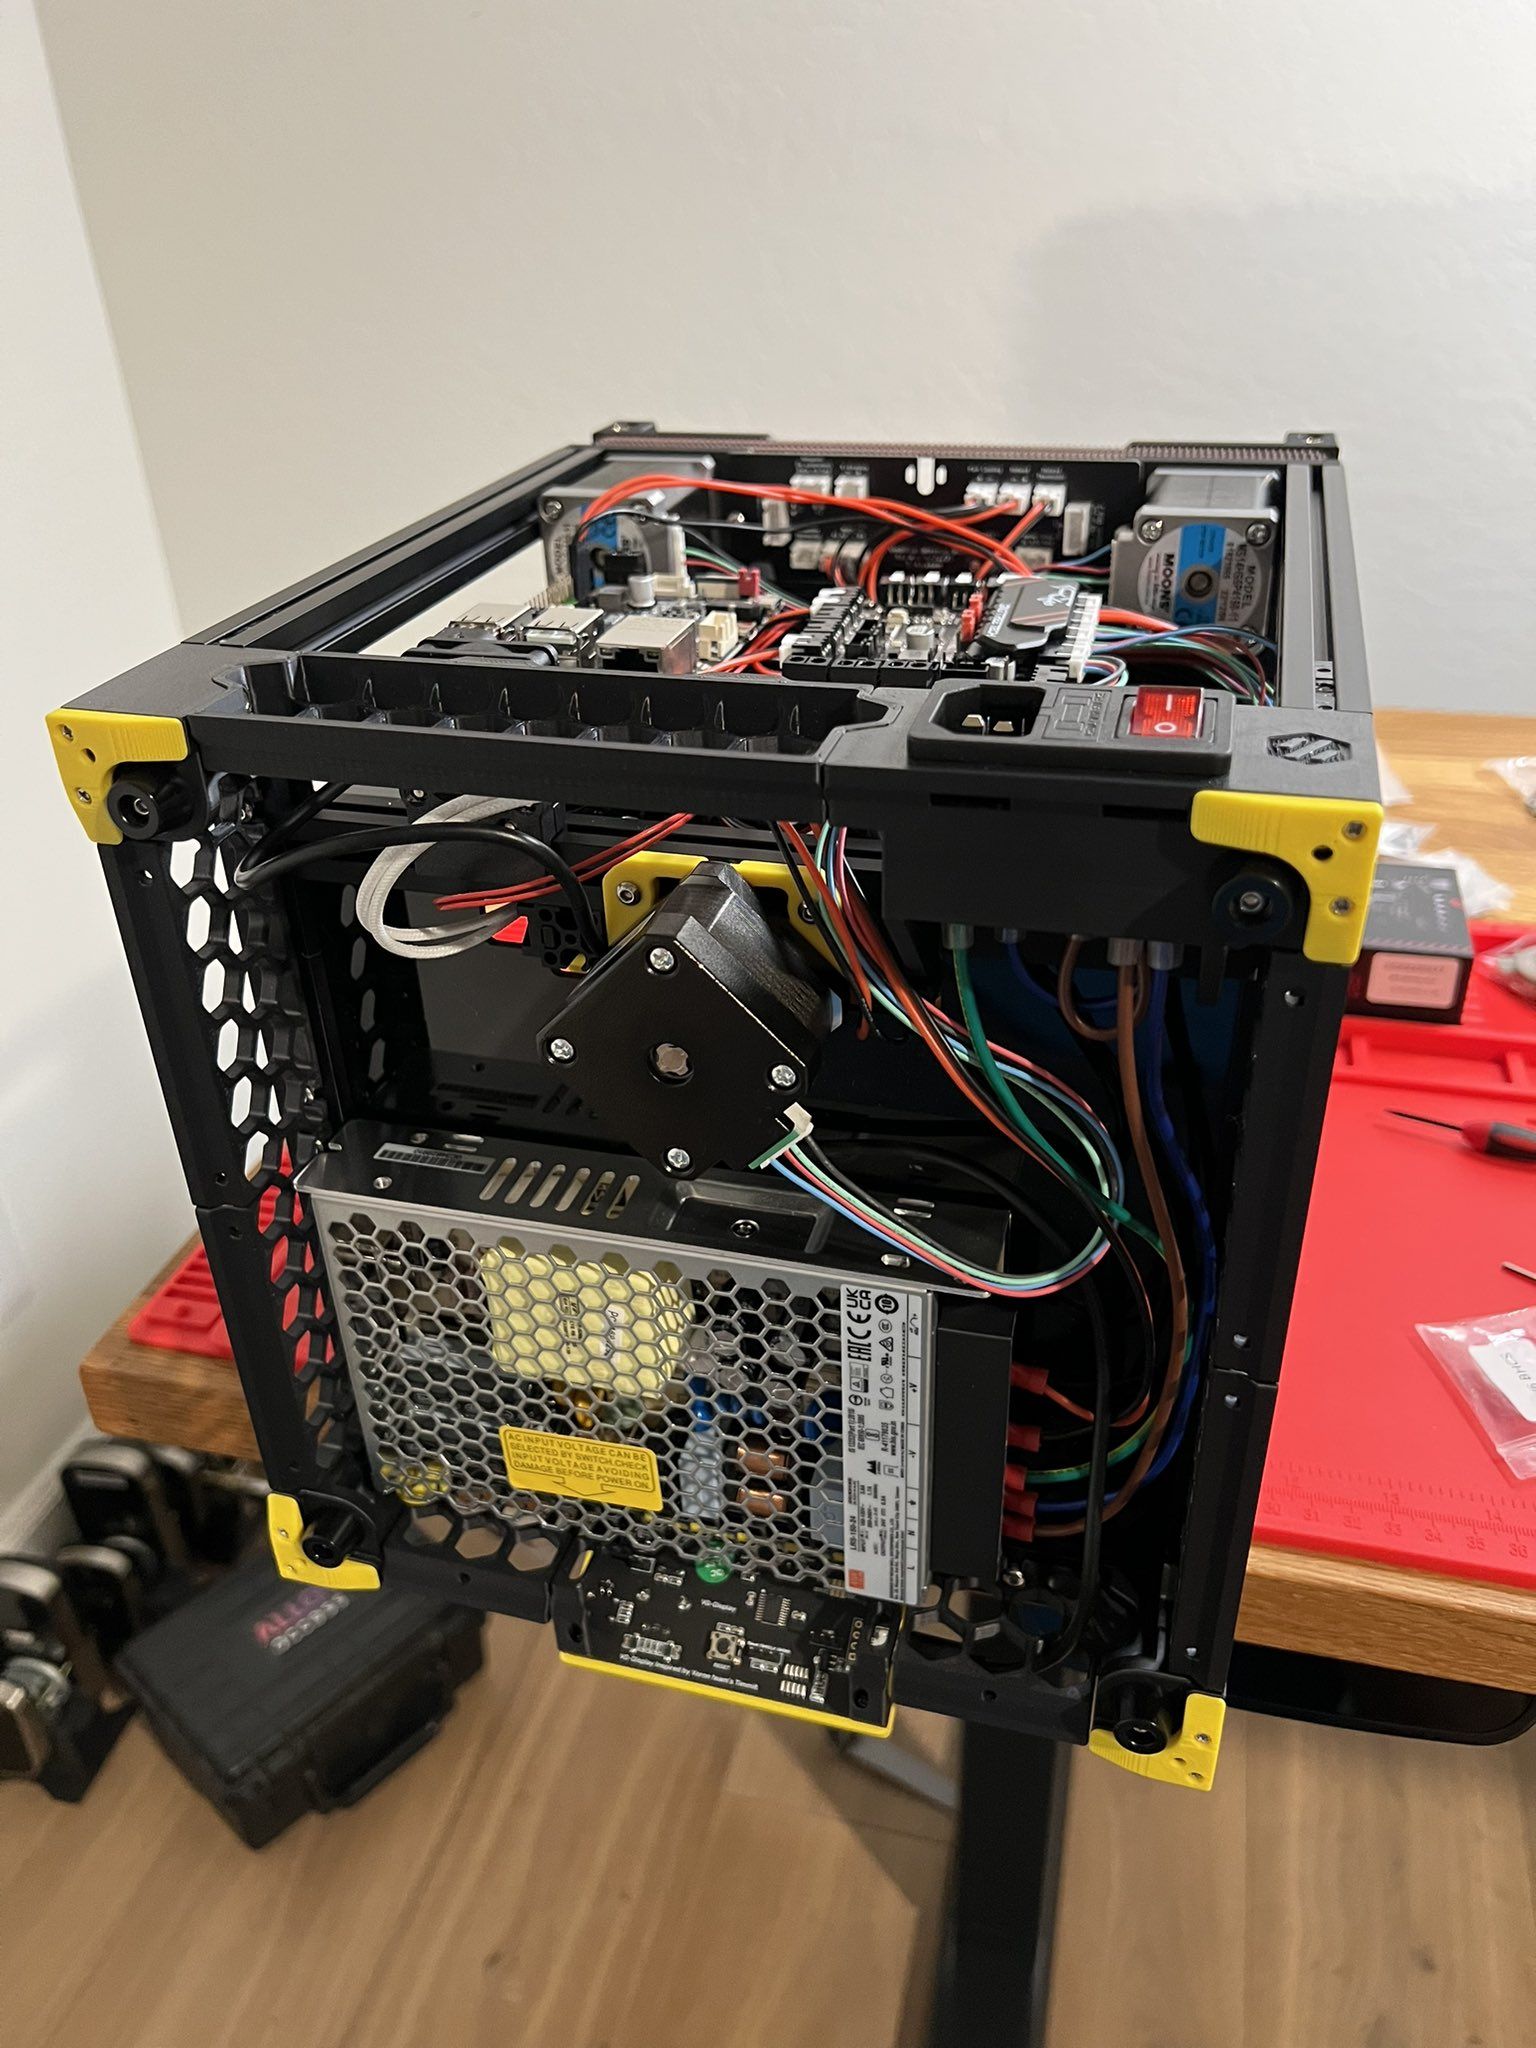
Electronics wiring is pretty much done— just need to finish a few little things. Extremely grateful the kit had every wire labeled and prepared.
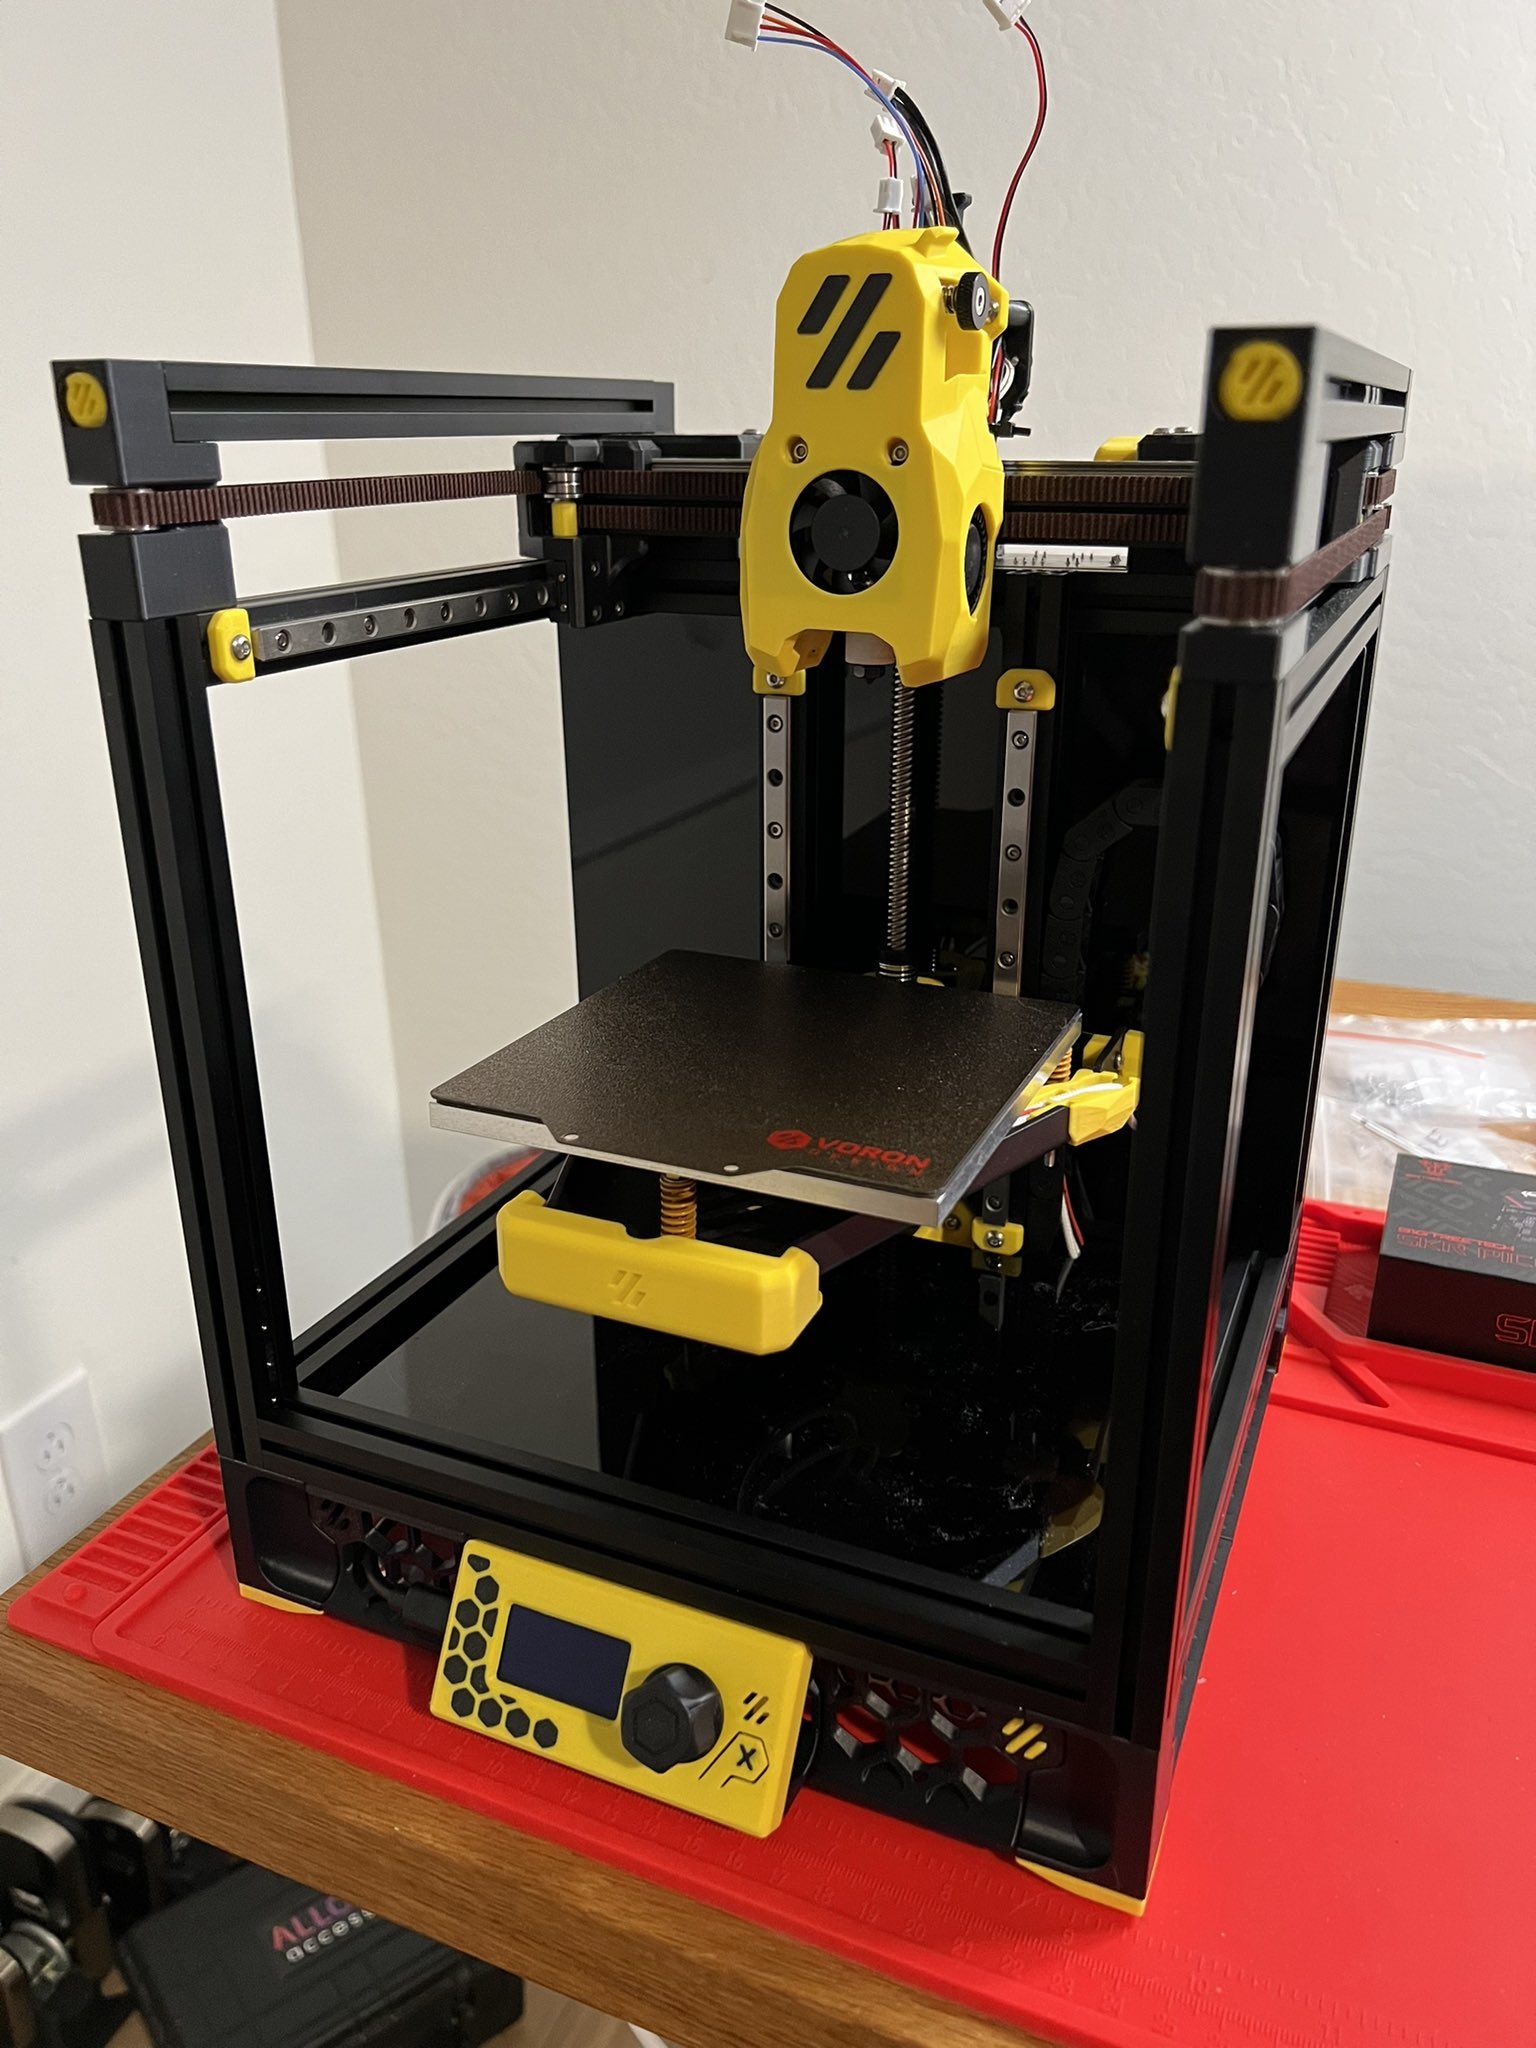
Bottom skirt and display installed— Bumblebee is looking absolutely amazing! 😍 🐝 🤖 🖨️
Day 10
Day ten!
Happening now… as I tweet… we're printing!
Go little Bumblebee! 🐝 🤖
Exterior panels and the top hat are on.
Look at you, fancy little bee. 🐝 🎩
View this post on 𝕏 View this post on 𝕏
Day 11+12
Day 11+12
Klipper config on the printer has been adjusted and tweaked significantly— I'm learning a ton about how these machines work!
Bed is level, first layer dialed in, extrusion multiplier calibrated— I am thrilled with this project.
Fly my little Bumblebee! 🐝 🖨️ 🤖
